PreSonus Eris 3.5 Studio Monitor Repair
I'd had an issue with my PreSonus Eris 3.5 monitors hissing while sitting idle as well as some distortion and rattling occurring in the lower frequencies. I decided to pull the amp side of the pair apart to see what was wrong. There were two 25v 1000uF capacitors that were swollen and looked to be…


I'd had an issue with my PreSonus Eris 3.5 monitors hissing while sitting idle as well as some distortion and rattling occurring in the lower frequencies. I decided to pull the amp side of the pair apart to see what was wrong. There were two 25v 1000uF capacitors that were swollen and looked to be bad. After replacing these two capacitors the issues I was having went away completely. I'm not that great at repairing electronics, but I'm convinced if I was able to fumble my way through this repair, you should be able to as well.
What was wrong
Both of my Eris 3.5s had a constant hiss while sitting idle — even with nothing playing. On top of that, kicks and other low-frequency hits came through with a static-like distortion and rattle. The hiss was layered over every sound and never went away when the music stopped.
Step 1: Taking the monitor apart
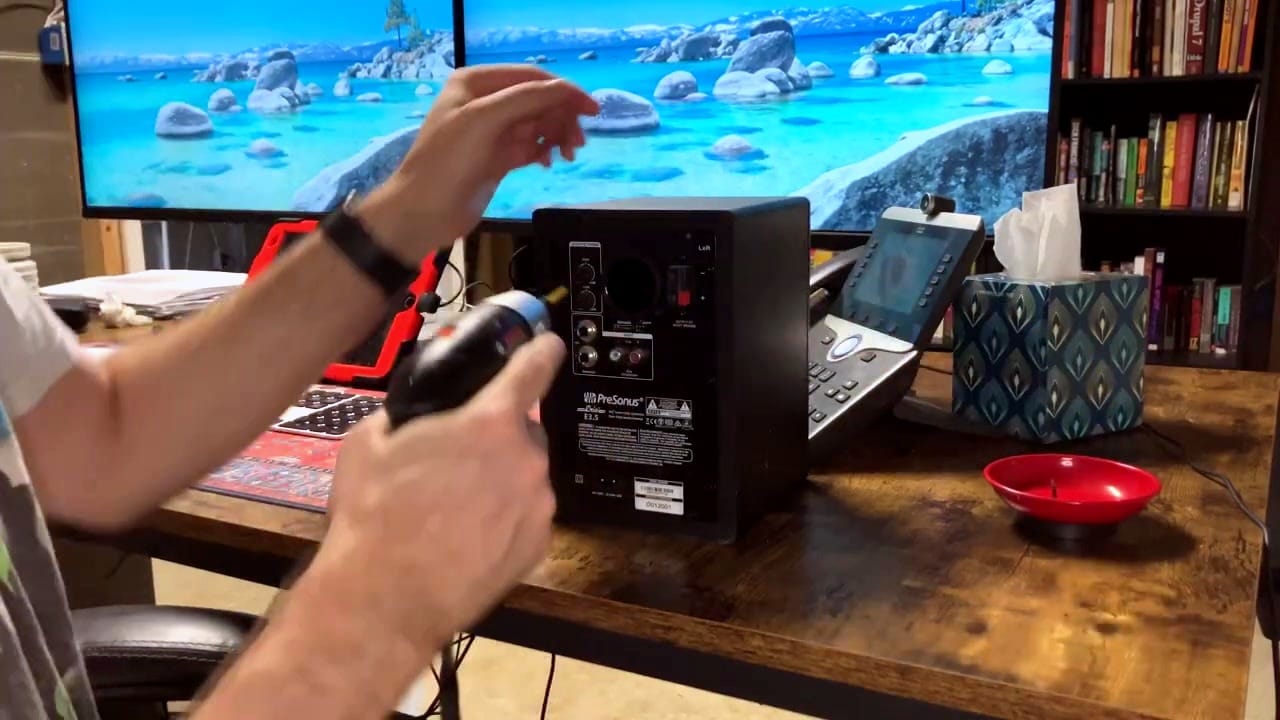
I started on the powered side of the pair. The amp and connections all live on a rear panel — power switch, volume knob, headphone jack, and the TRS/RCA inputs — so that's the side you take apart. A few screws later the rear plate comes free of the cabinet.
Step 2: Investigate
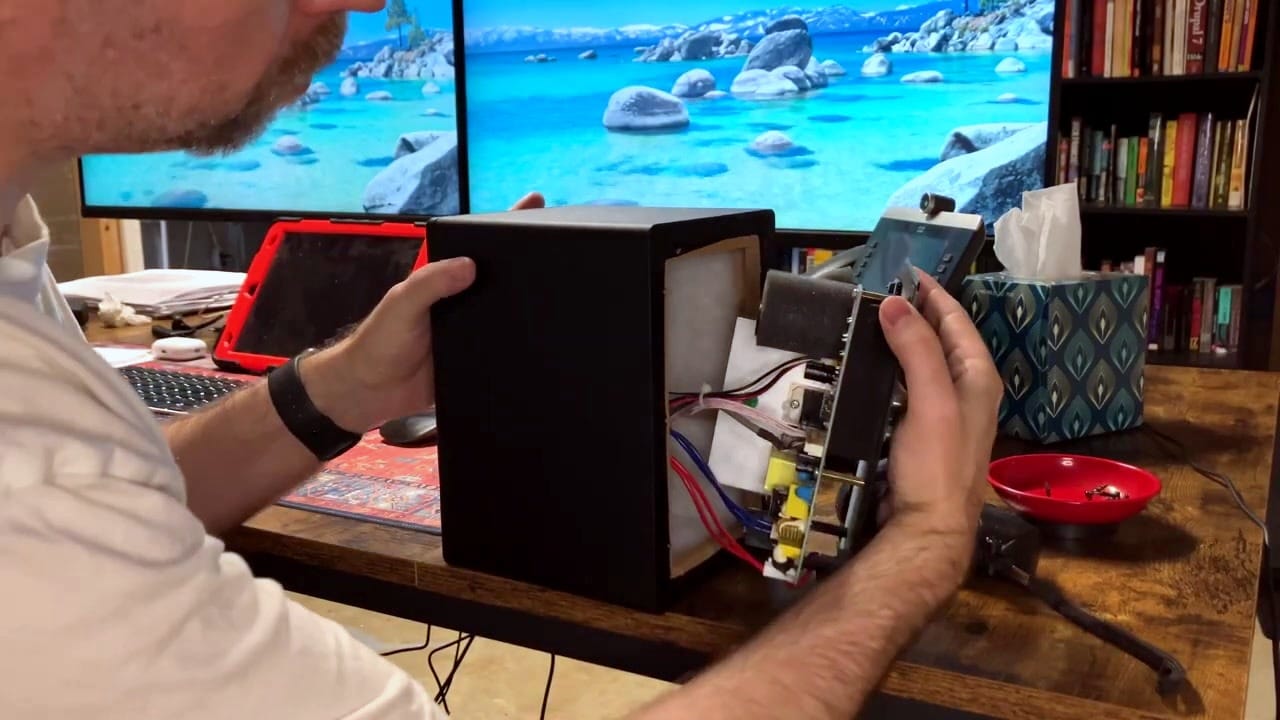
Once the amp plate is loose there's more in the cabinet than you'd expect — wiring harnesses and a ribbon cable, a sizable aluminum heatsink, and the green amplifier PCB. Go slow here: glue and foam hold the panel in place, so work a flat-head screwdriver around the edge and pry gently instead of forcing it.
The culprit: two swollen capacitors
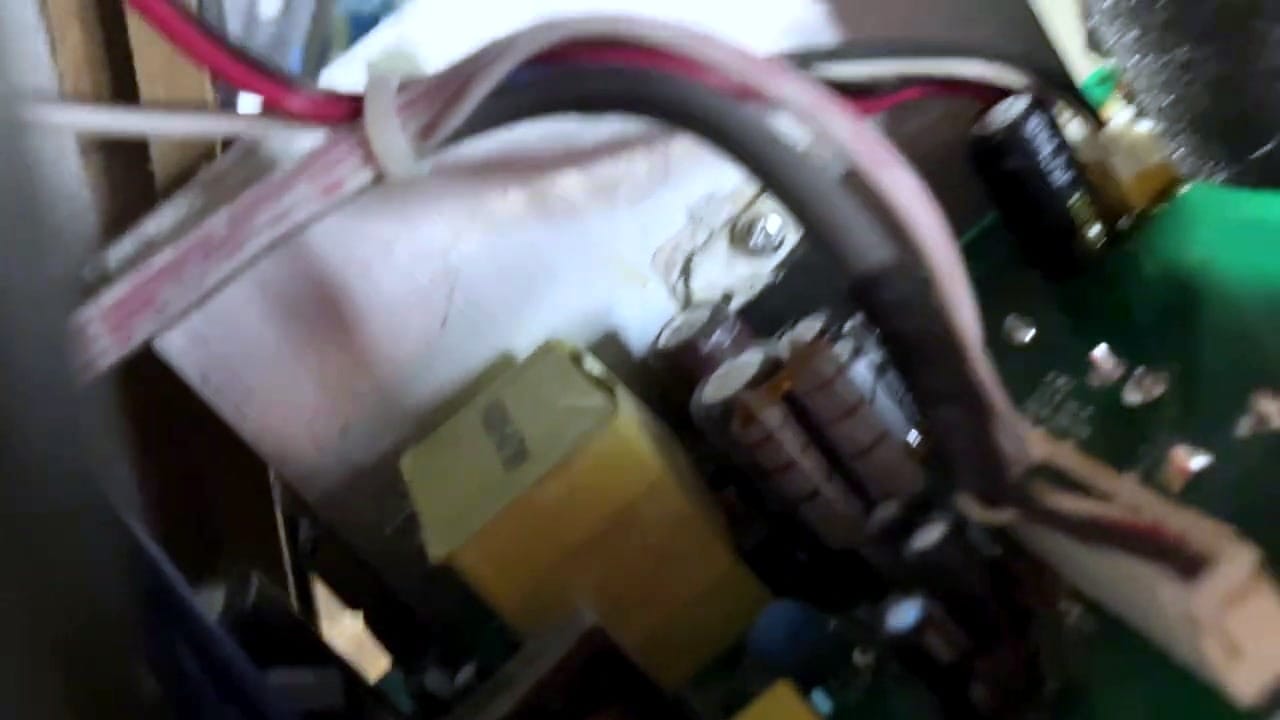
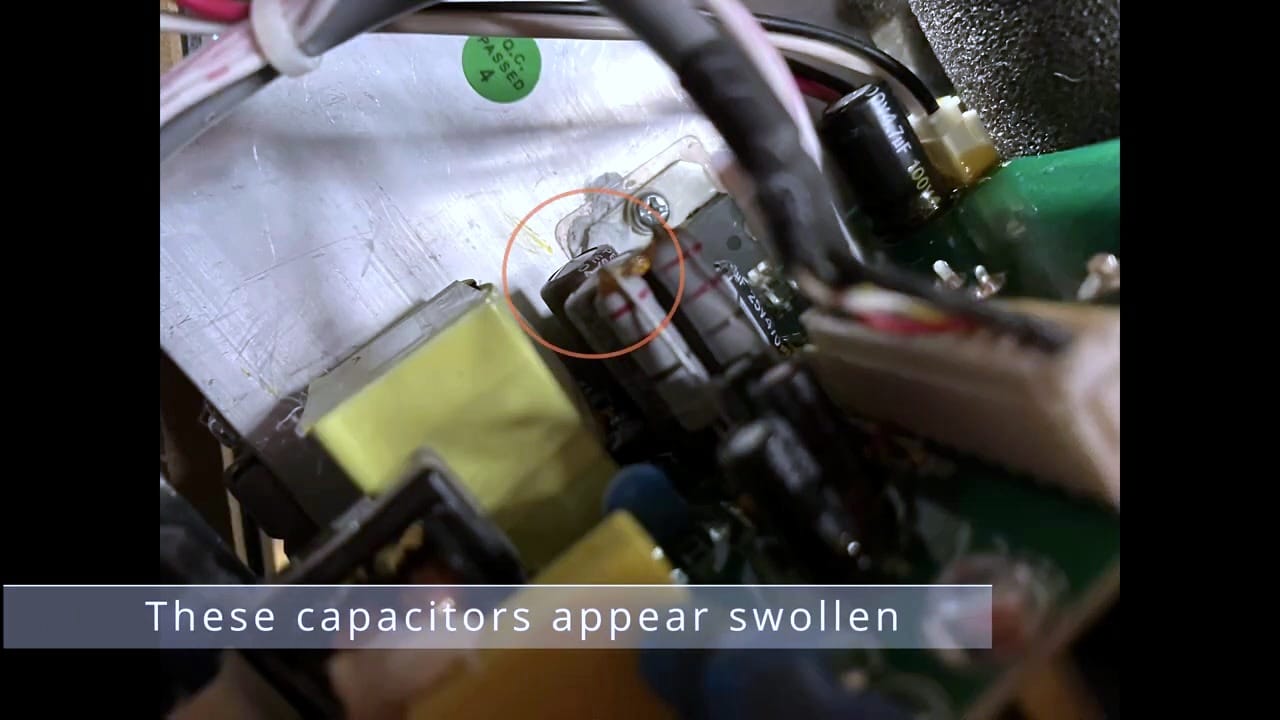
On the amp board, two electrolytic capacitors were clearly bulging at the top — a classic sign they're on their way out. They're 25 V, 1000 µF parts. A swollen electrolytic can't smooth the power rails the way it should, which is exactly what produces the idle hiss and the distortion on transients.
Step 3: Pull the circuit board
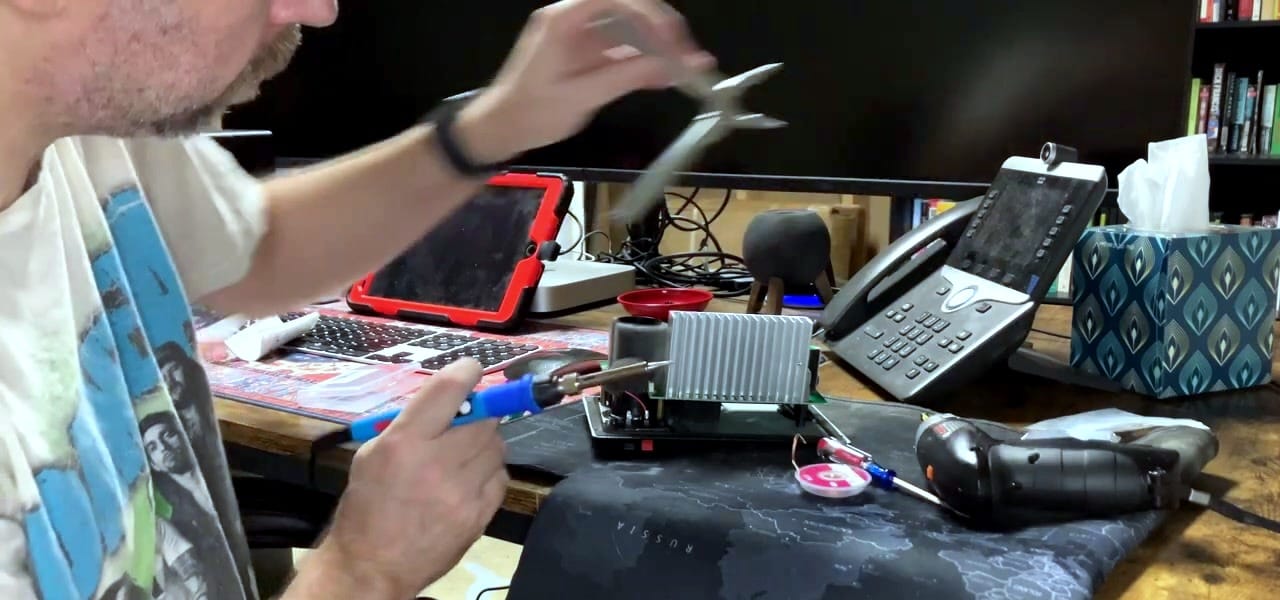
With the amp leads disconnected, the circuit board lifts out so you can work on it comfortably at the bench.
Step 4: Remove the old capacitors and install new ones
This is the whole job: desolder the two bad capacitors and solder in replacements. There's nothing exotic in the tool kit — a soldering iron, a desoldering pump, some solder, flux, and a pair of tweezers or pliers.
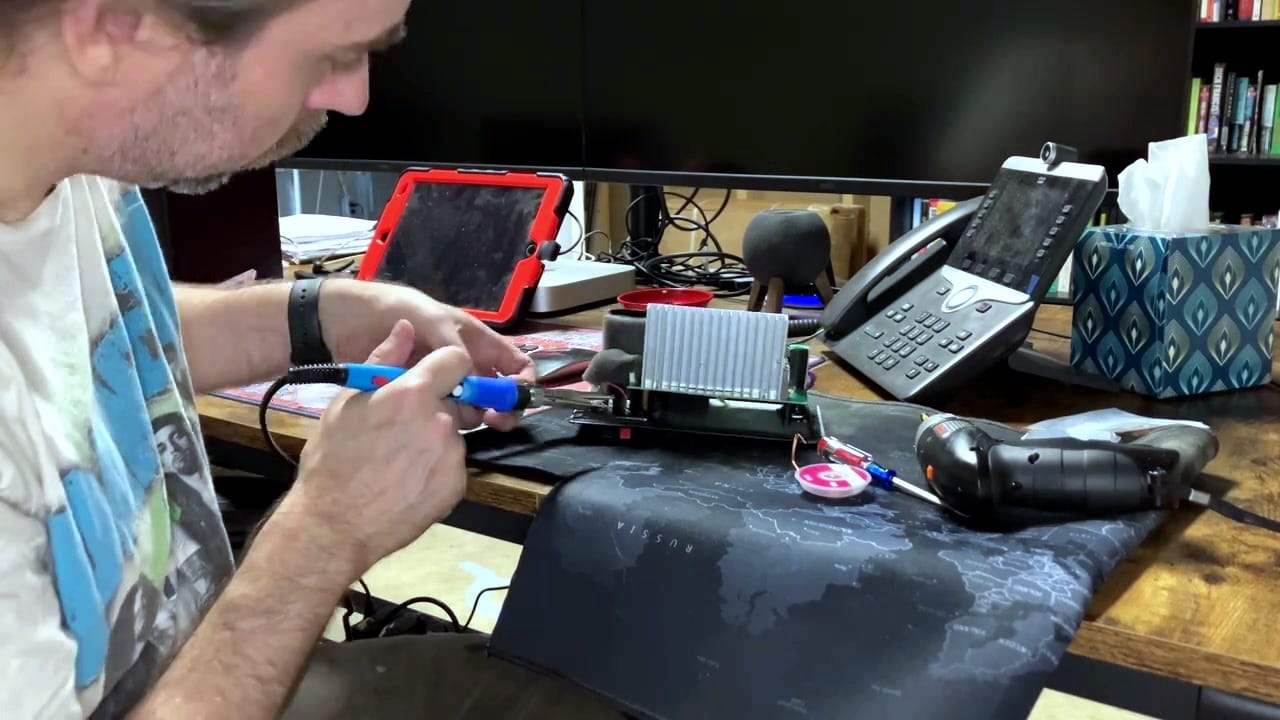
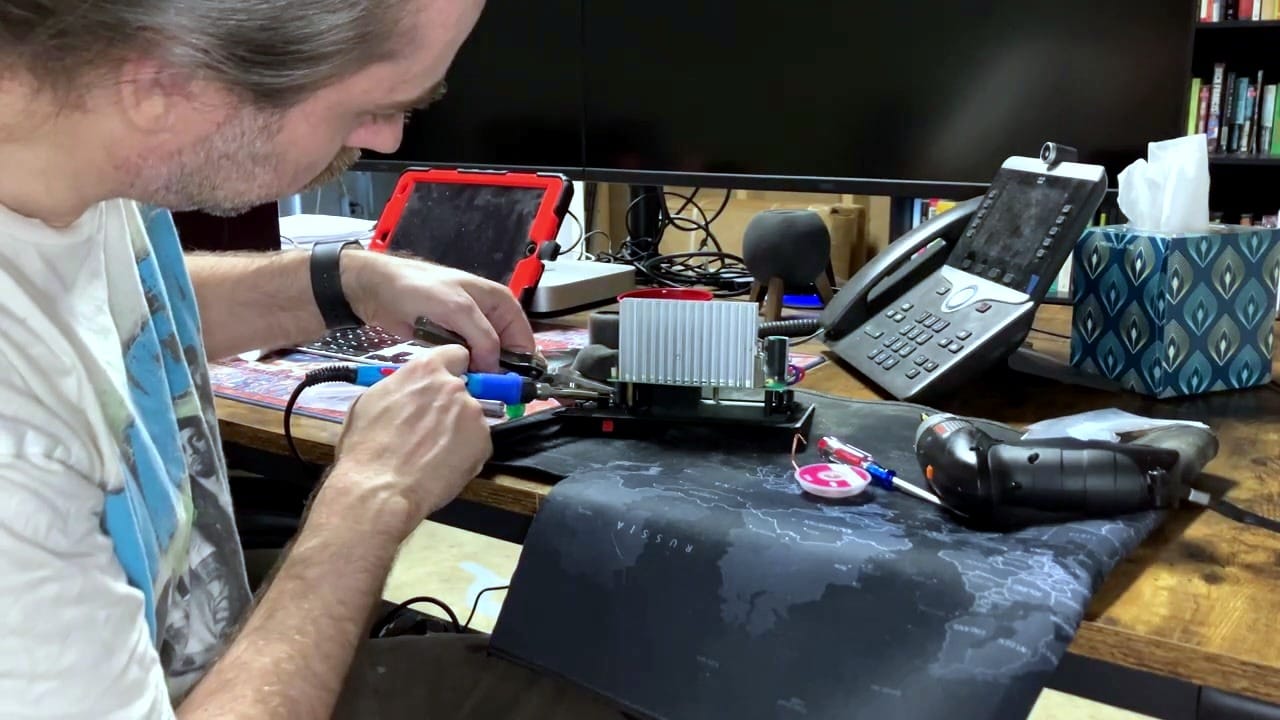
I'll save you some time: this part consisted of me cussing for an hour before finally getting the new caps soldered in. It's not a difficult job — I'm just not that good at soldering or desoldering. Any swollen capacitor should be replaced.
The parts I used
I ended up replacing two 25 V, 1000 µF electrolytic capacitors. These are the exact ones I used:
- Capacitor set A — amazon.com/dp/B0CMQ8GMCF
- Capacitor set B — amazon.com/dp/B0B63CCQ2N
If you're already in there, it's worth checking the rest of the board for any other bulging or leaking caps before you button it back up.
Before and after
The proof is the same kick-heavy test track played back on the same monitor. Before the repair the hiss and static are obvious; after, it's clean.
The fix held up. Months later these monitors are still going strong with no hiss and no distortion, and it's easy enough that I'd happily buy another broken set to repair.
Final thoughts
If I can fix this, then anyone can. If your Eris 3.5s are hissing at idle or distorting in the low end, it's worth opening the powered monitor up and checking those two capacitors before you write them off.