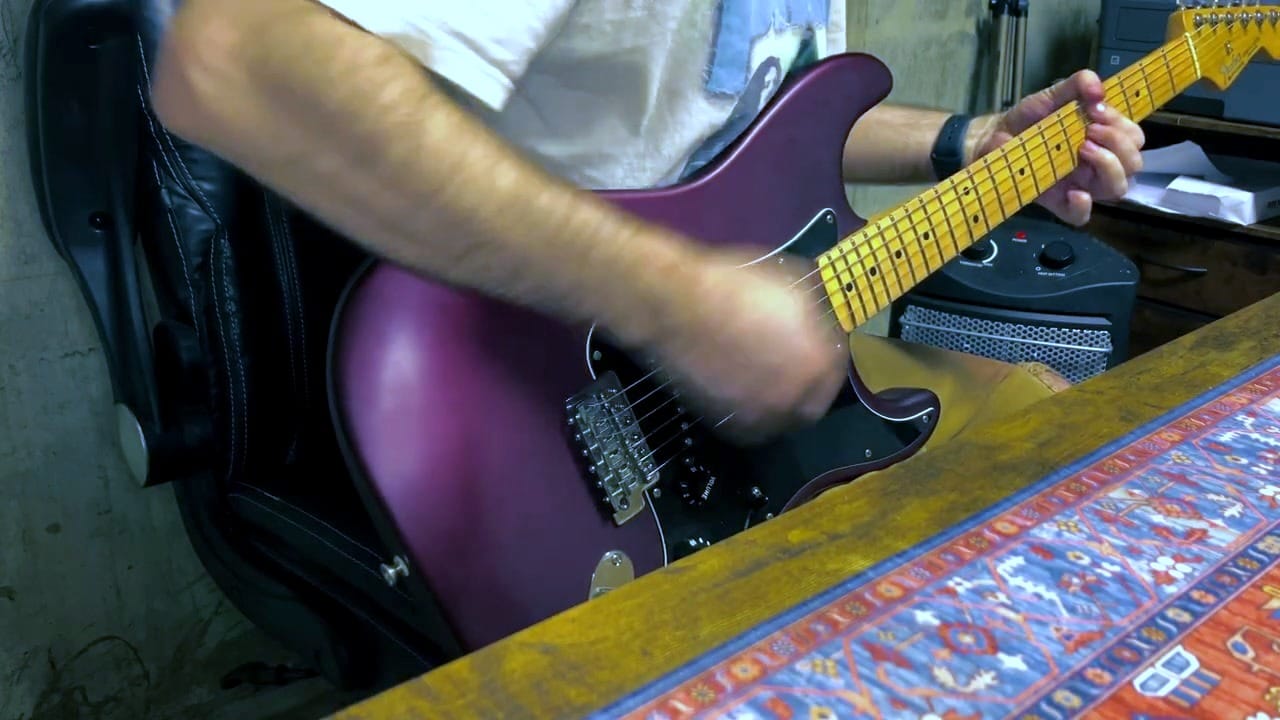
First Time Refret On Fender Stratocaster
I was gifted a very nice Fender Stratocaster which had a couple bad frets. I really like the neck so I decided to try installing new frets myself, for the first time. This isn't a how-to, just a how-I-did-it. I certainly made some mistakes but I was left with a great sounding and excellent playing…

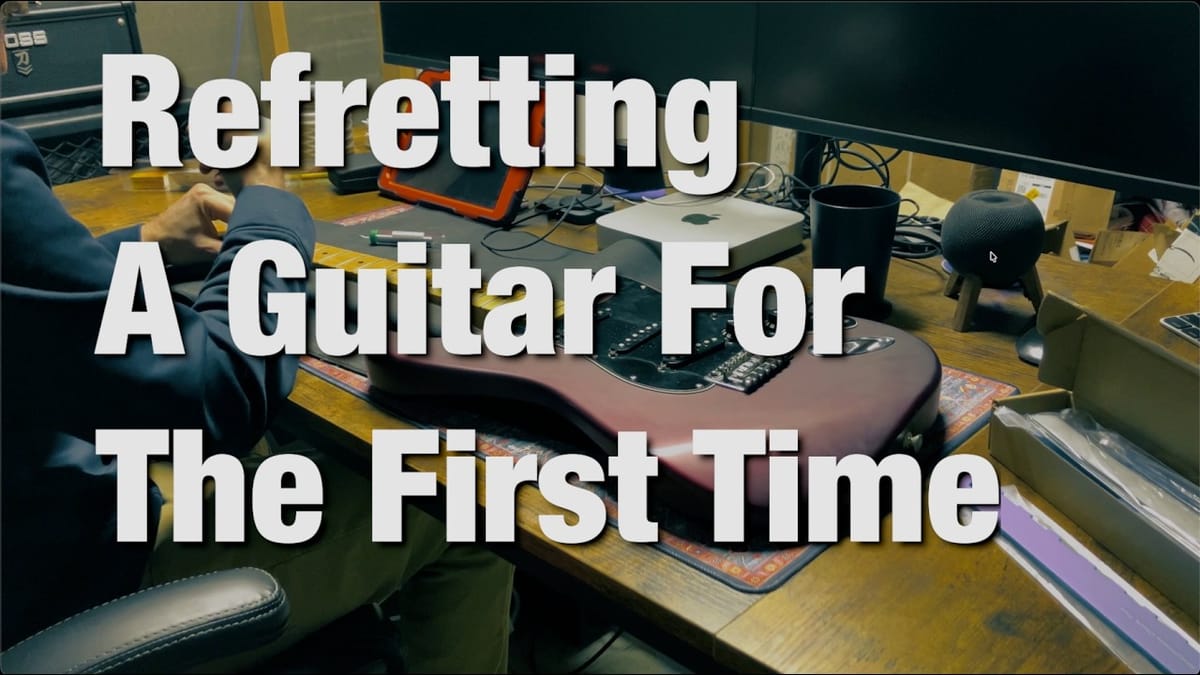
I was gifted a very nice Fender Stratocaster which had a couple bad frets. I really like the neck so I decided to try installing new frets myself, for the first time. This isn't a how-to, just a how-I-did-it. I certainly made some mistakes but I was left with a great sounding and excellent playing guitar. I used Fender medium jumbo fret wire and cheap tools bought from Amazon.

Preparation
The guitar had a couple of bad frets, but I really liked the neck, so instead of paying for a refret I decided to try it myself. To be clear, this isn't a how-to — it's just a how-I-did-it. First step is stripping the strings and pulling the neck. On a vintage-style Strat the truss rod adjusts at the heel, so the neck comes off anyway to get at it.
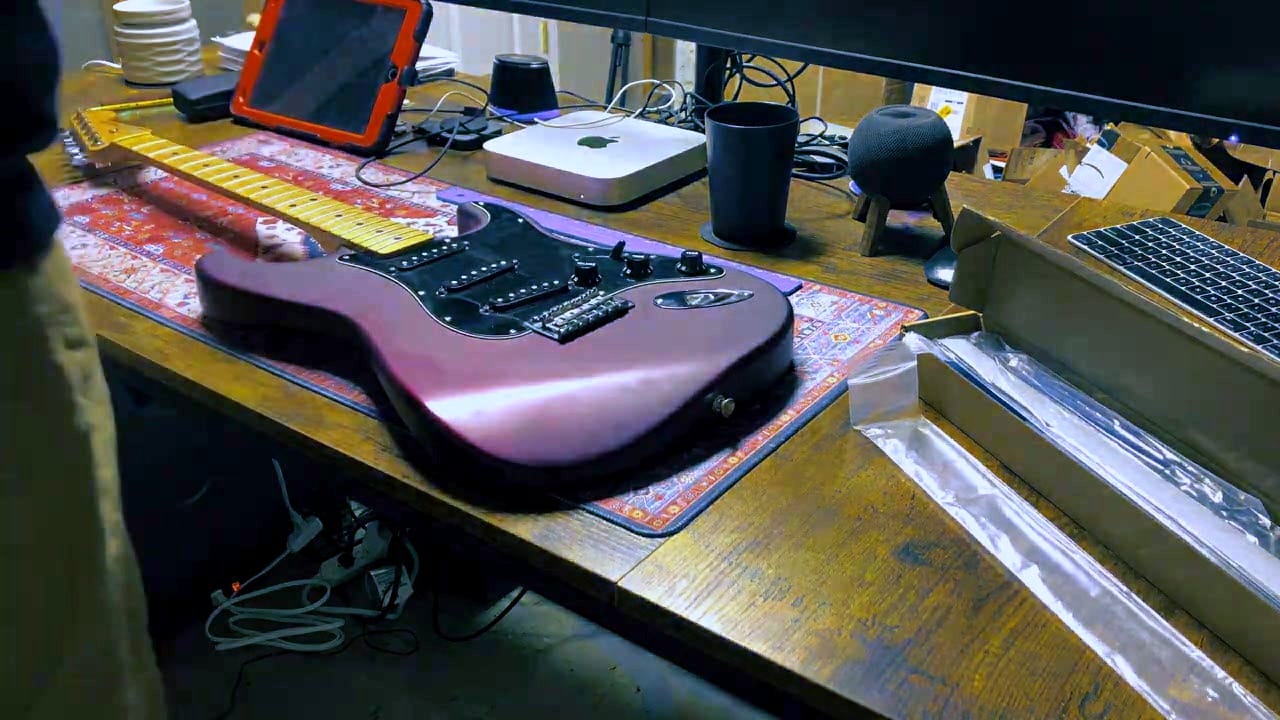
Removing the old frets
Factory frets are set with glue, so I heated each one with a soldering gun and a little solder to soften it before pulling the fret out. That first fret was the easiest — they get harder as you go.
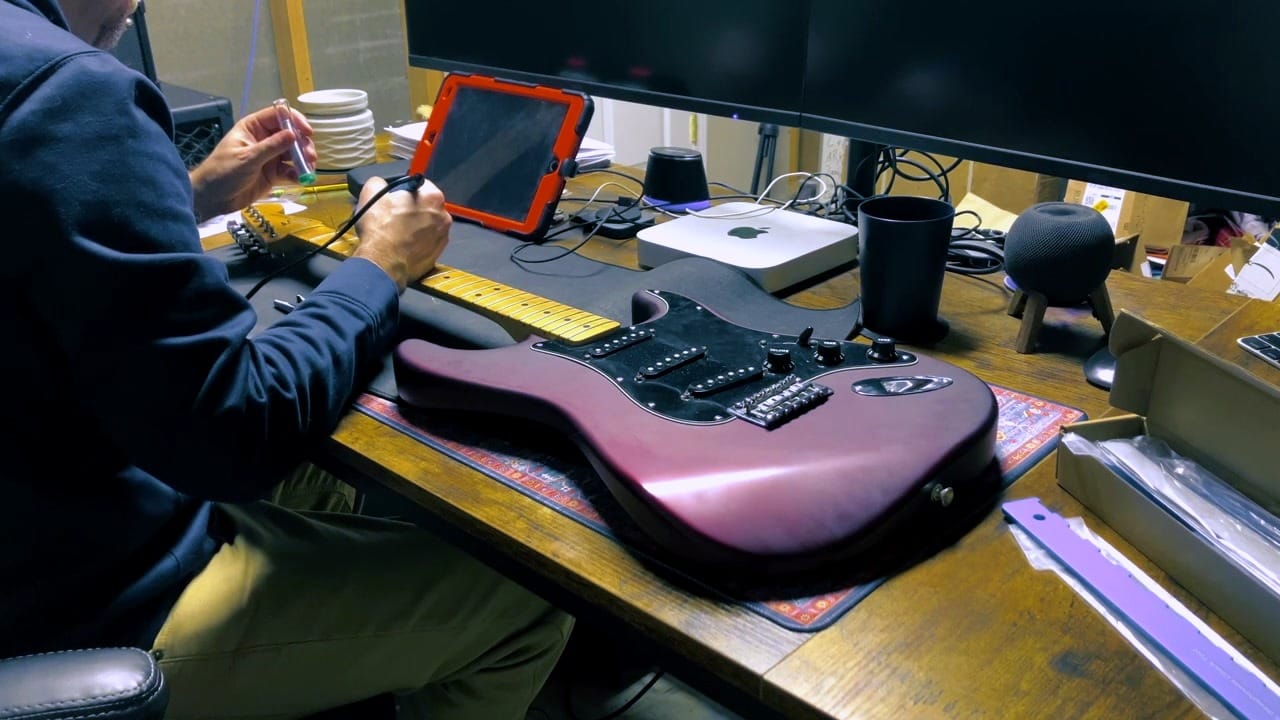
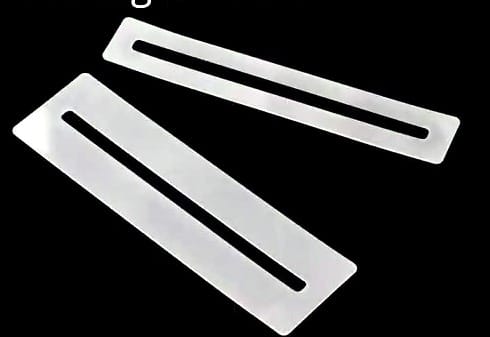
Lesson #1: use fingerboard guards
If I'd used fingerboard guards I would have been able to leverage against the fretboard instead of pulling straight out on the fret. Pulling straight up is the fast way to chip the board — and that's exactly what happened. Learn from my mistake and buy the guards.
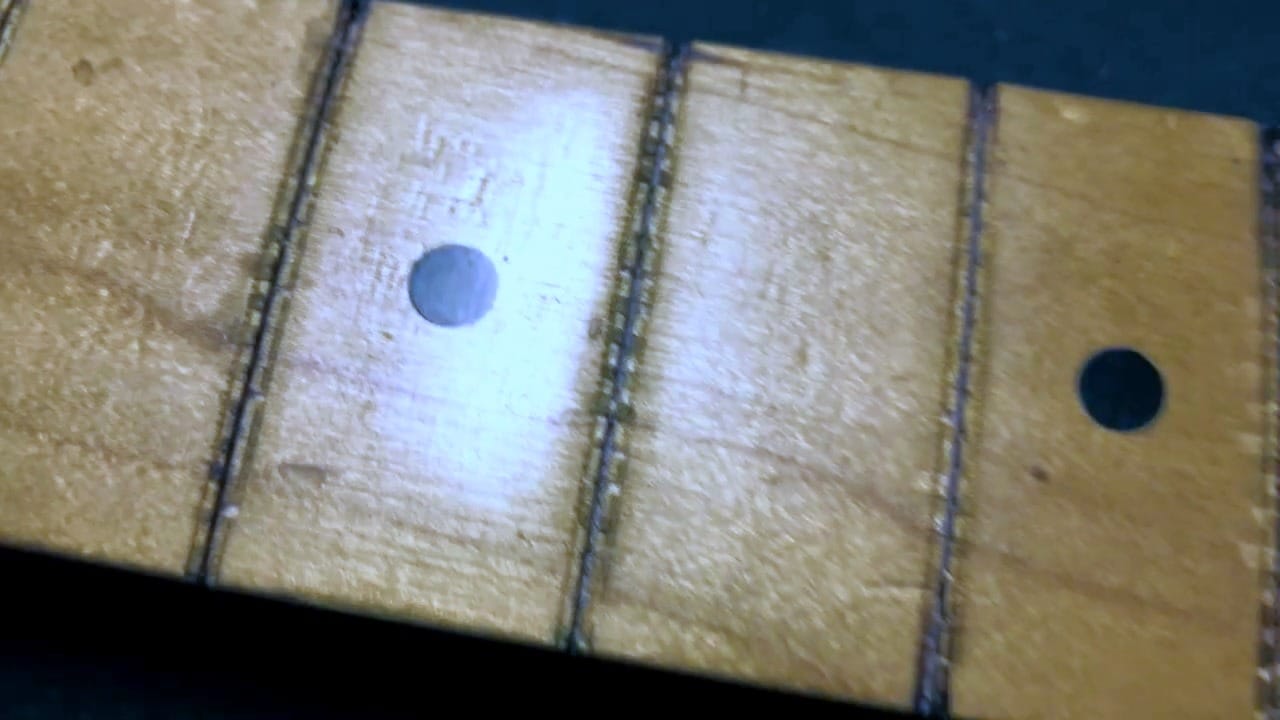
The aftermath
Pulling the frets left a lot of burned areas and chip-outs in the maple. The last fret was the toughest and took the biggest chips out of the board.
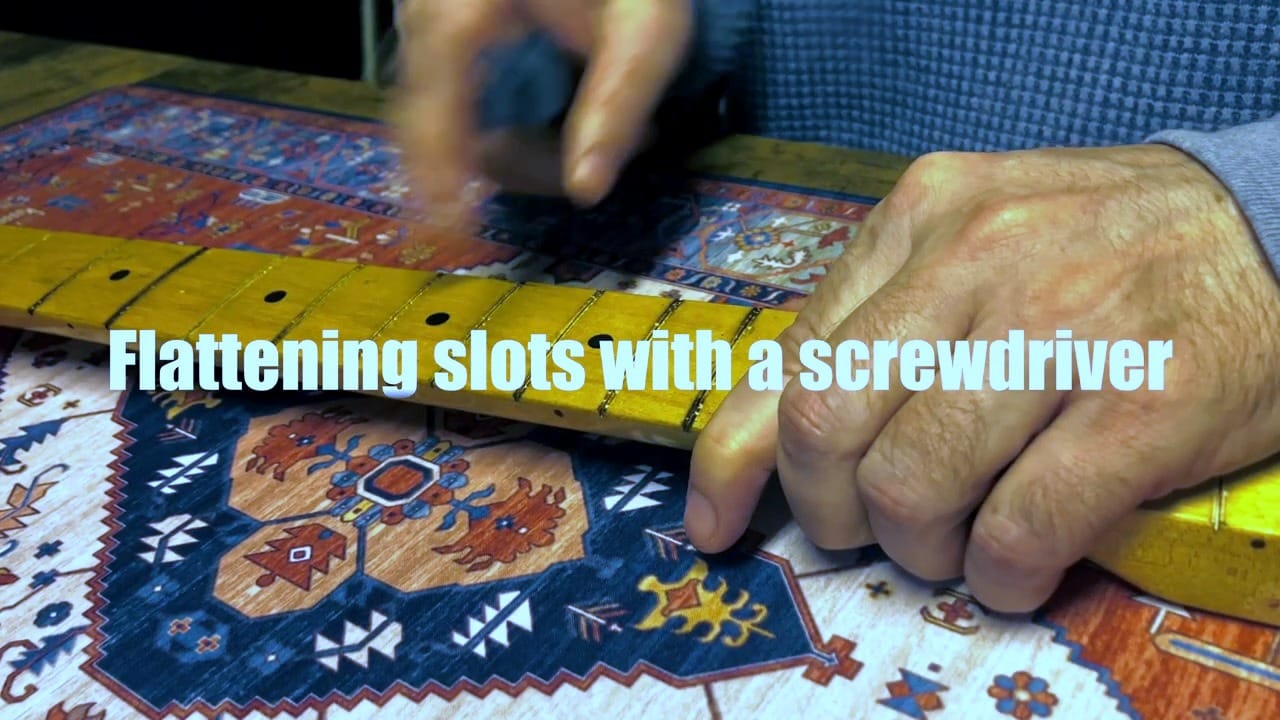
Cleaning the fret slots
Next I cleaned up the slots so the new frets would seat properly. I flattened the slot edges with a screwdriver shaft used as a straightedge, then cleaned out the slots with the back edge.
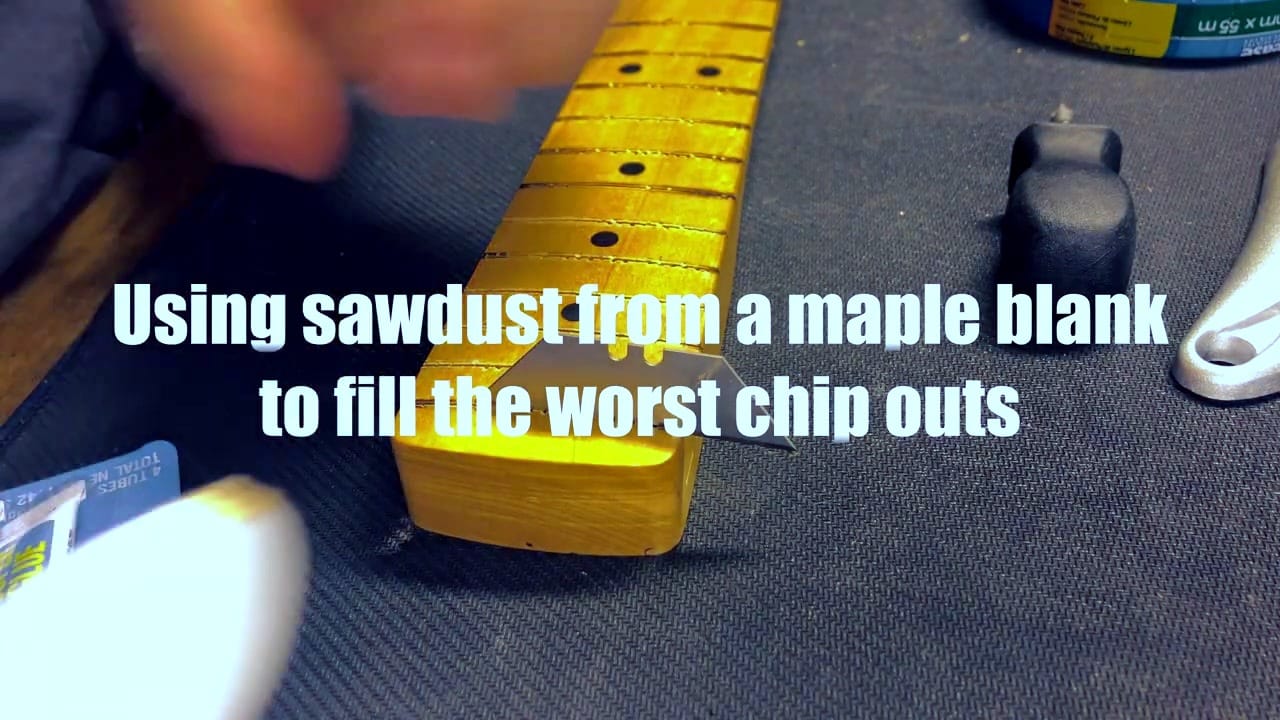
Repairing the chip-outs
The new frets covered most of the damage, but the worst chips still needed filling. I made filler from sawdust off a maple blank mixed with glue, pressed it into the chip-outs, and filed it level with the fretboard. Then I sealed the raw repair with Minwax Fast-Drying Polyurethane (Warm Satin), brushed on with the board masked in painter's tape.
Installing the new frets
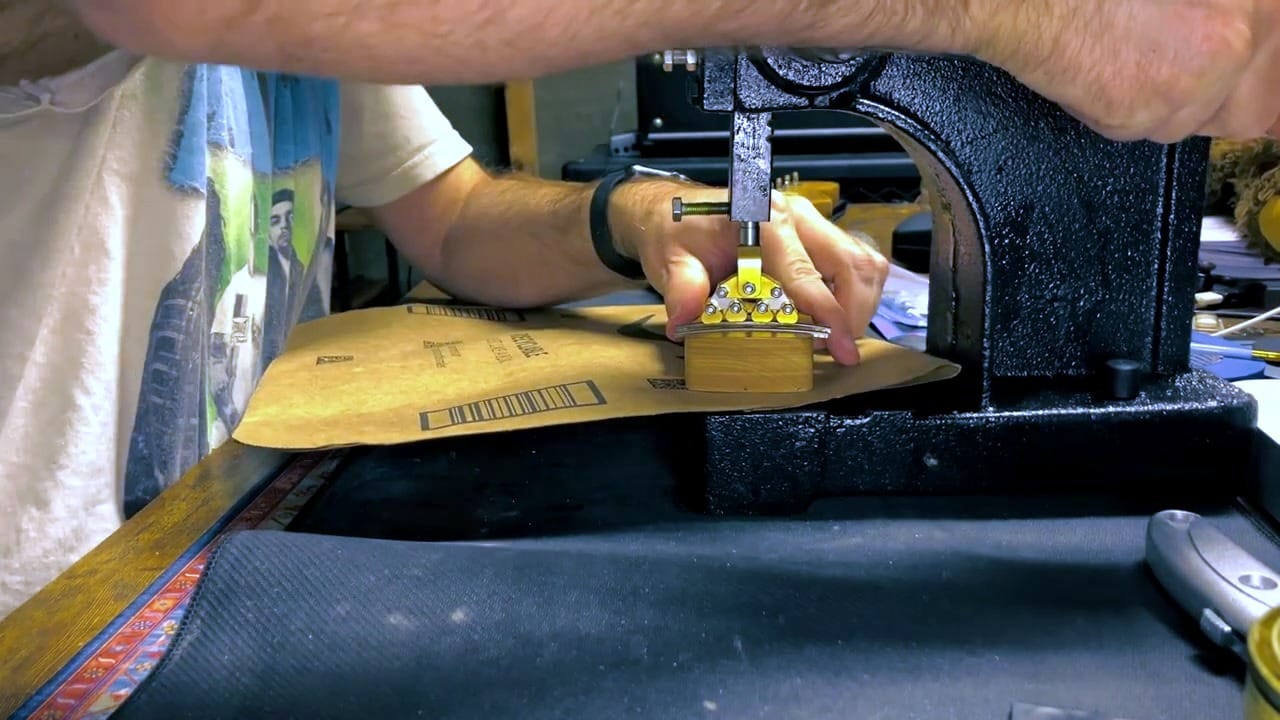
With the board repaired, I pressed in new Fender medium-jumbo fret wire using a fret caul in an arbor press, with cardboard protecting the neck. Cheap Amazon tools did the job just fine.
Lesson #2: cut the fret ends closer
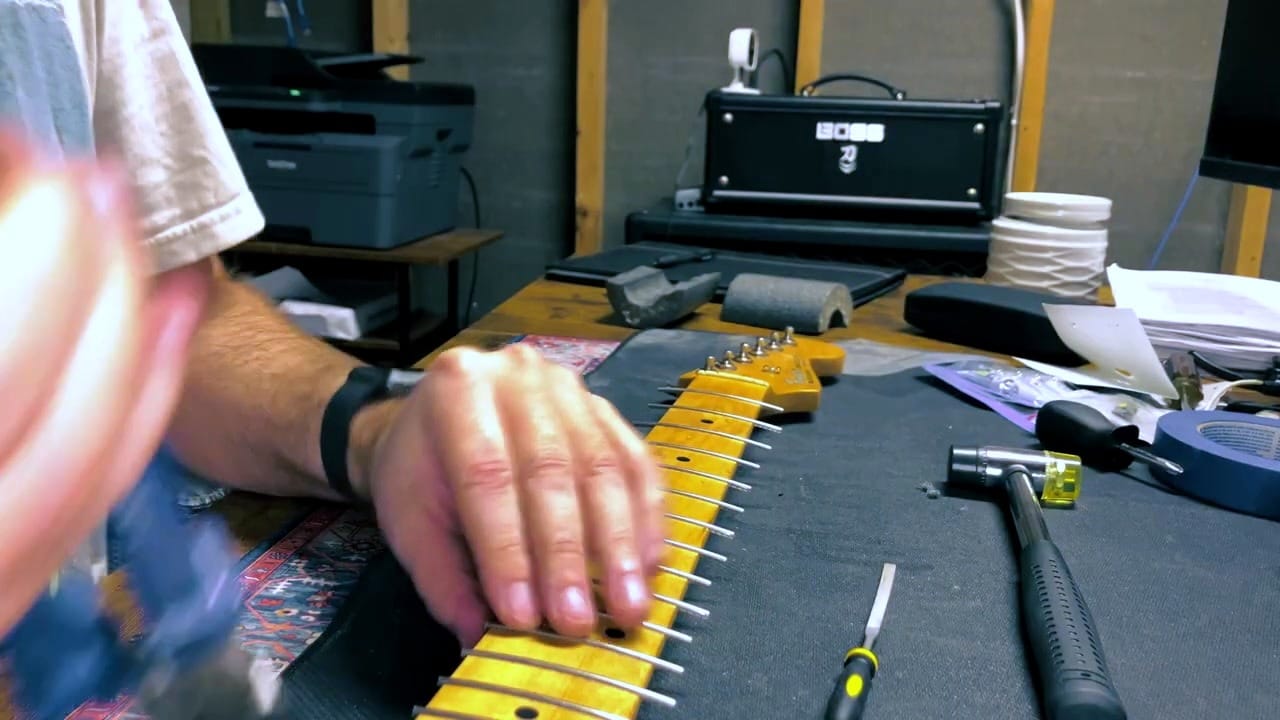
I should have cut the frets much closer to the fretboard before installing them — the ends stuck way out sideways and made the rest of the job harder. Trim them close first, then bevel with a fret file, crown, and polish. I used StewMac-style files, a sanding block, and metal polish, taping the neck between steps.
The result
Once it was beveled, crowned, polished and strung back up, the guitar played great. Despite the mistakes it came out sounding excellent and playing better than I expected for a first attempt. If I can do it, anyone can.