Console TV to Fish Tank: Part 1

Recently my kids went through a phase where they wanted to do retro gaming on CRT TVs. I ended up working out a deal to get a really nice console tv but the deal was that I took all of the TVs that they had for a total of 4. The oldest TV didn't work so I've had it sitting in my basement taking up space. Intrigued by the idea of repurposing it into a unique fish tank, I've decided to embark on this creative endeavor. Although I lack expertise in the actual construction process, I'm eager to enjoy the journey of figuring it out step by step.
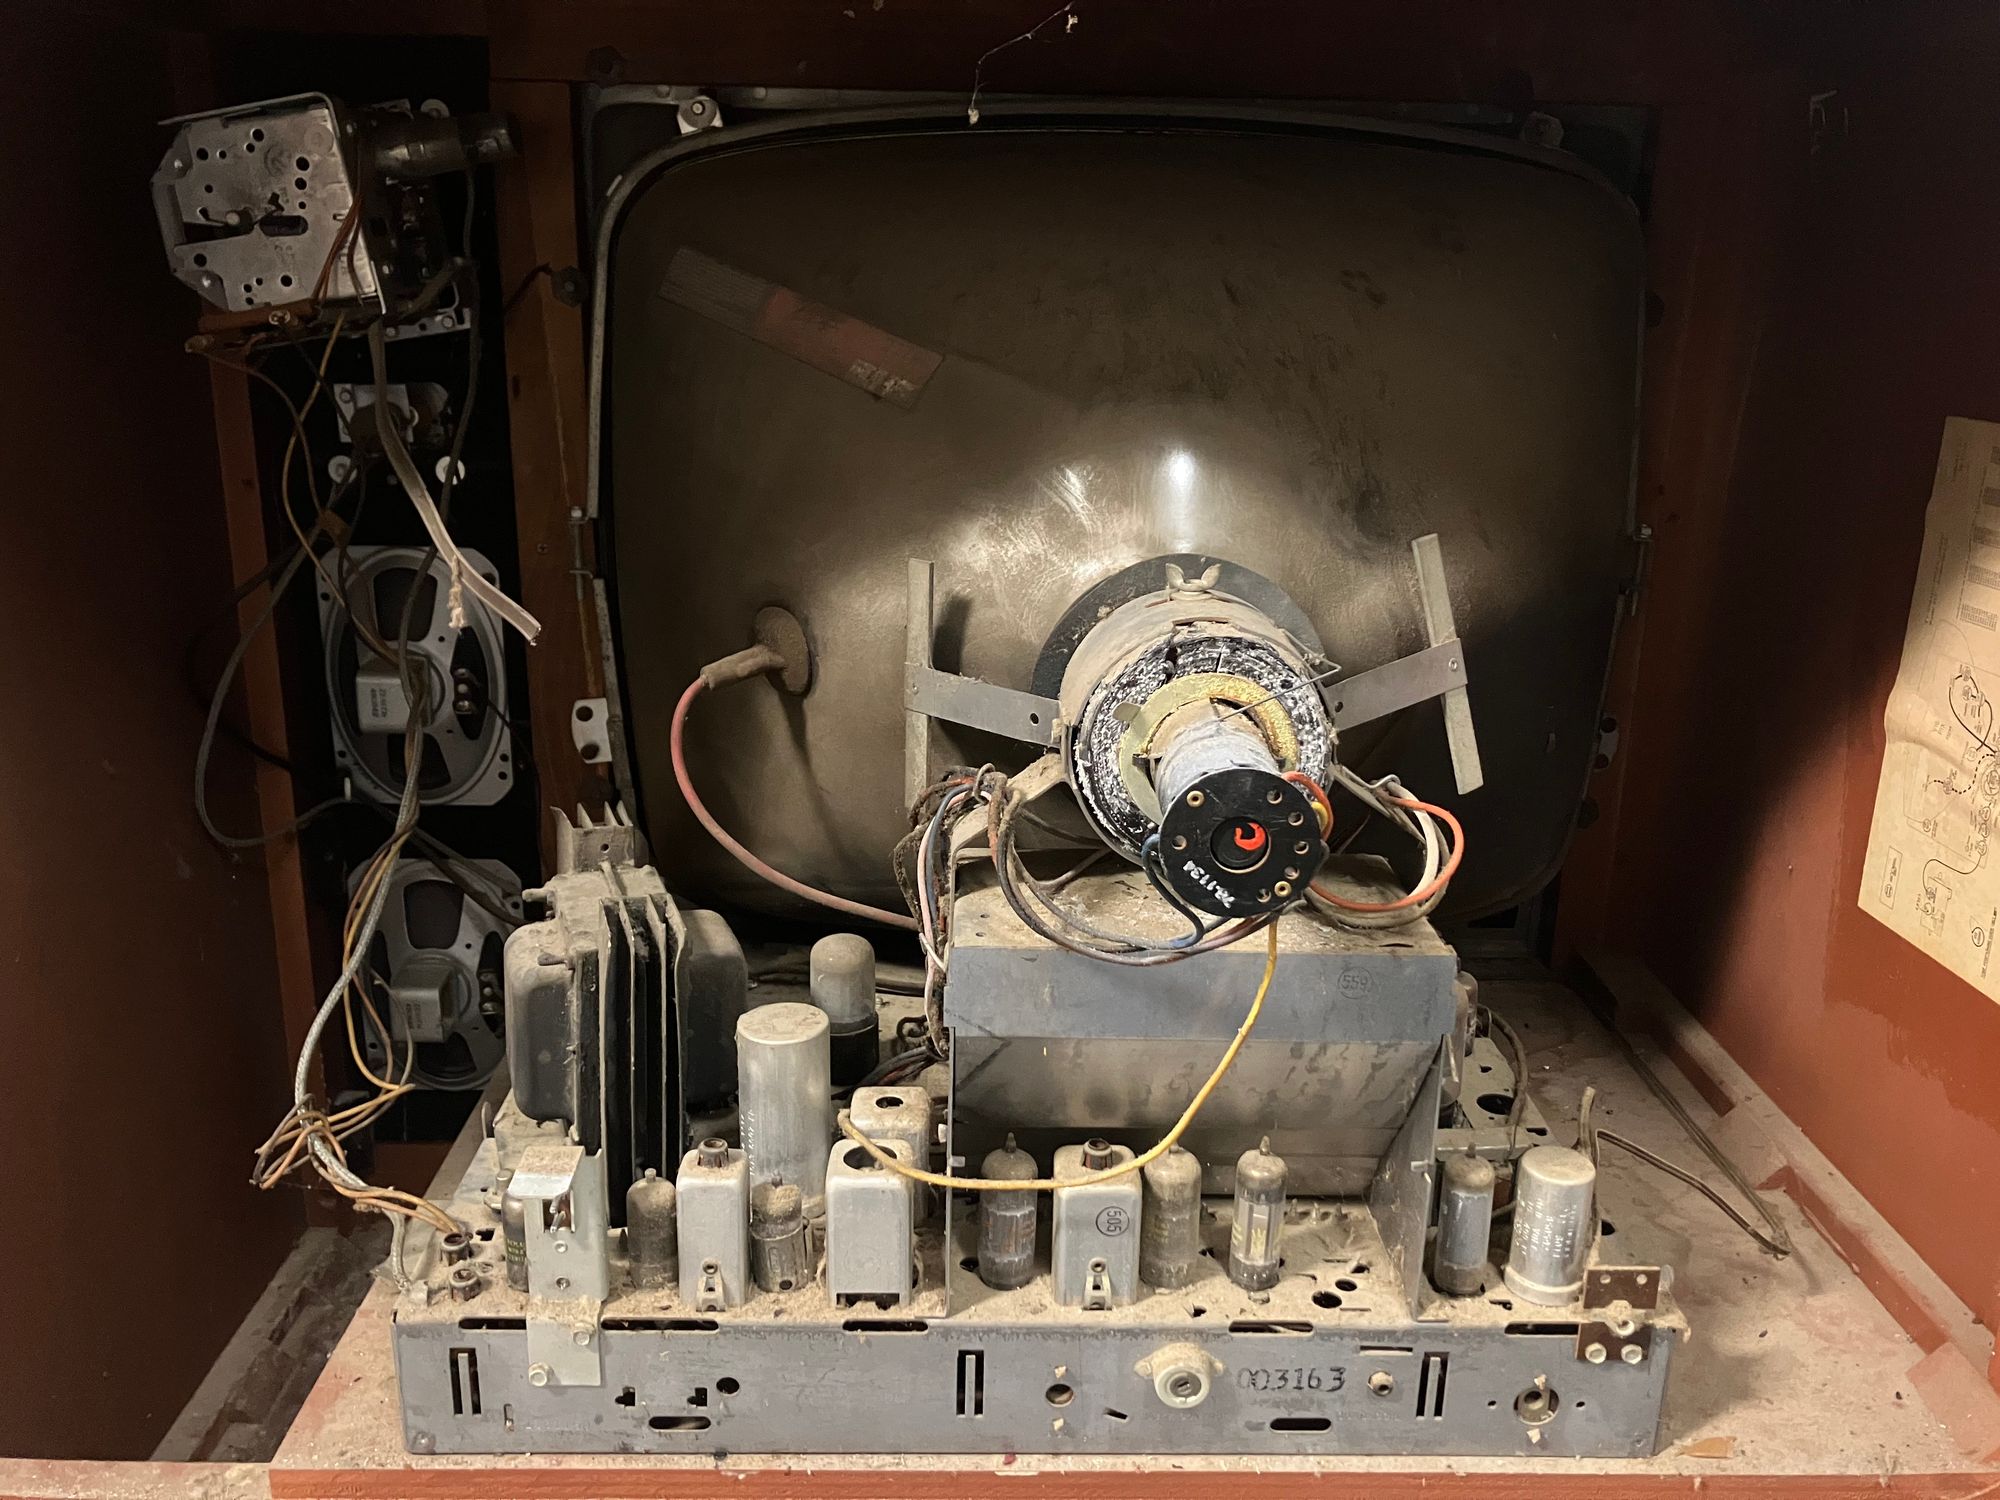
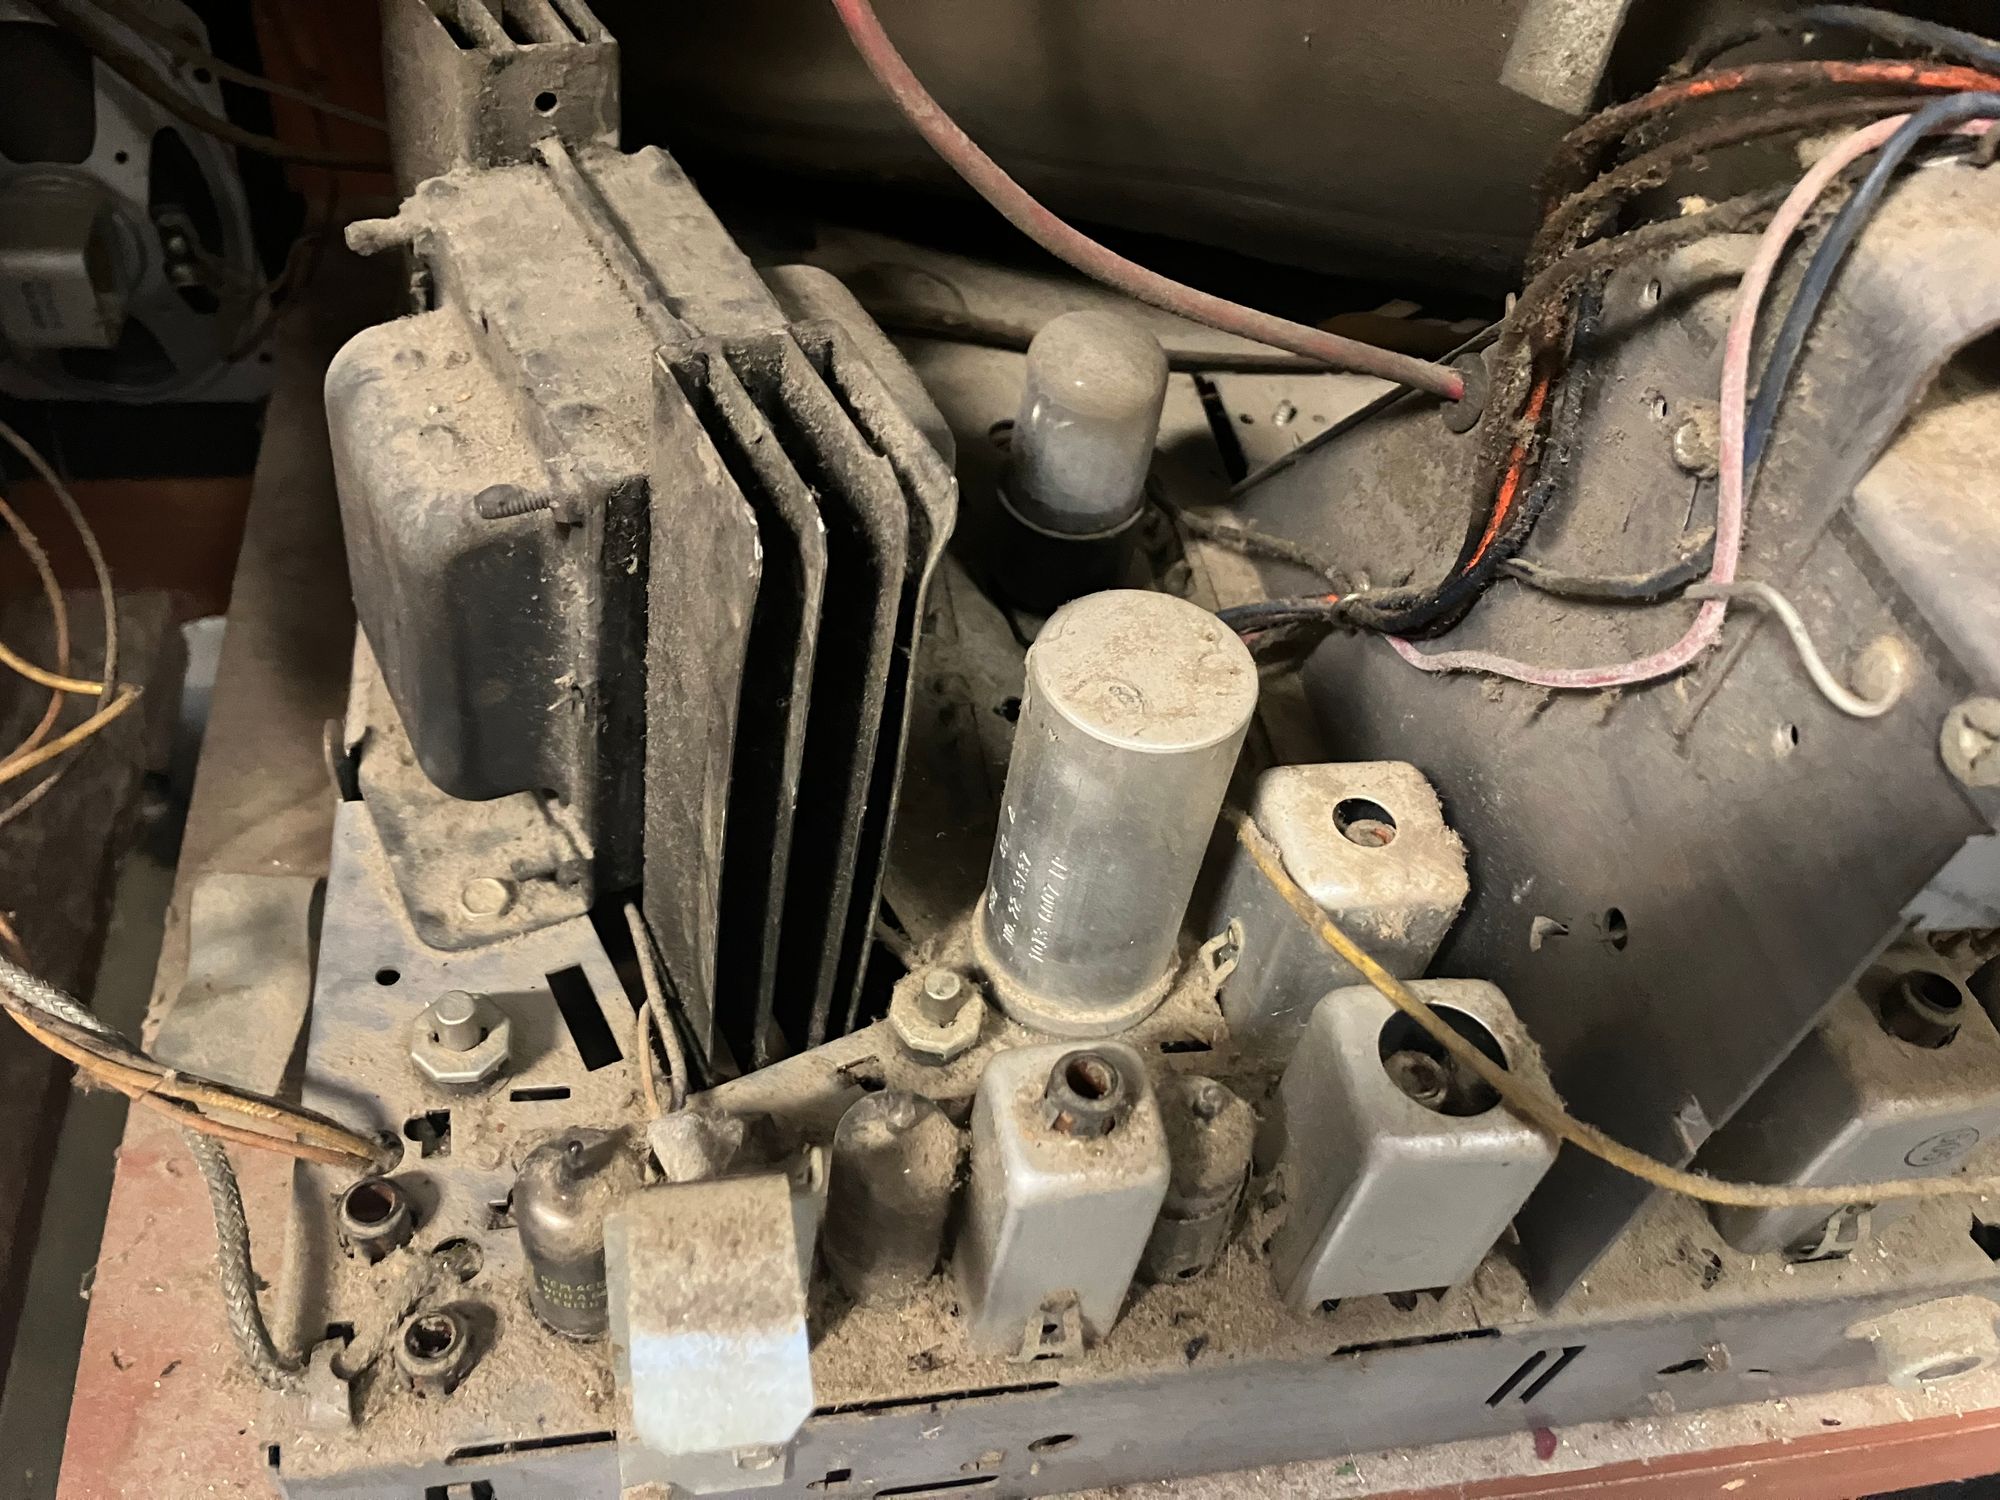
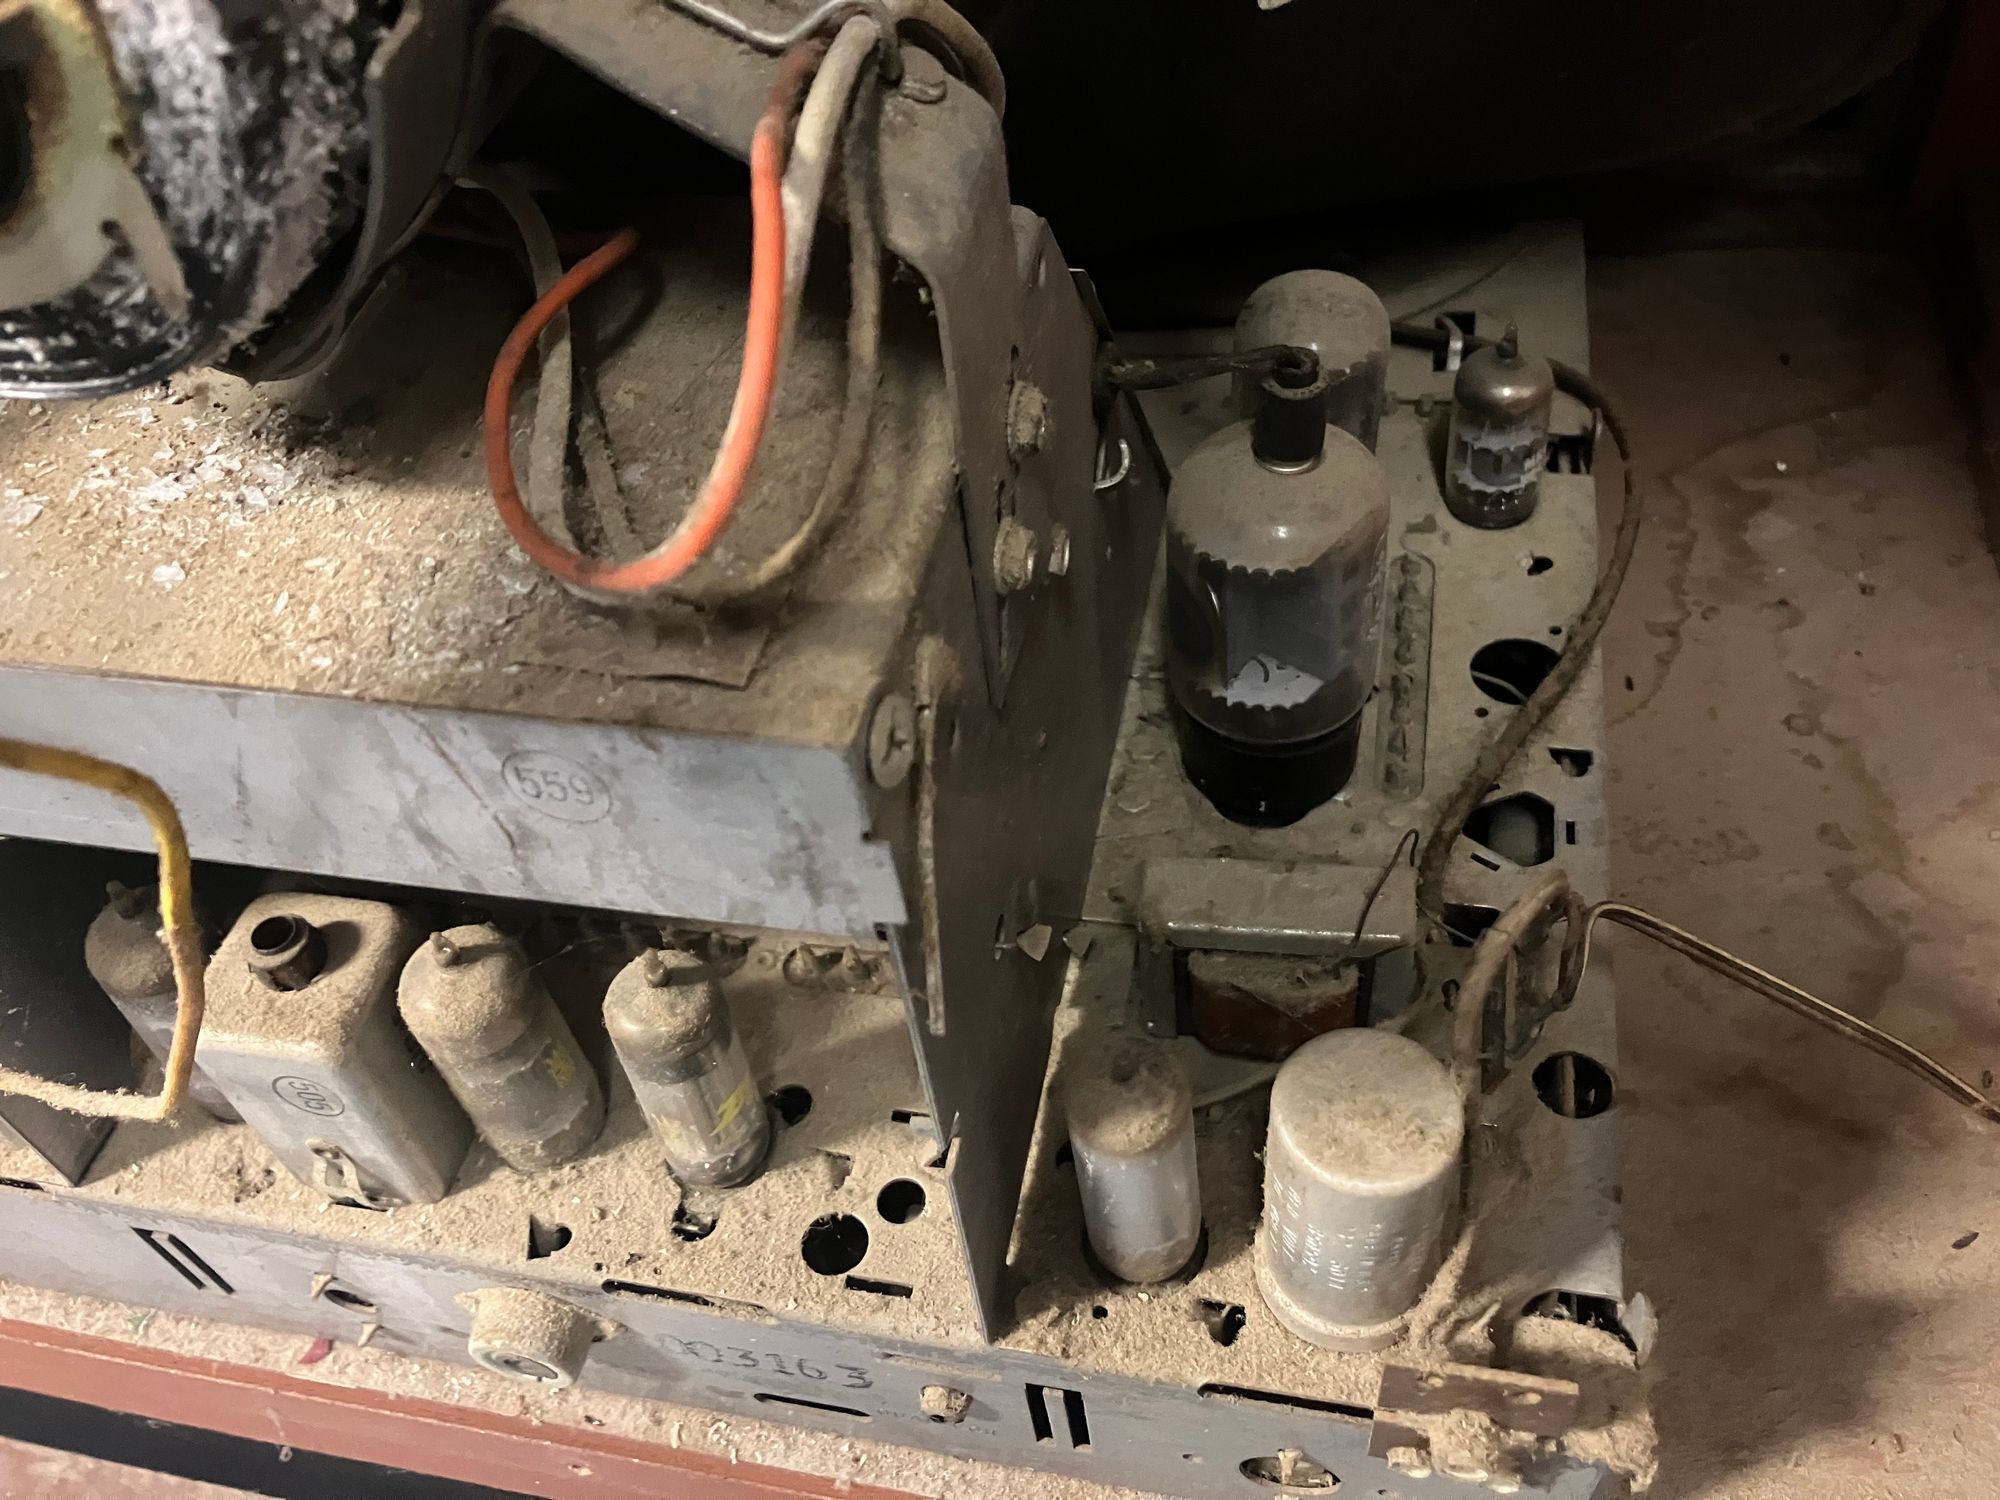
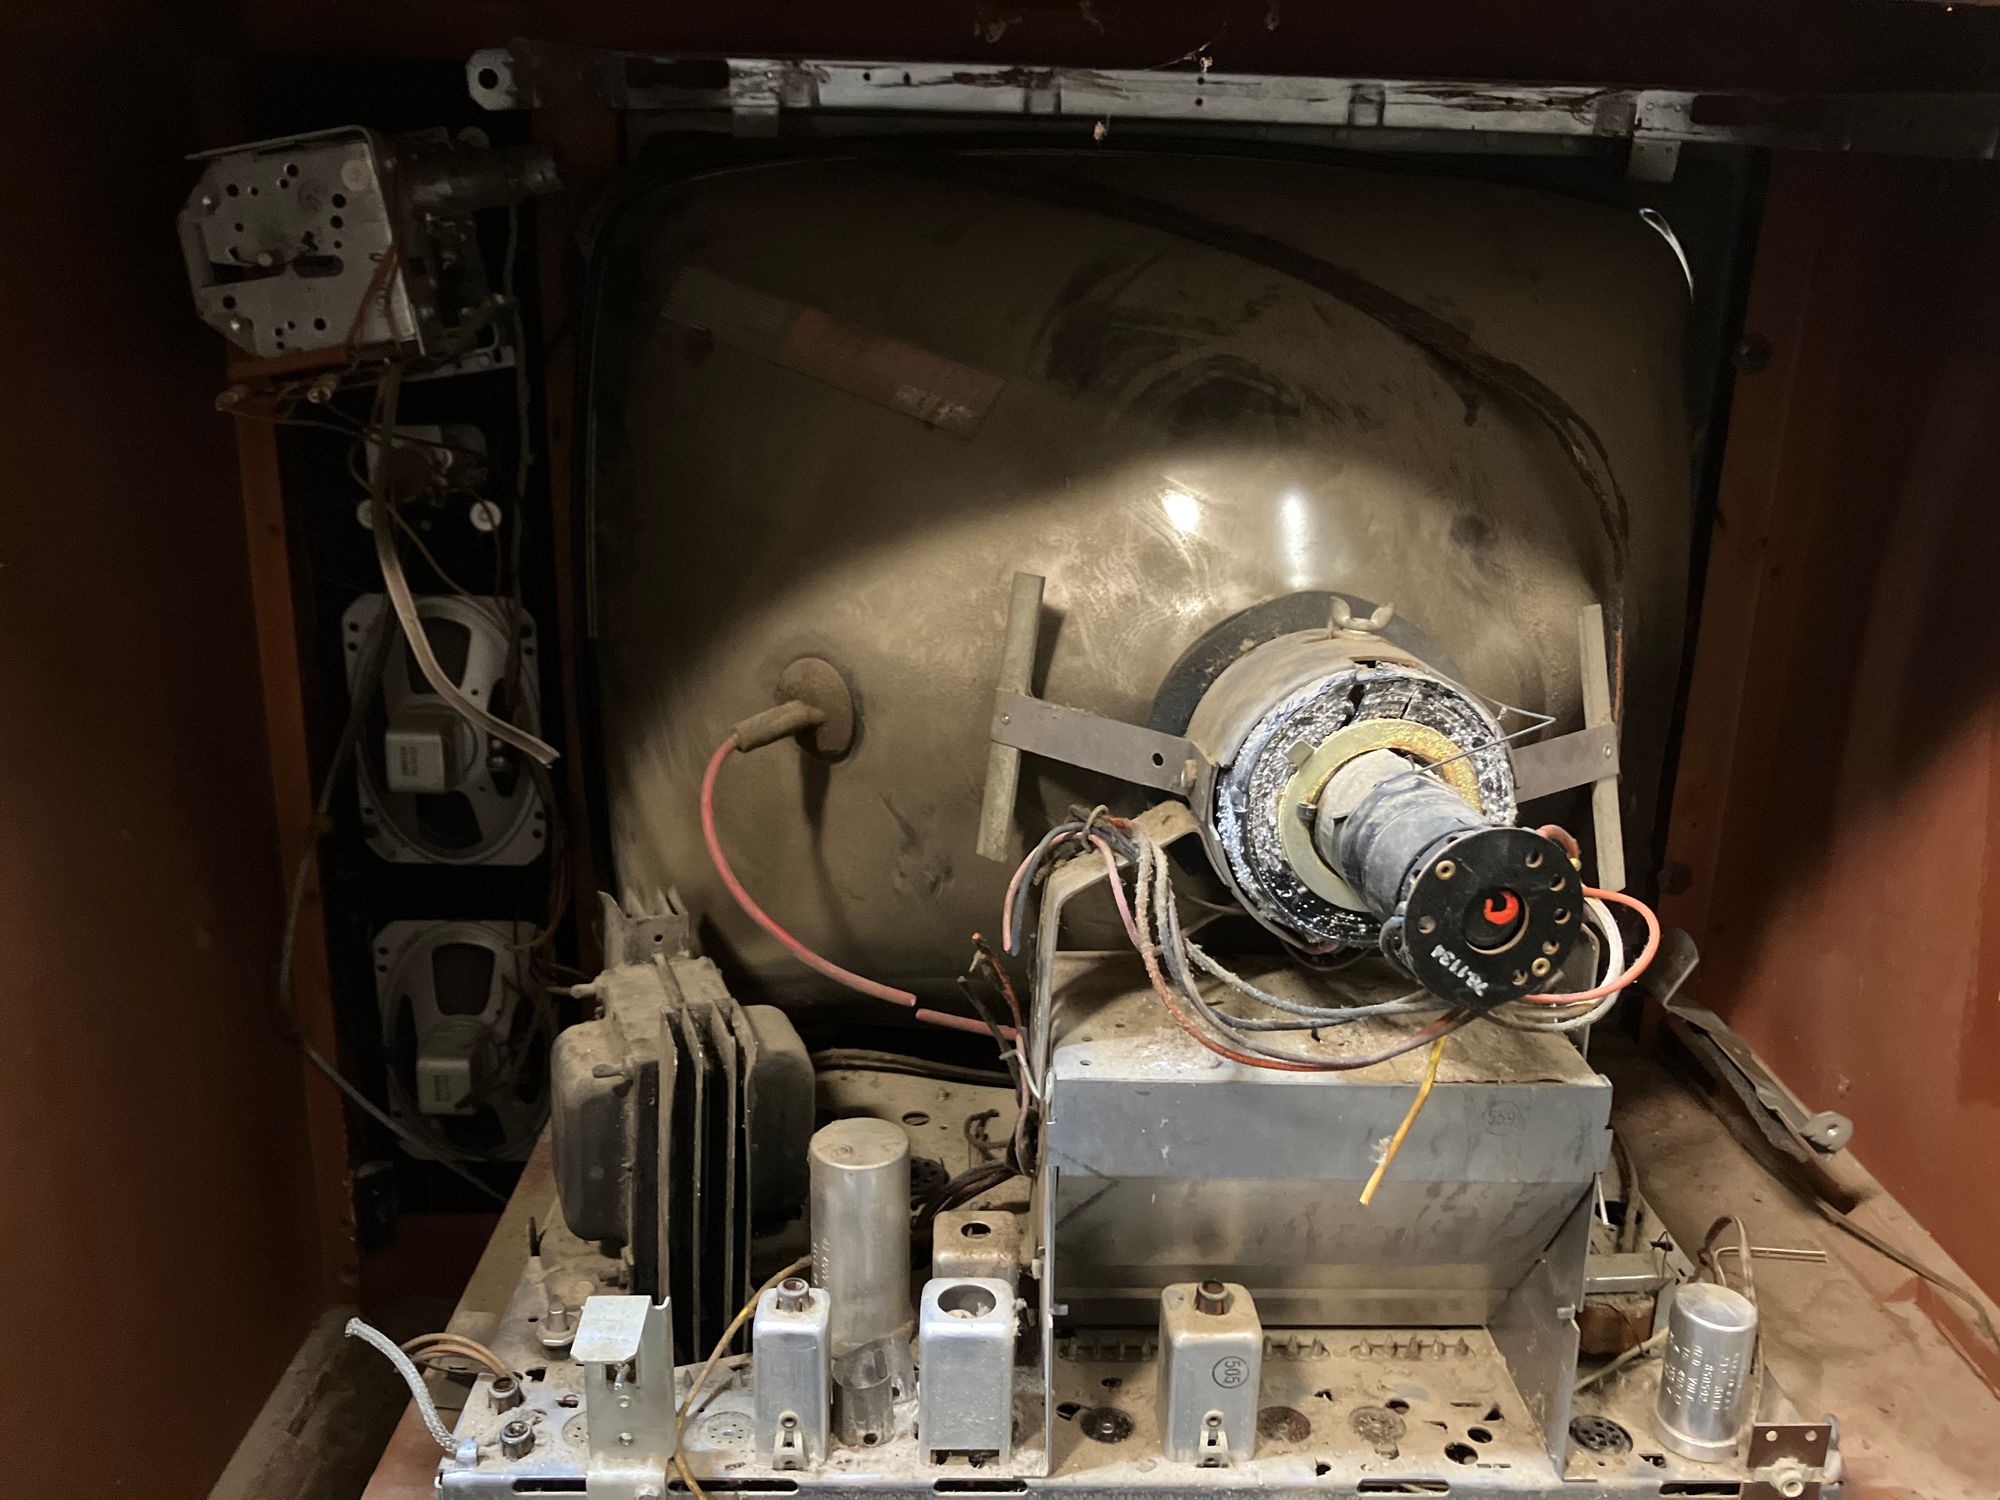

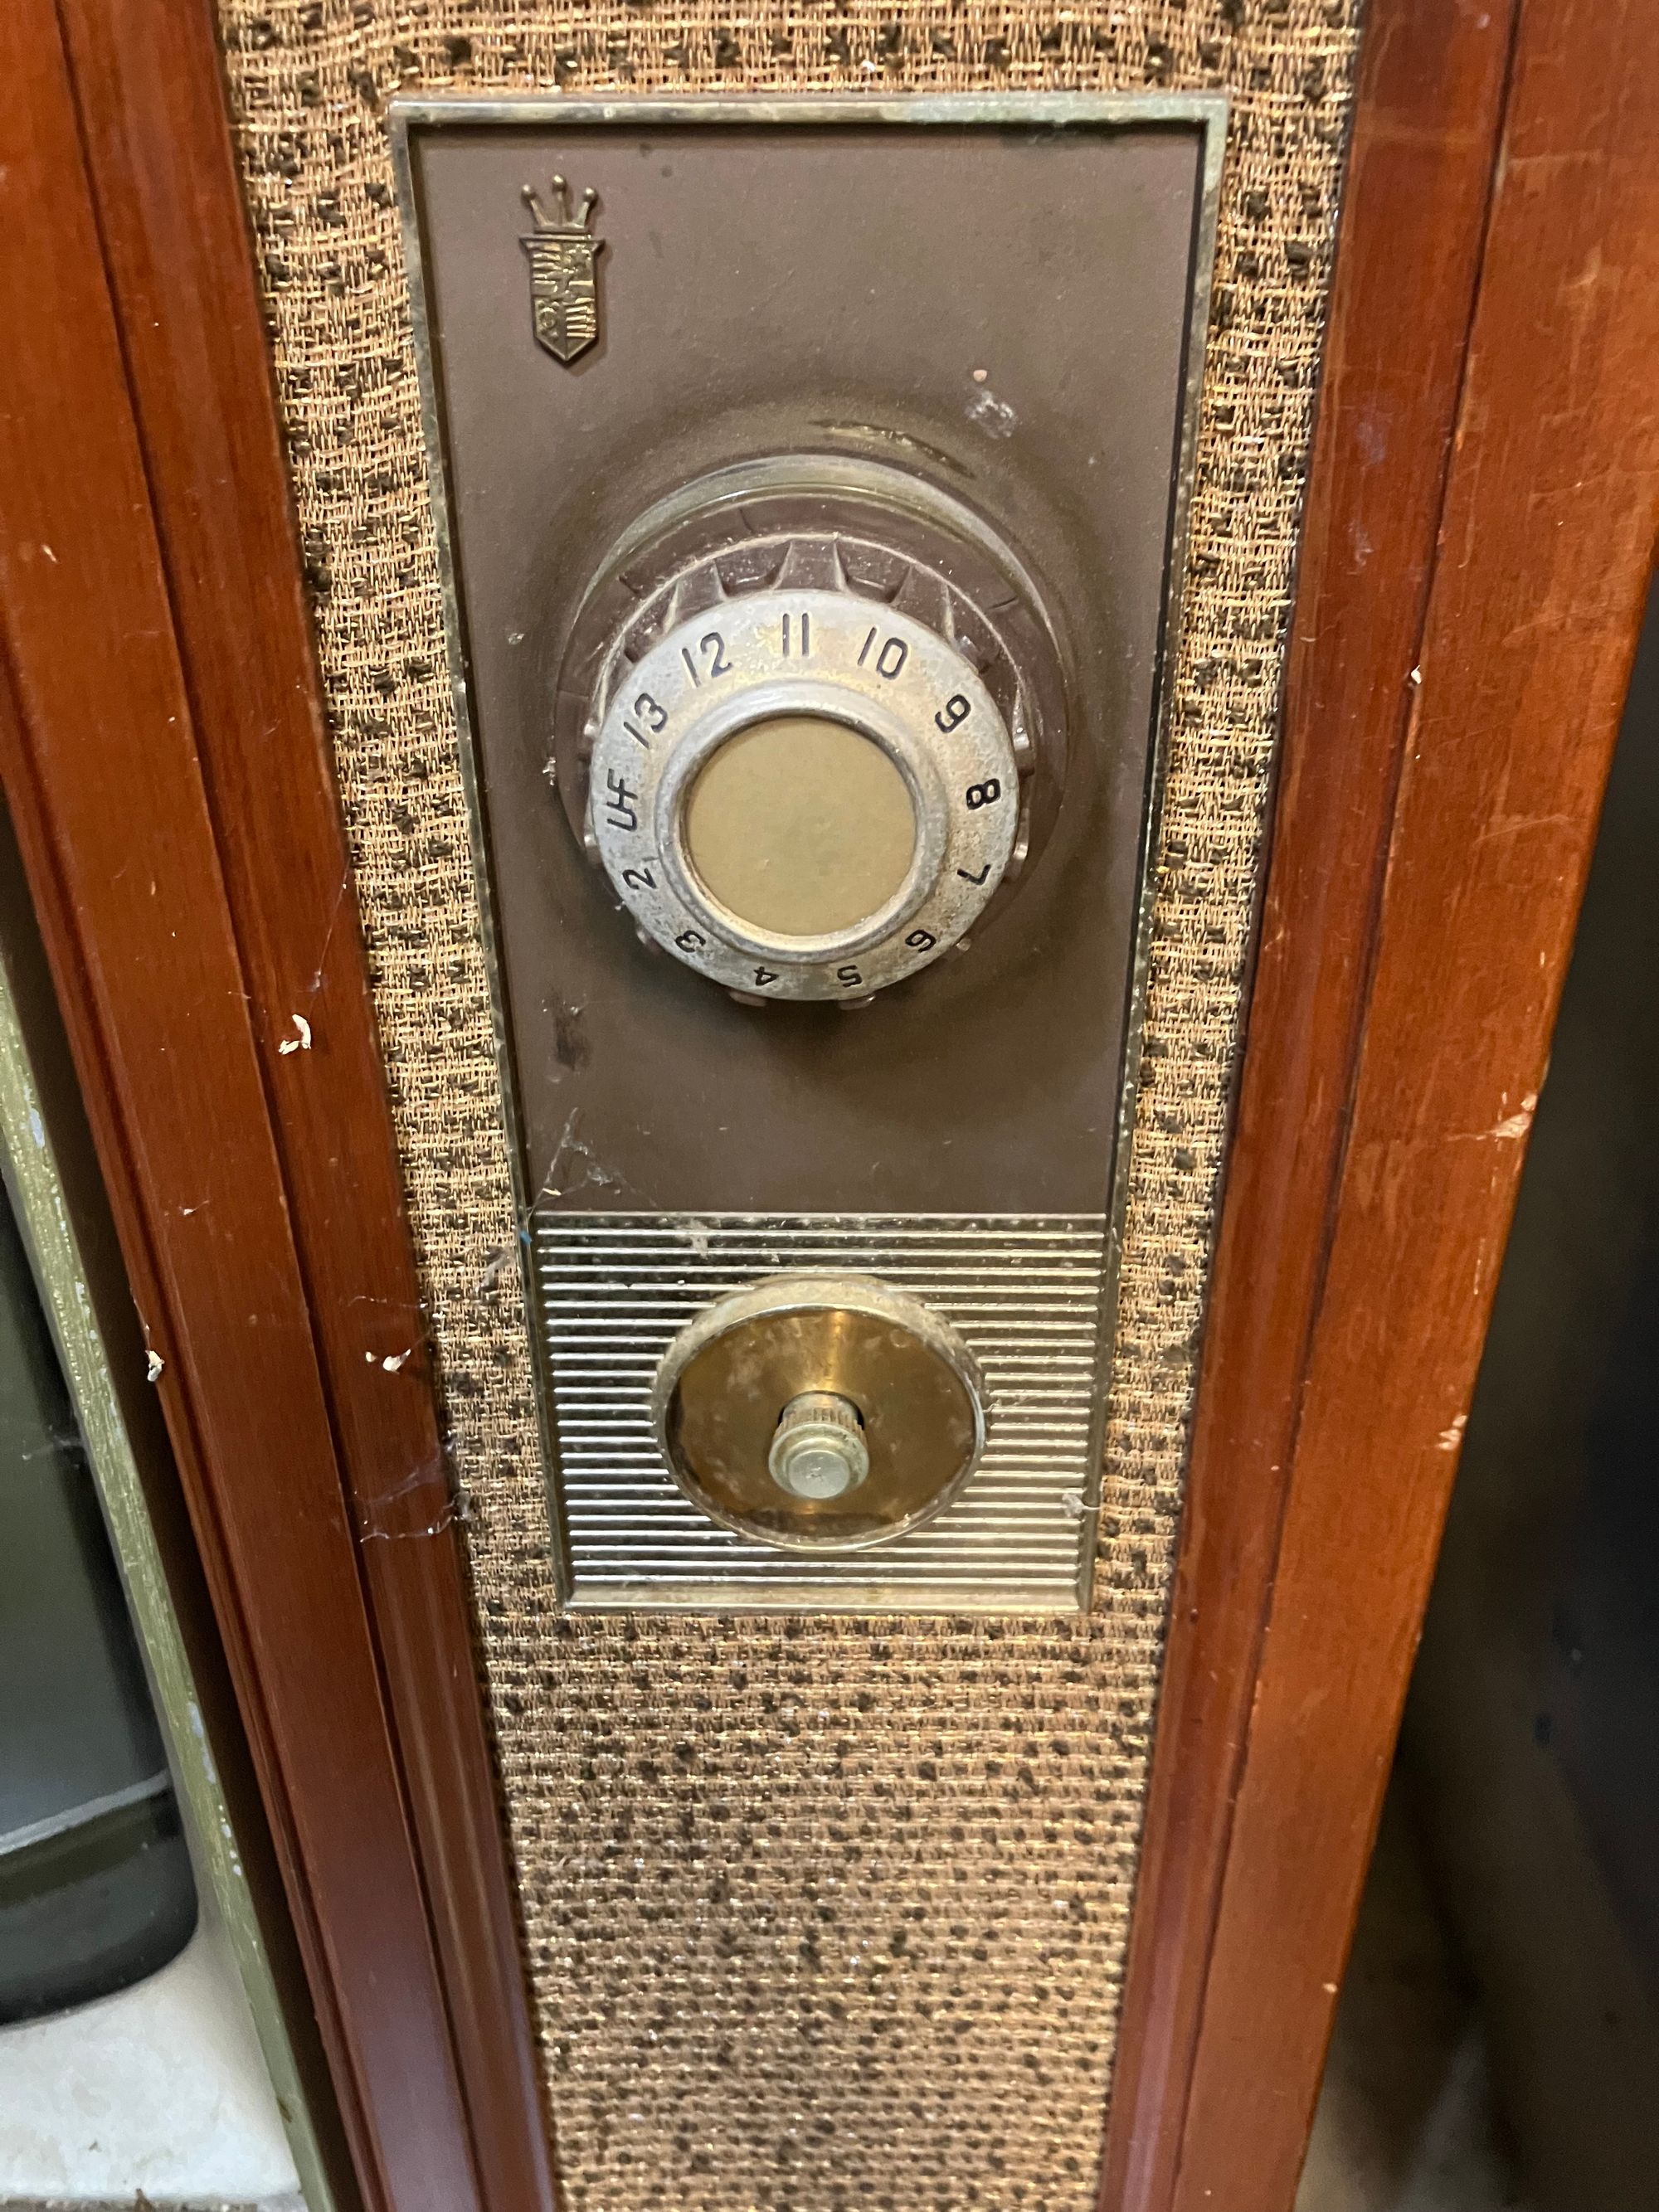

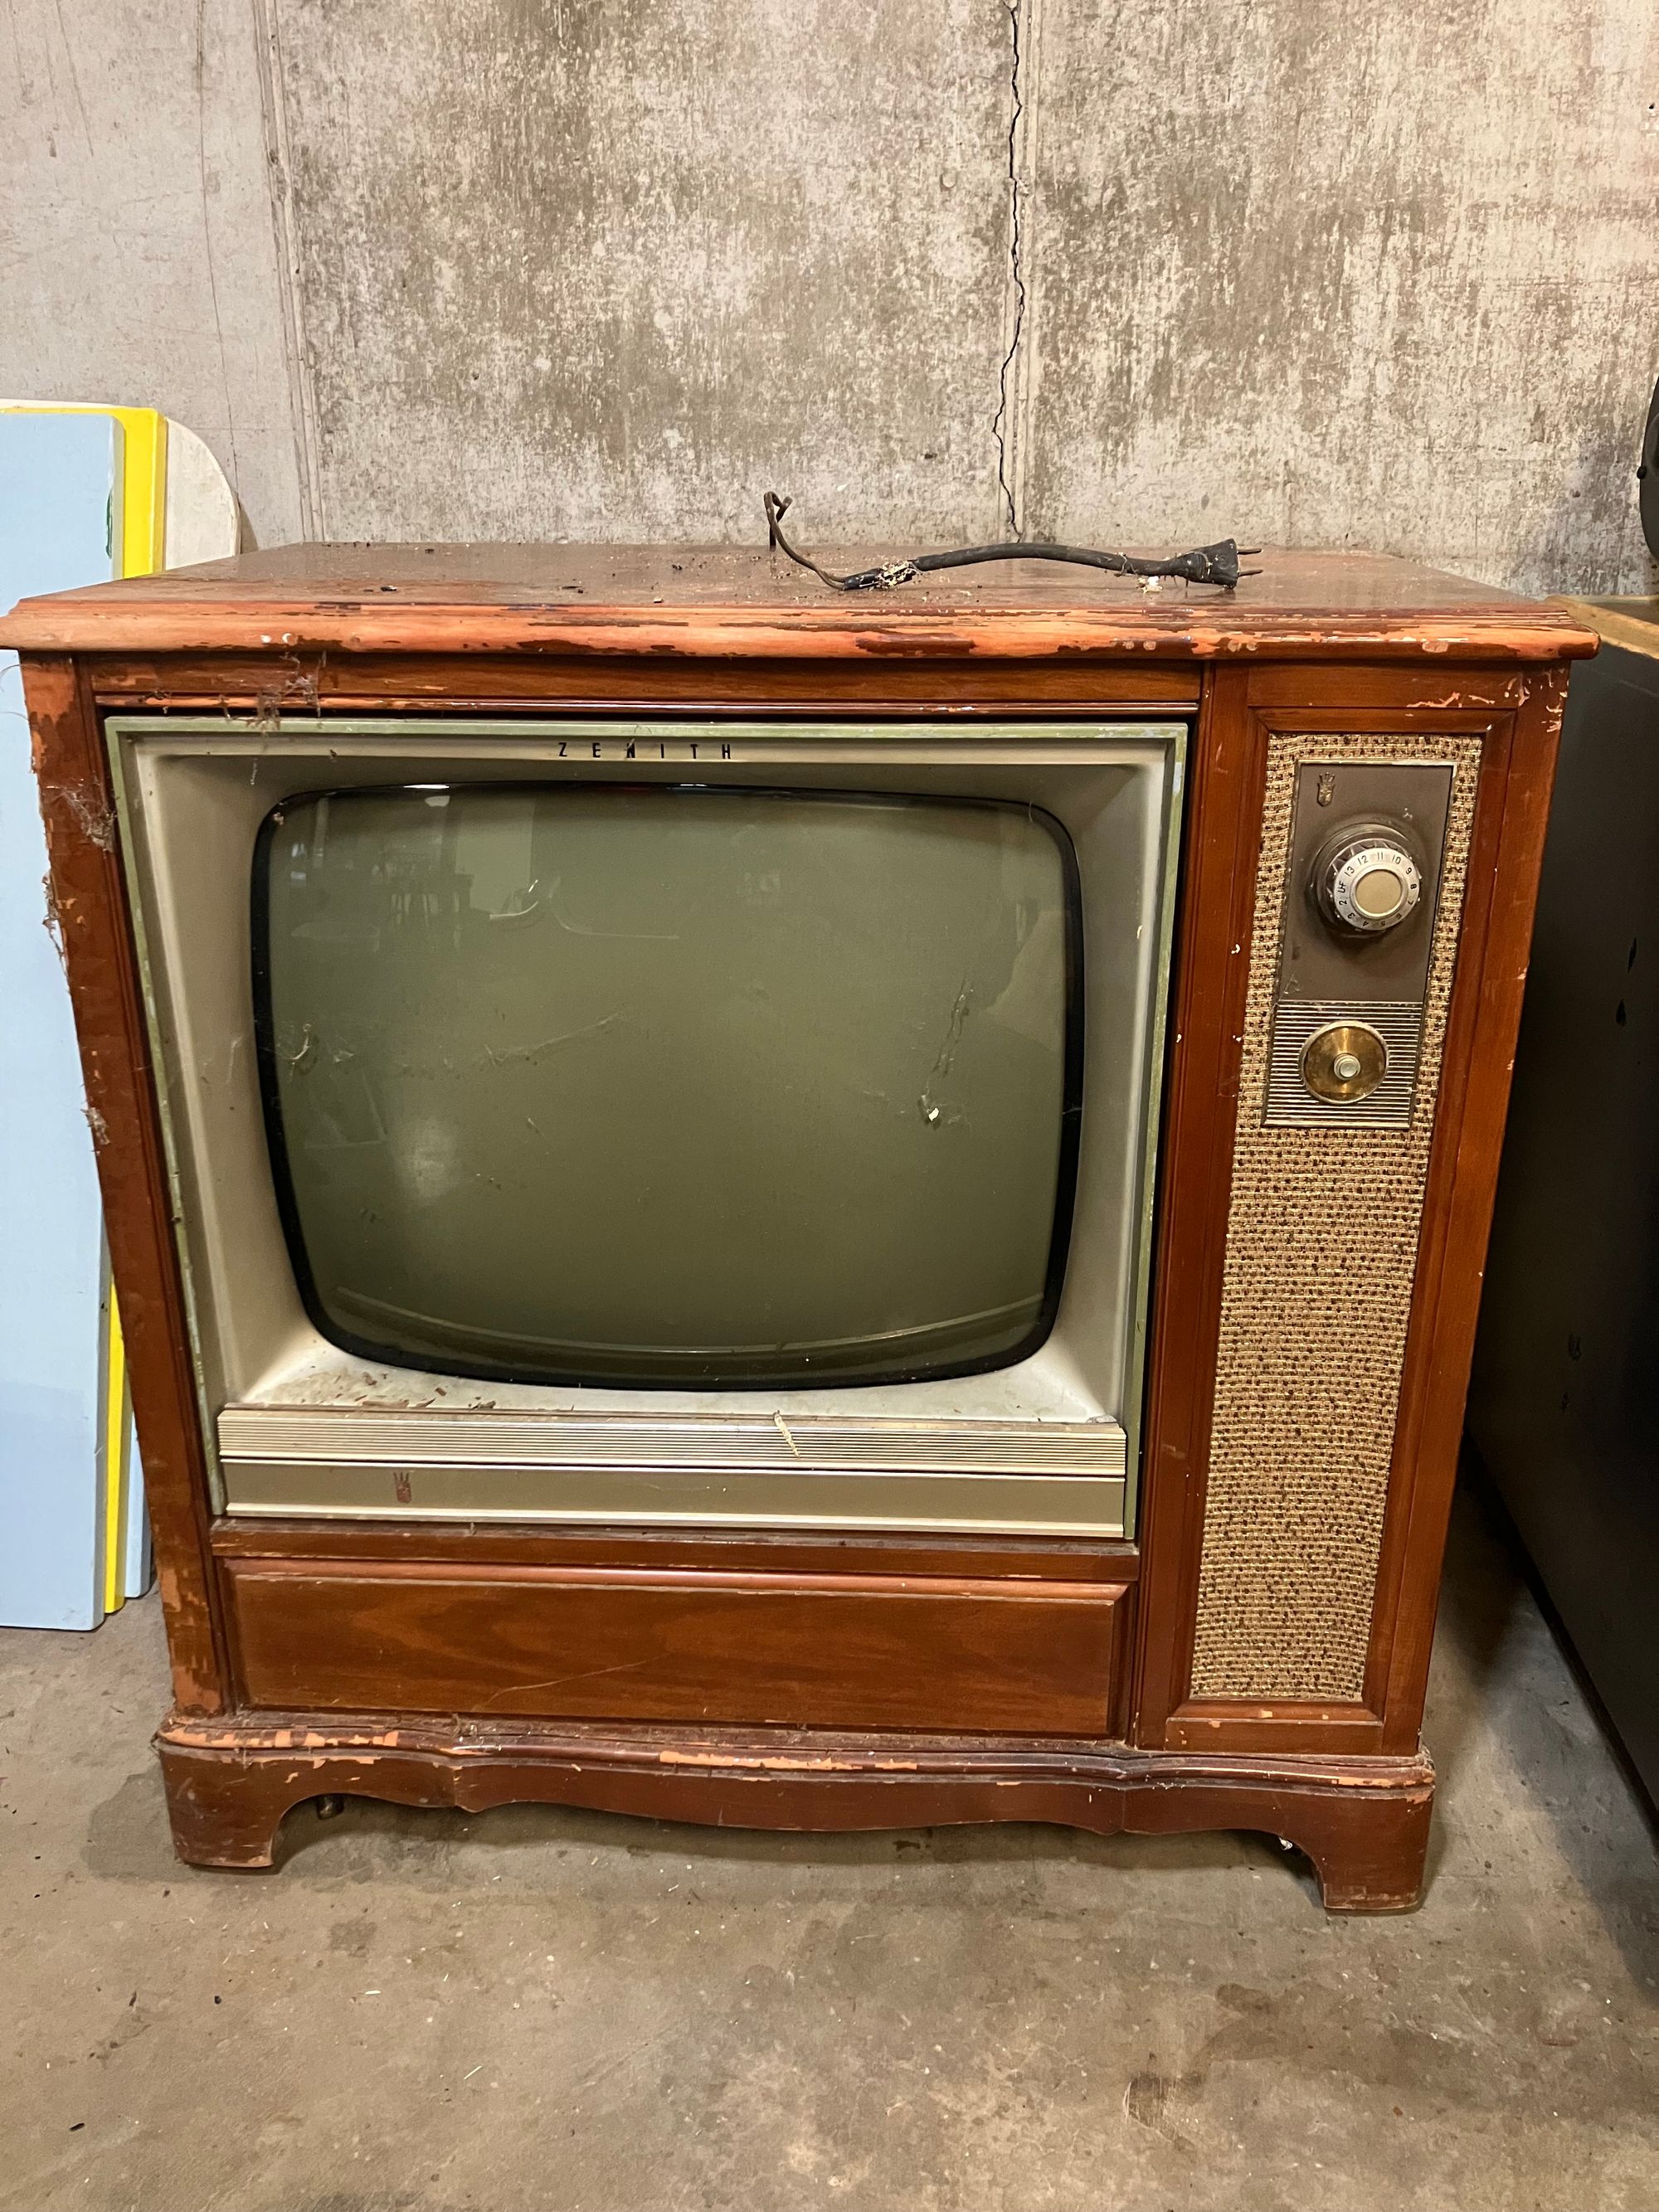
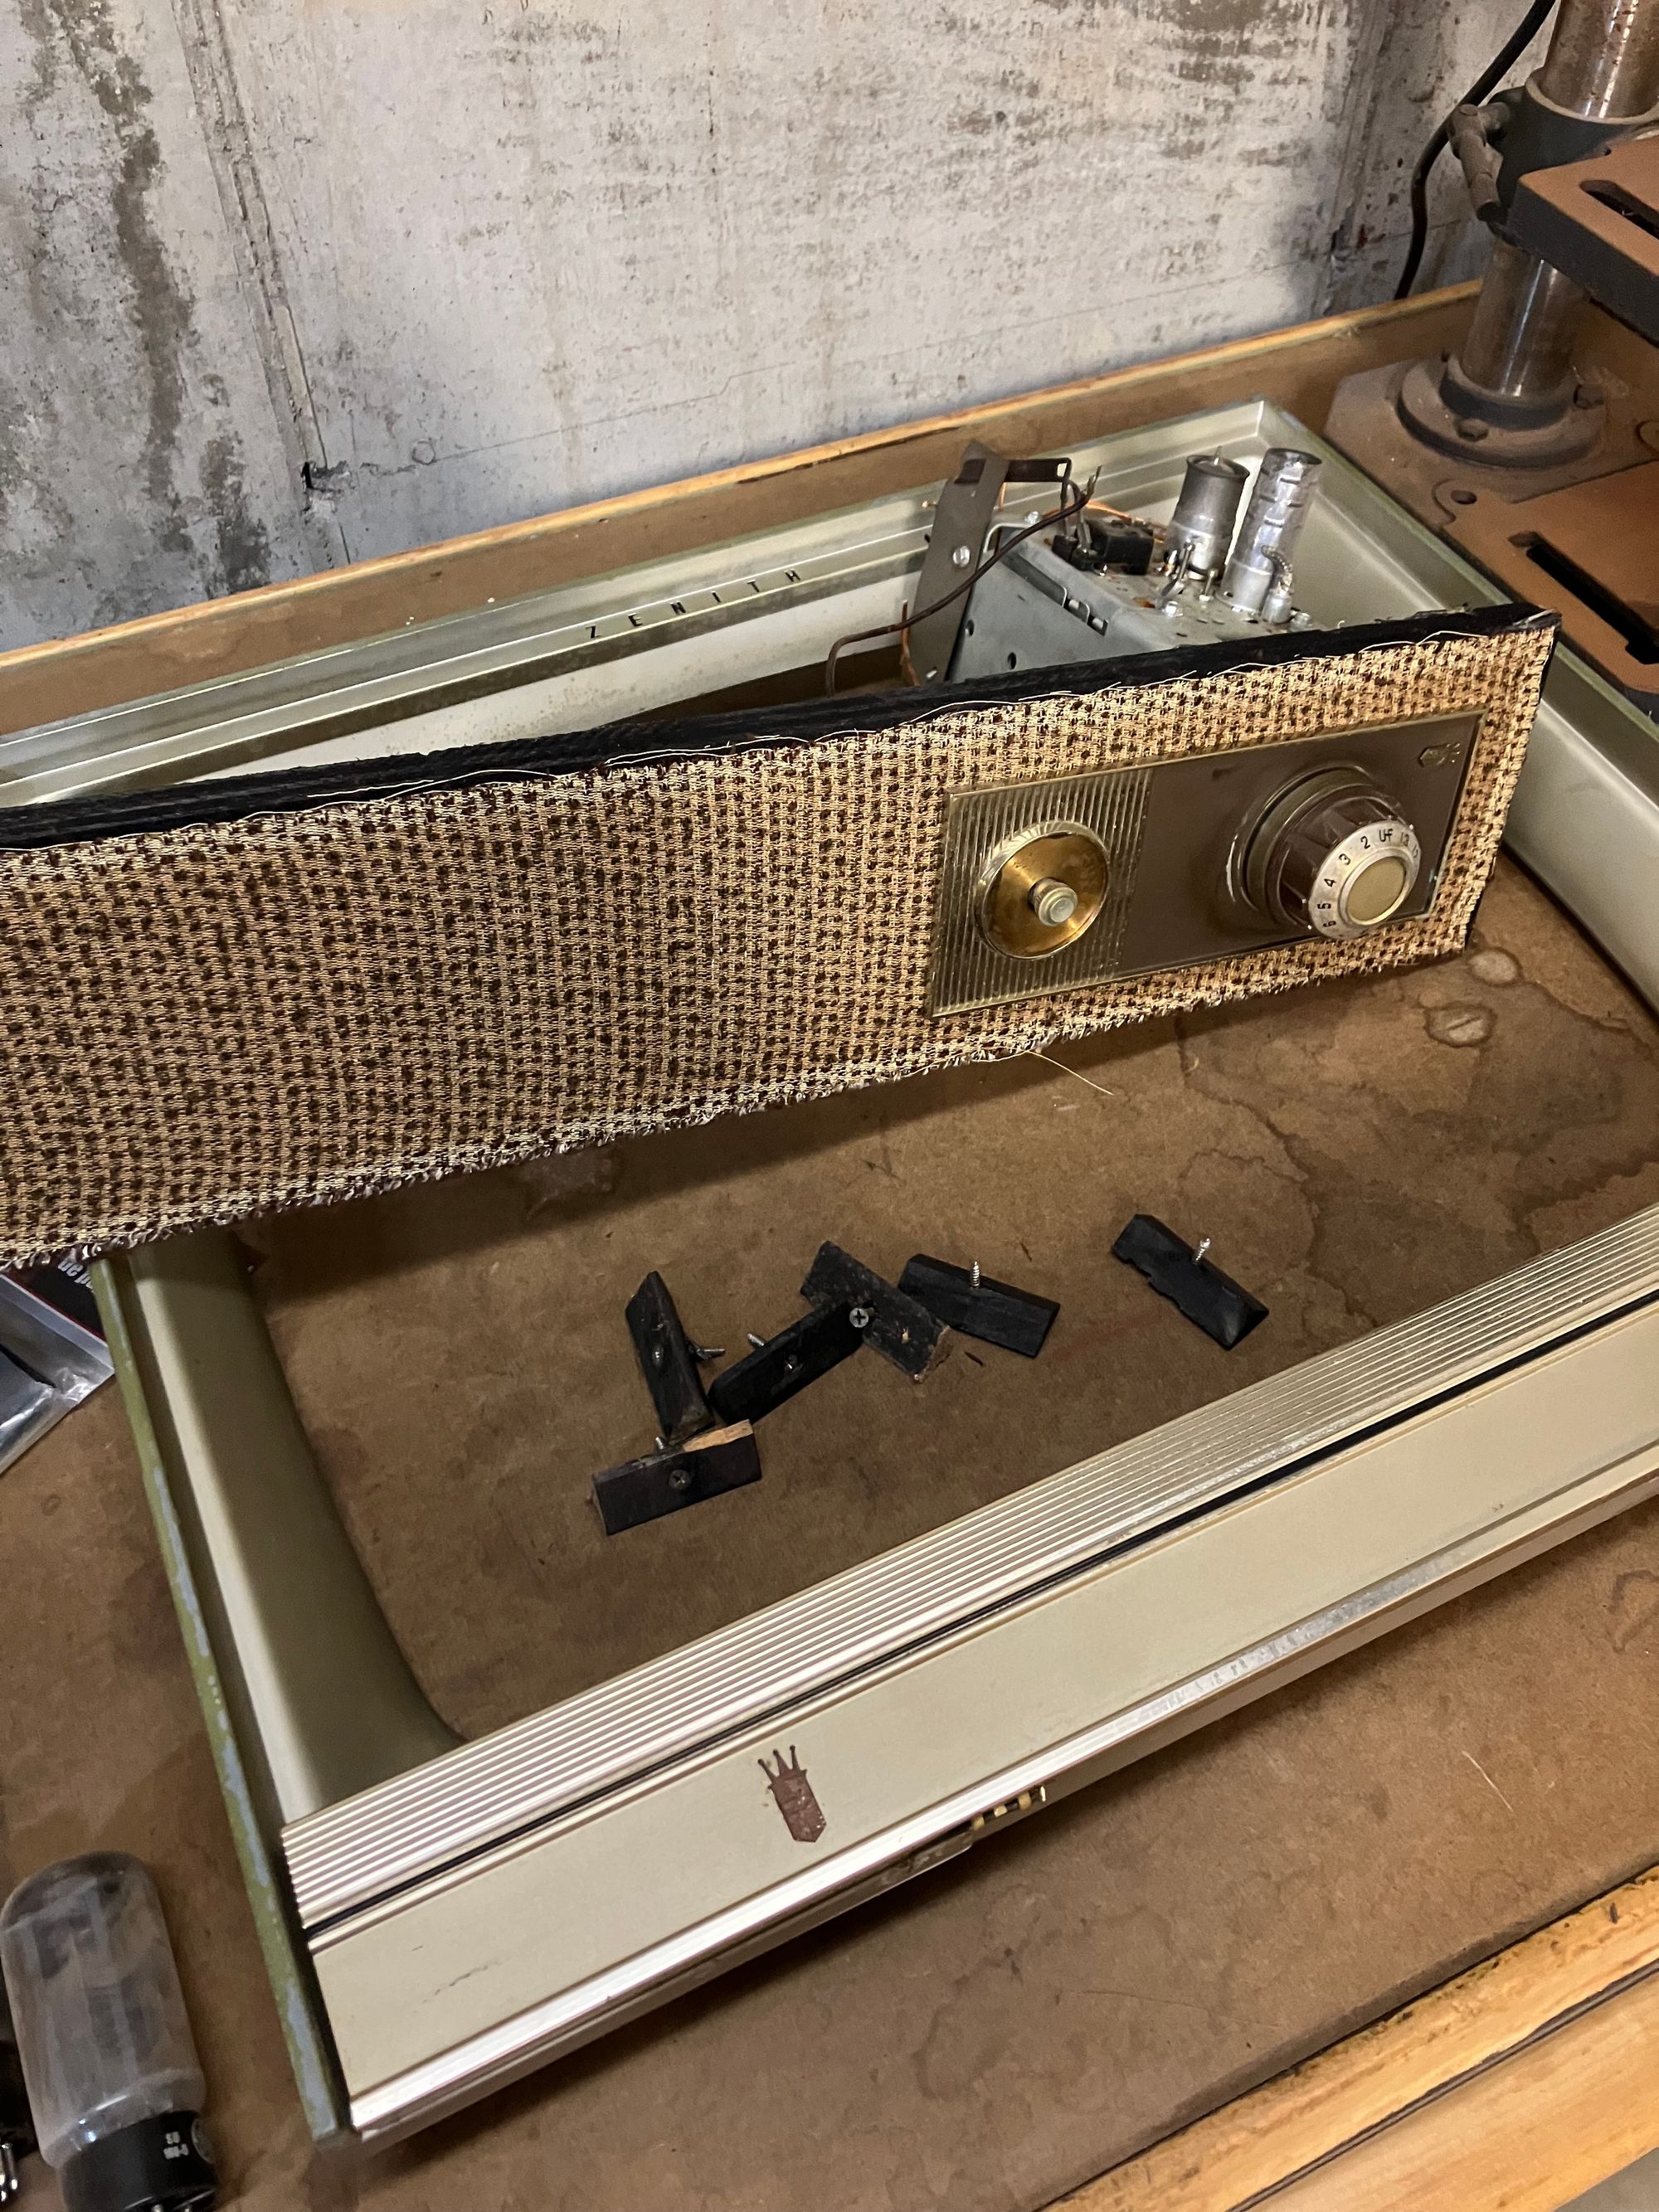
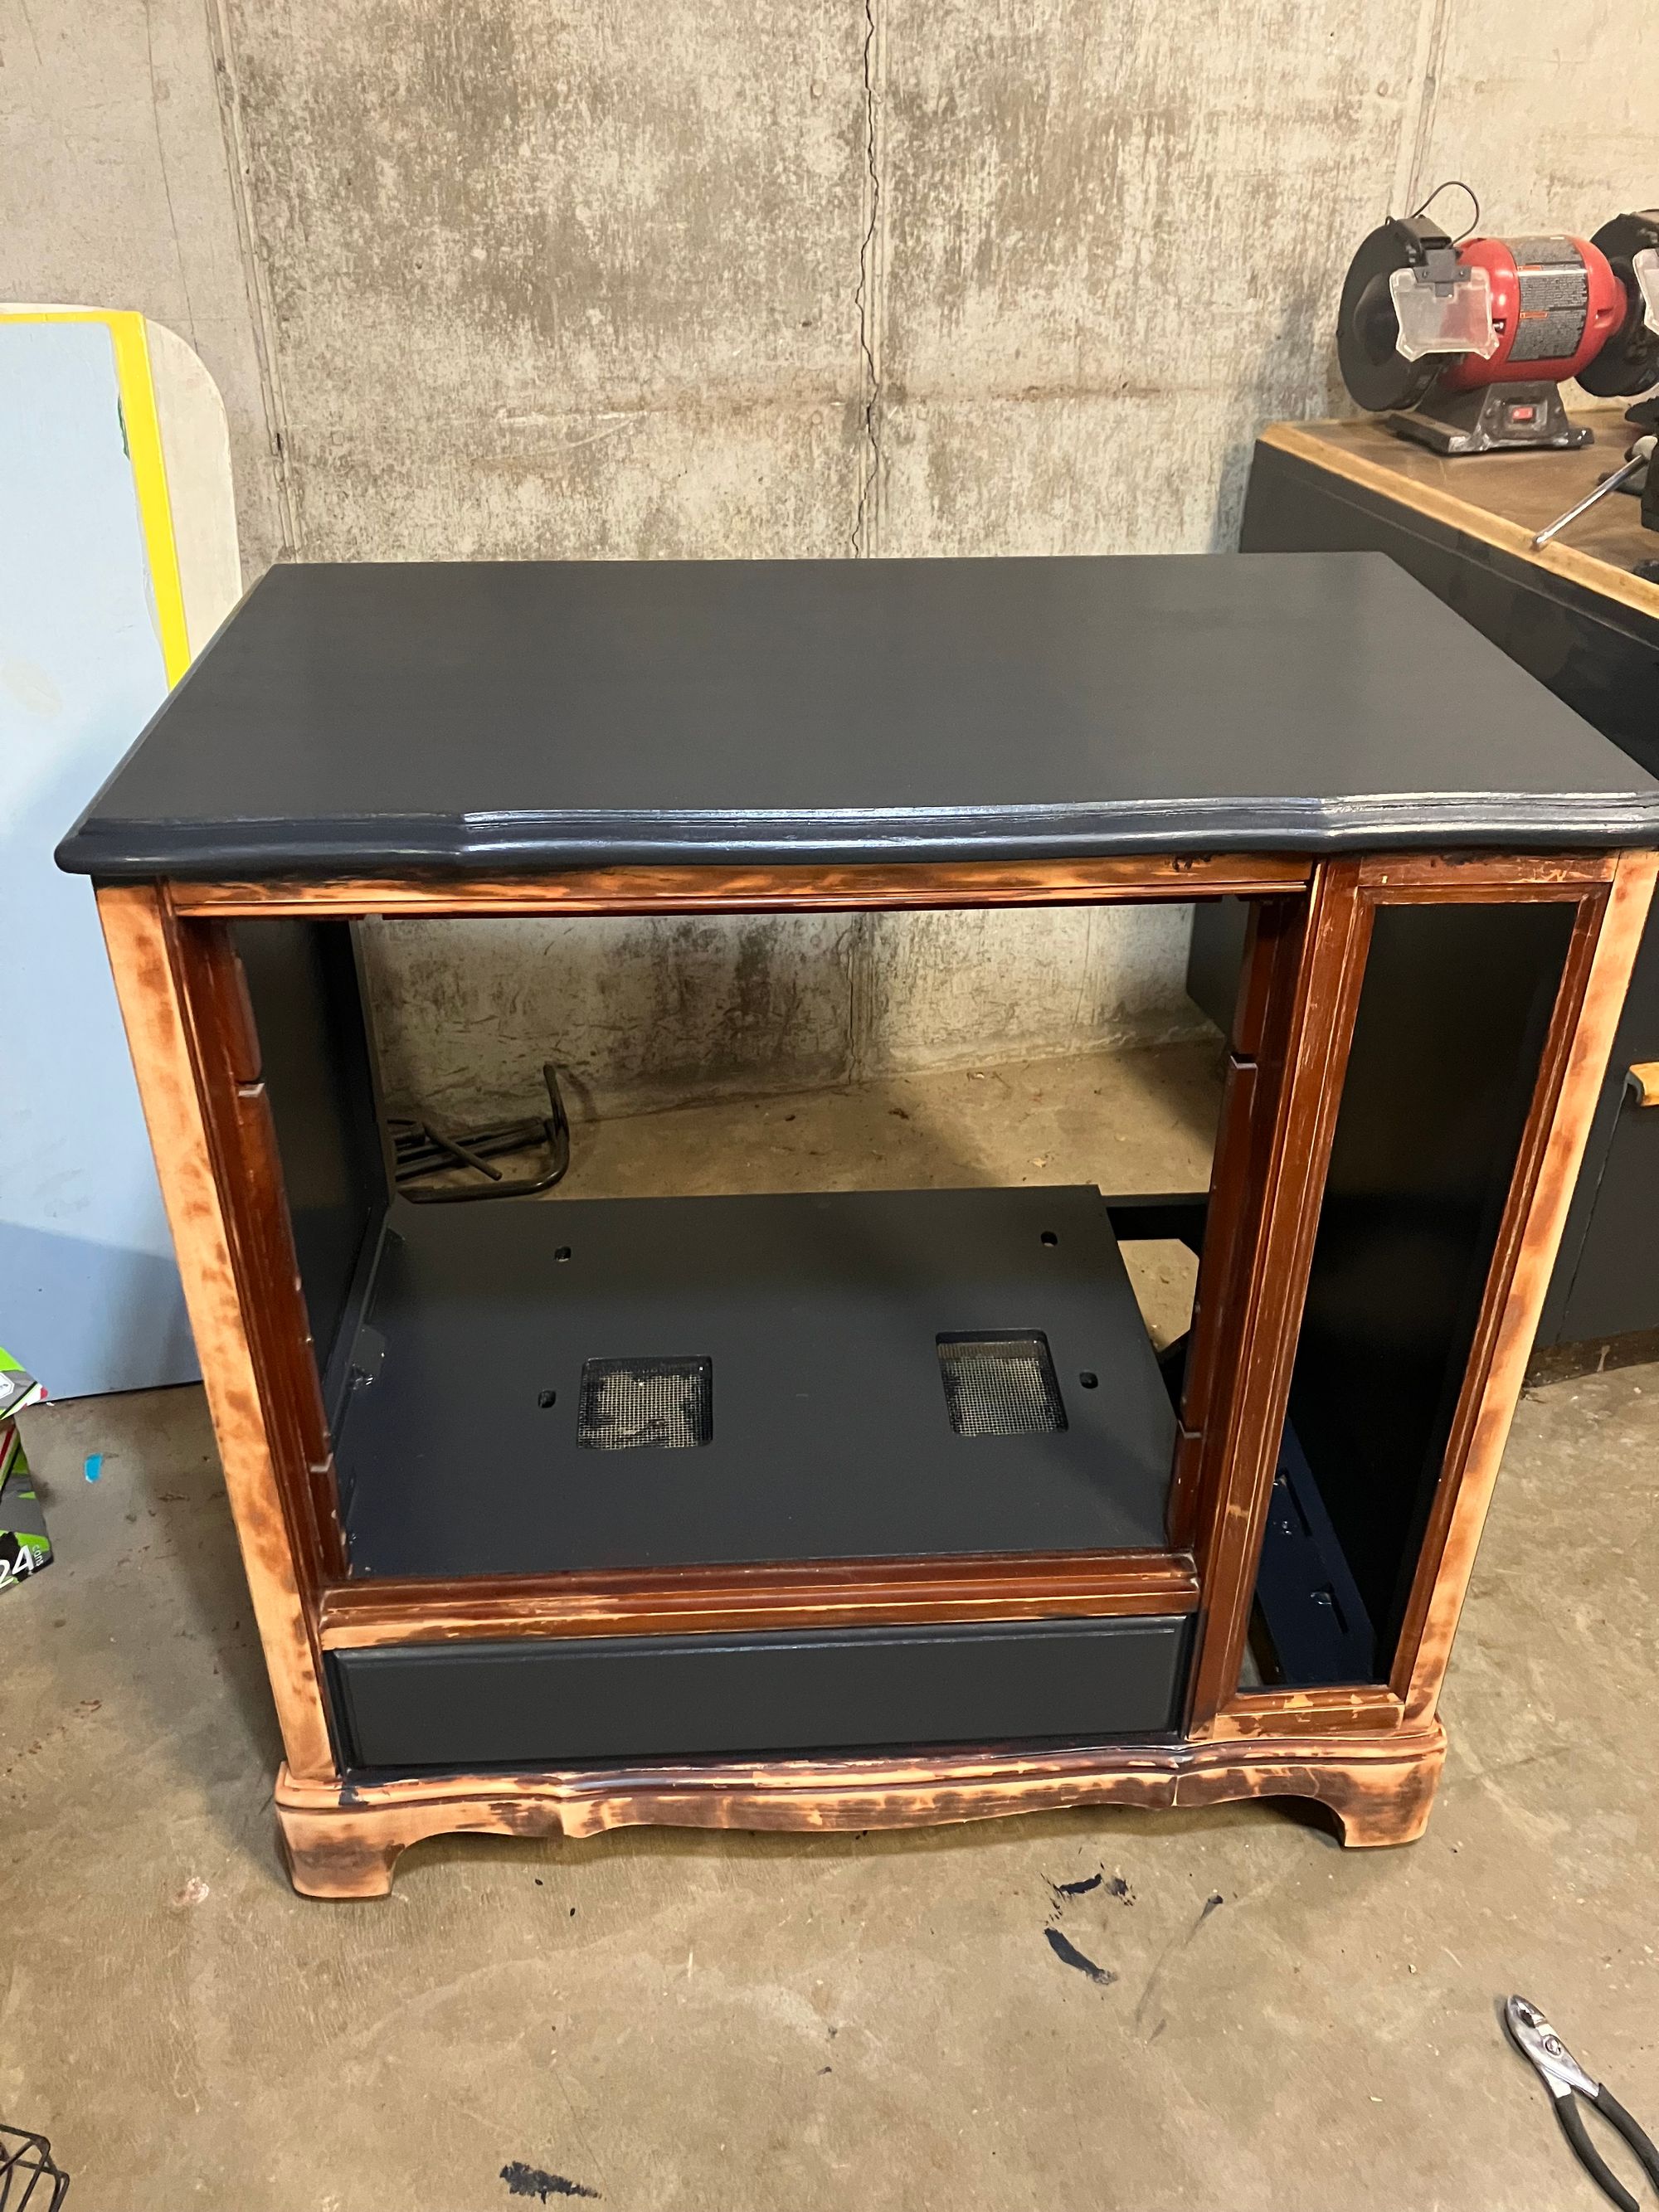
In the pictures above you can see what the TV looks like before I've done any work to it. It's extremely old and is a tube TV (uses vacuum tubes instead of transistors). The first point of business for the project was to remove the picture tube and remaining electronics. Seeing the quality of this old TV and the way that it was put together was facinating. I ended up with a large amount of vacuum tubes in various sizes that I may be able to use for different projects. After removing the picture tube, I placed it in a safe place because I'll need it in order to shape plexiglass later on in the project.
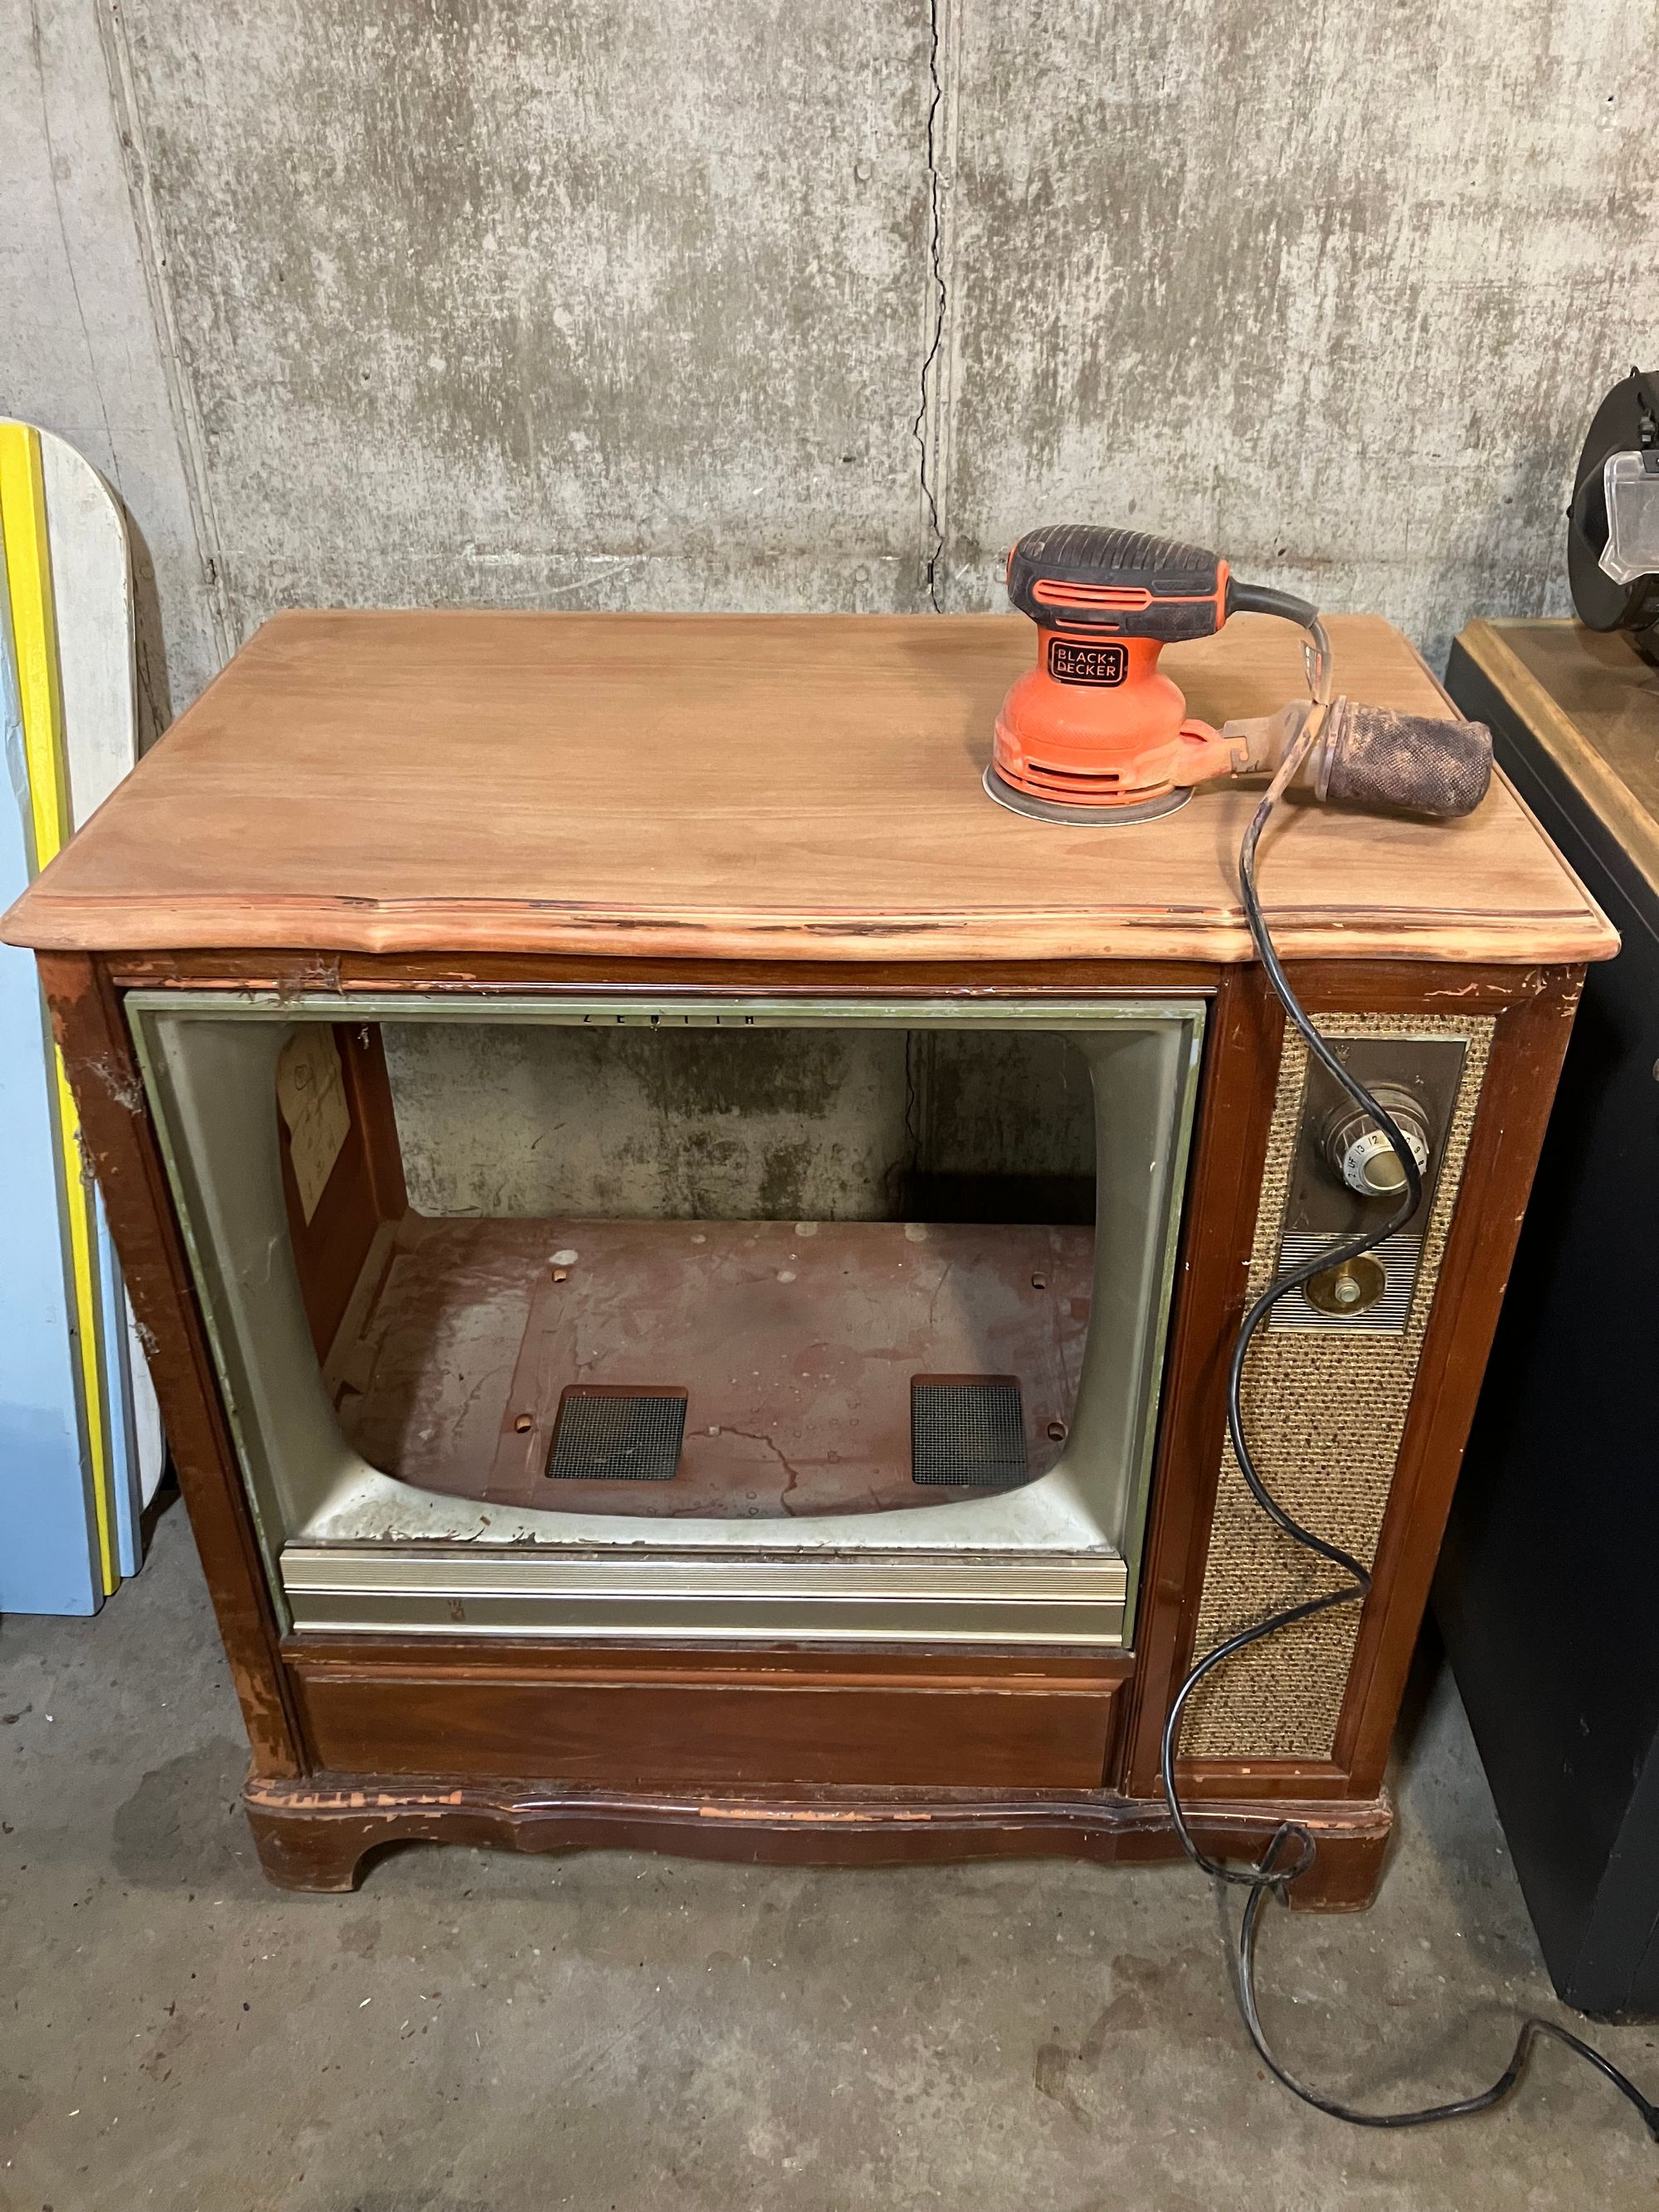

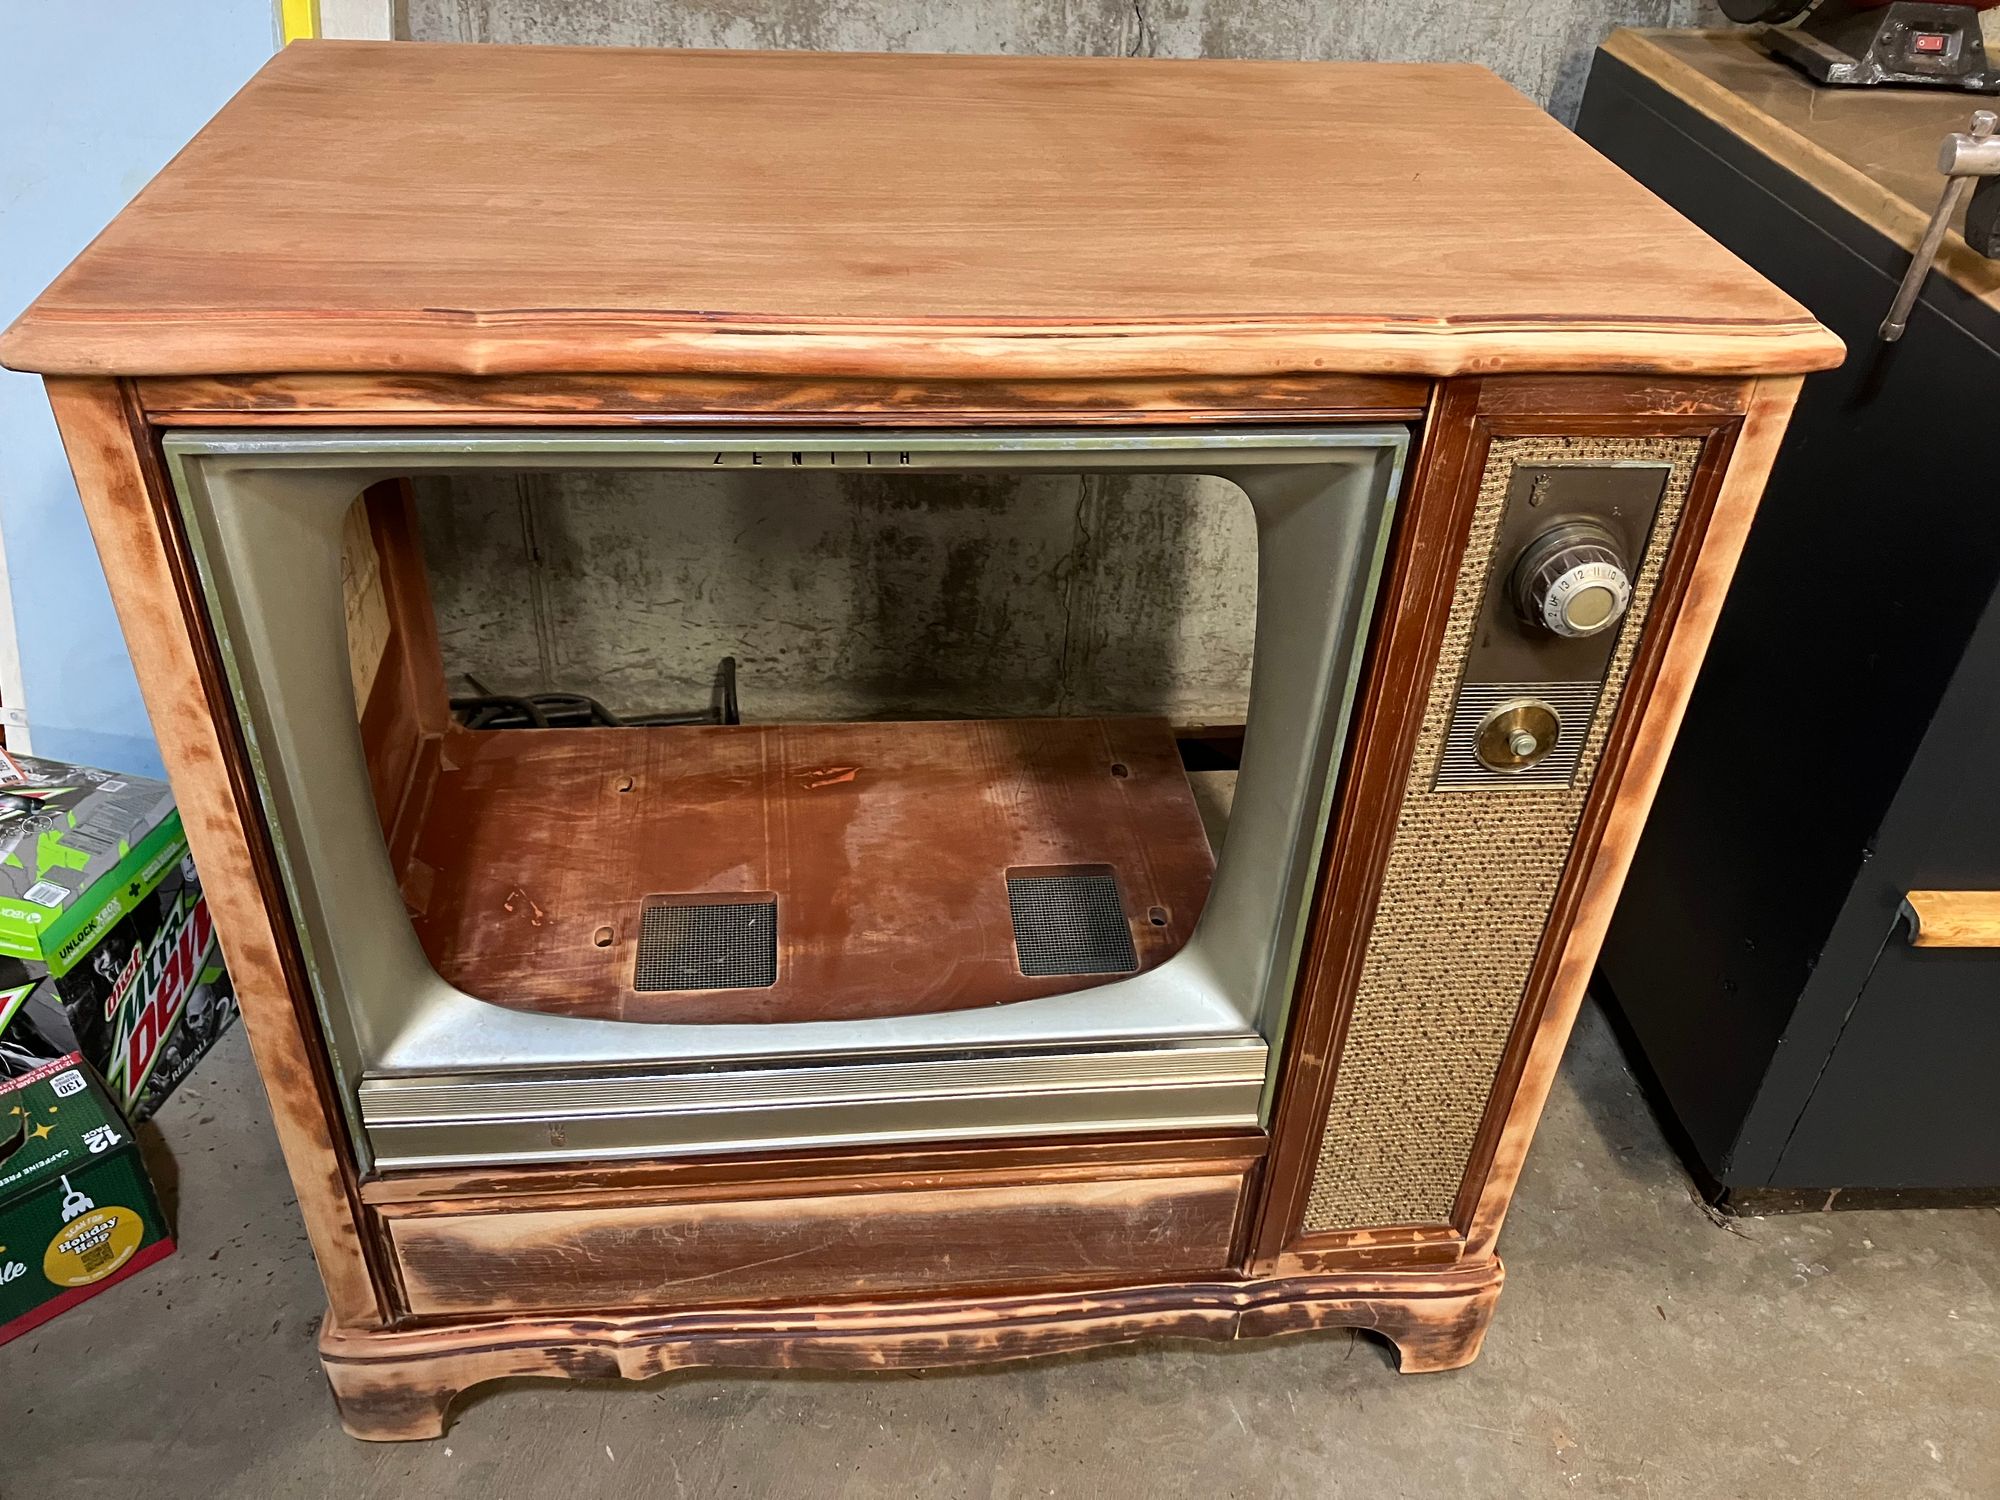
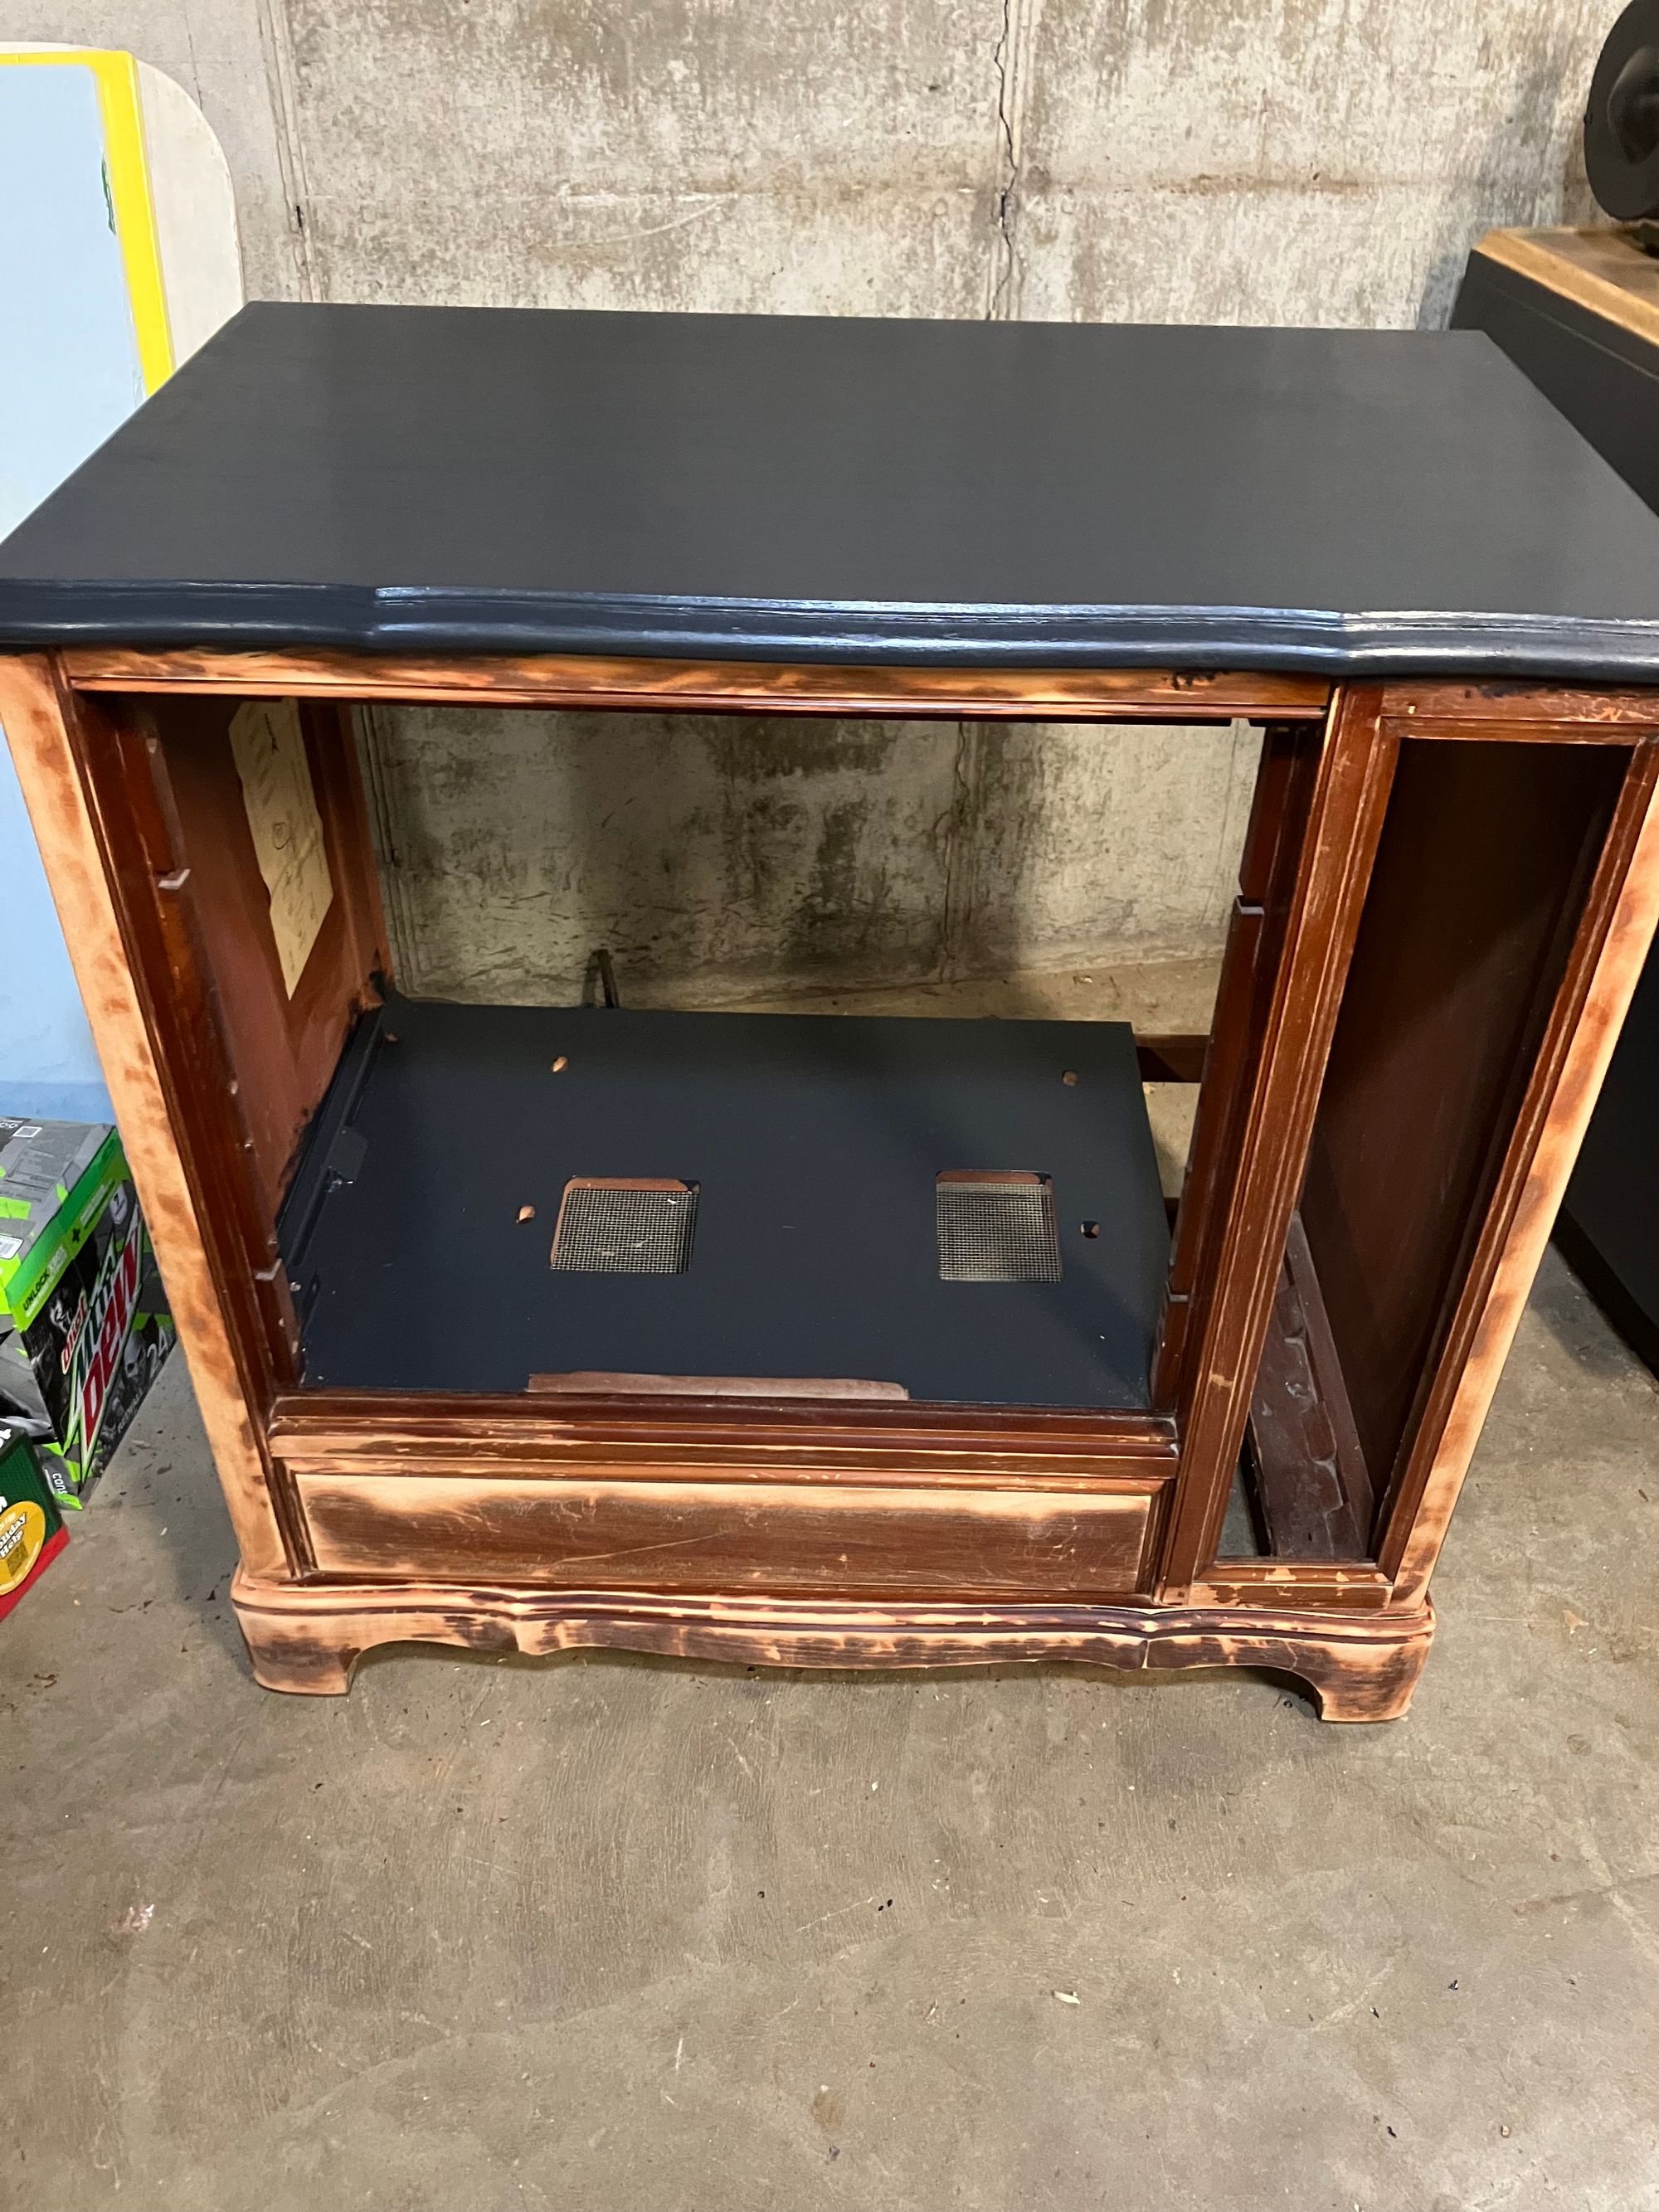
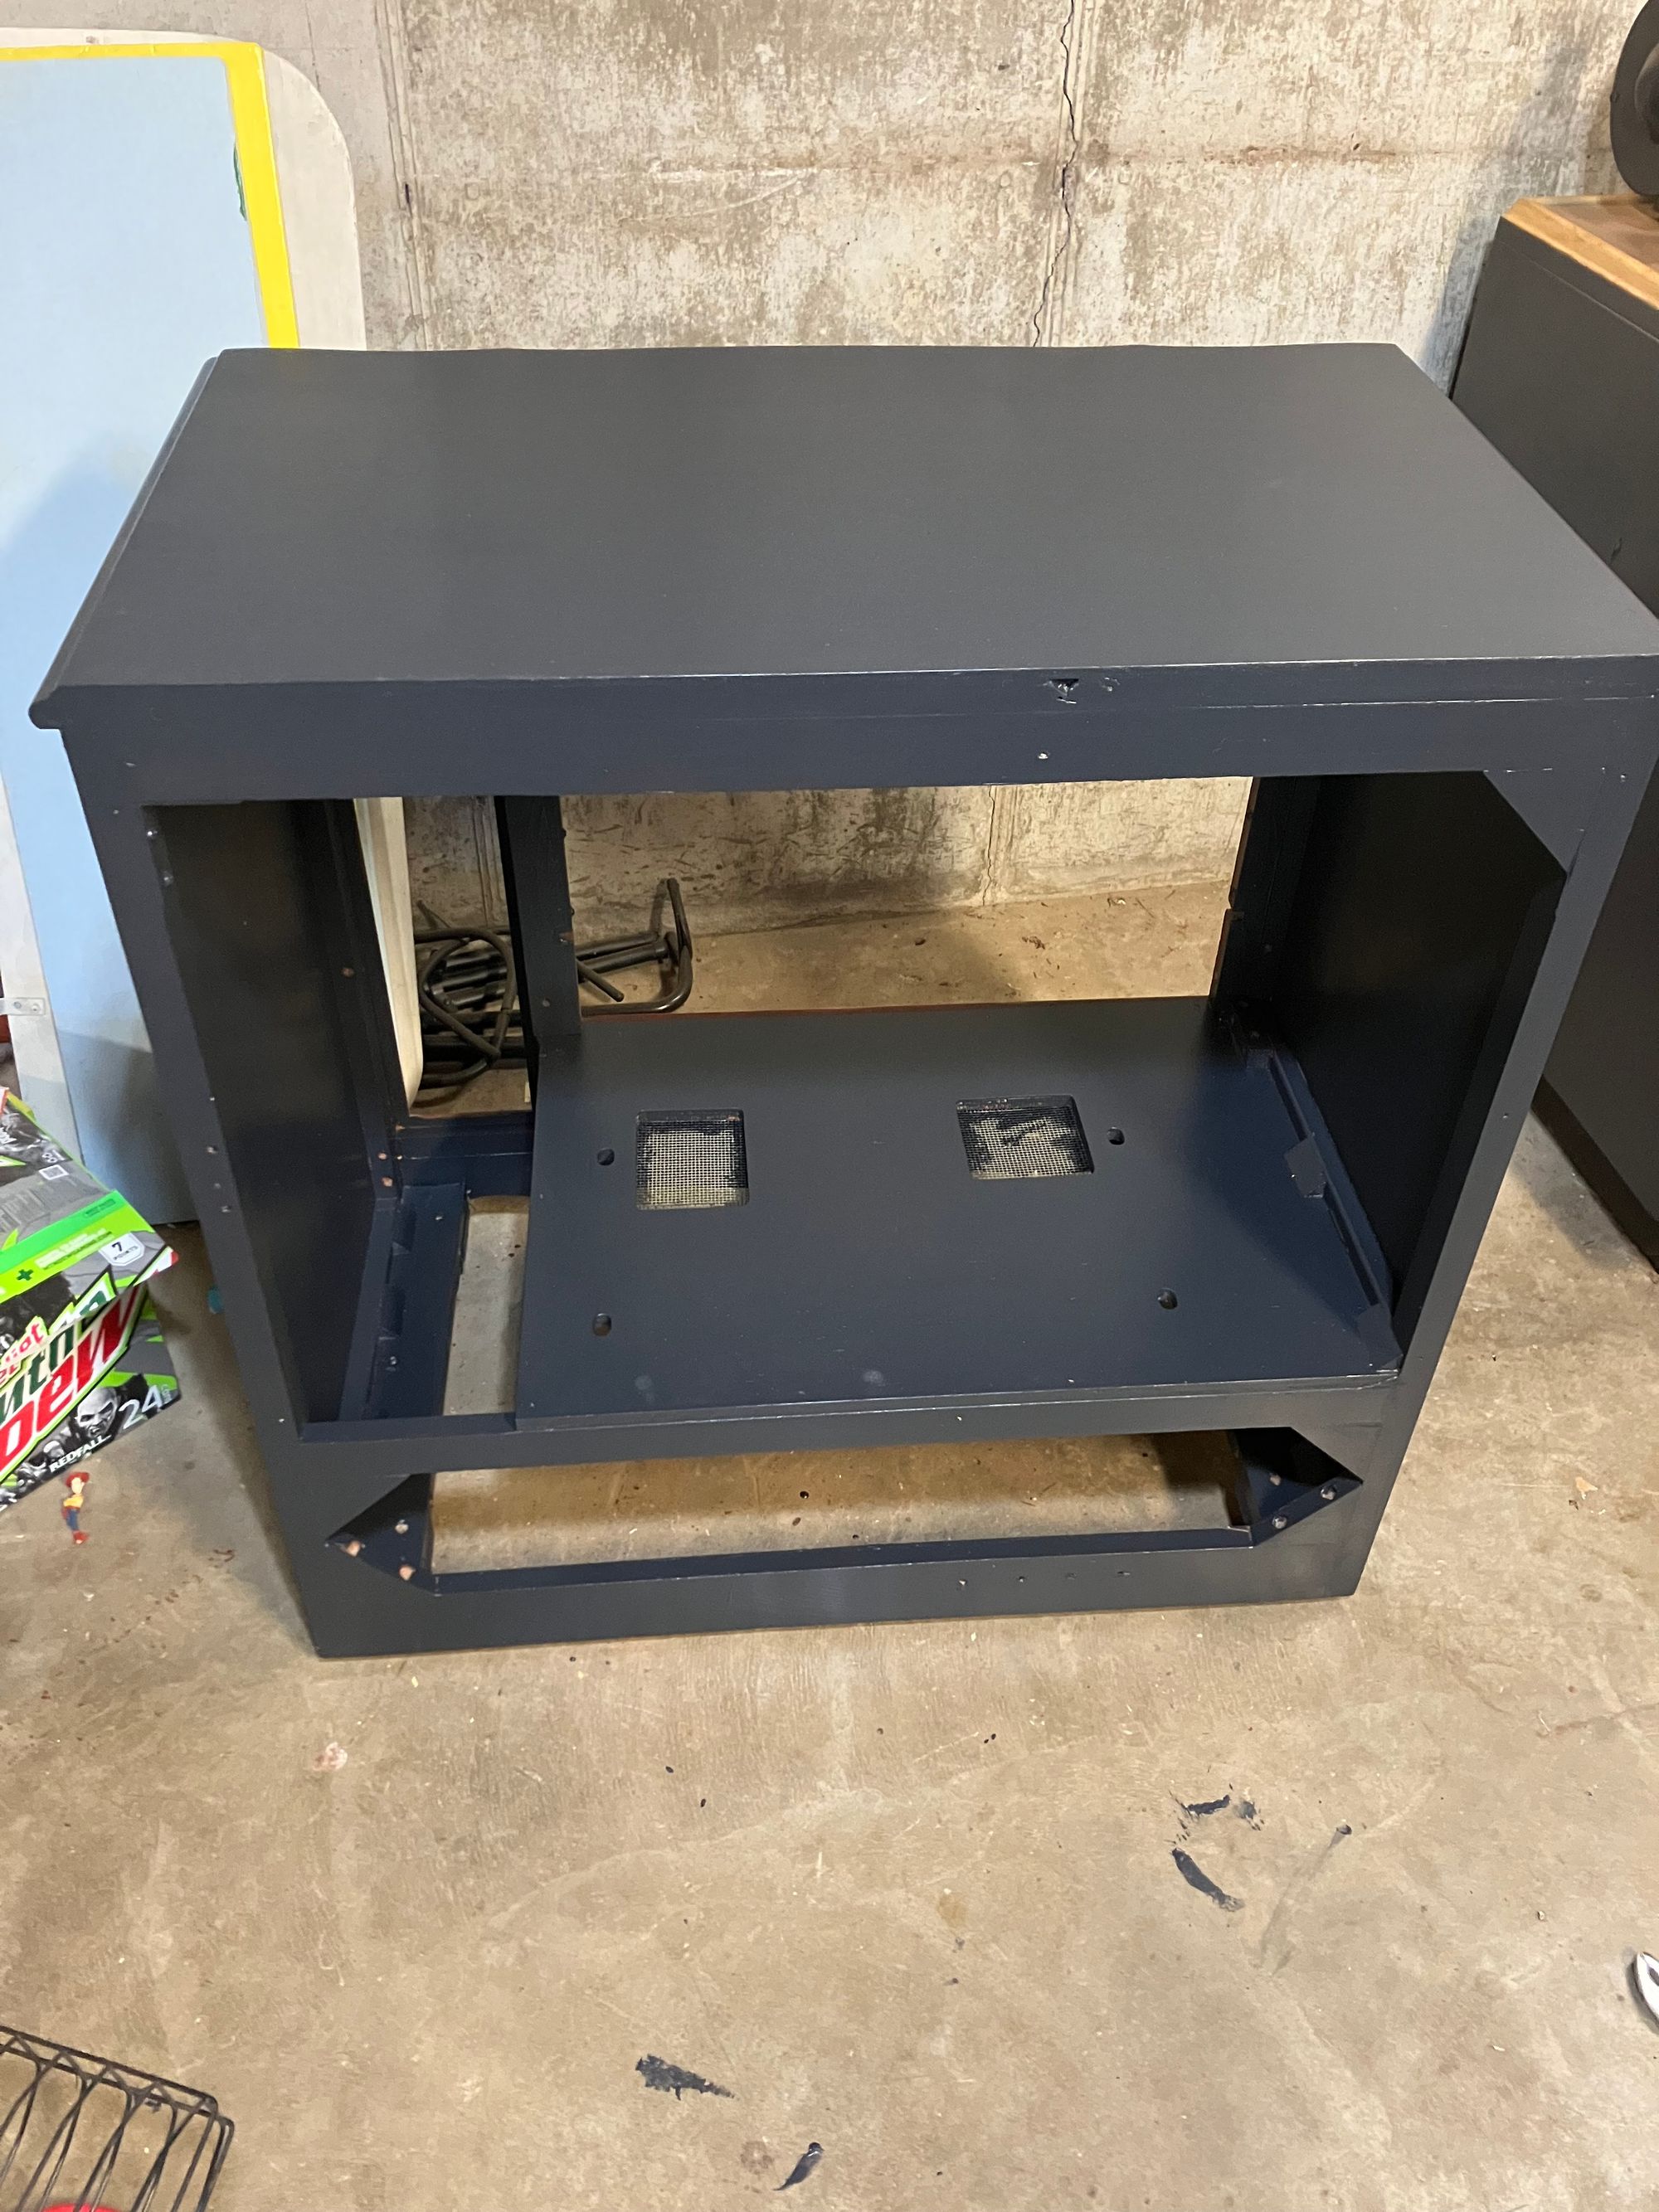
After getting the picture tube and electronics out of the console I was able to start sanding. There appeared to be a cherry colored shellac over the entire console and even though it was flaking off, it was difficult to sand. I should now have a smooth surface for a better look once I start painting.
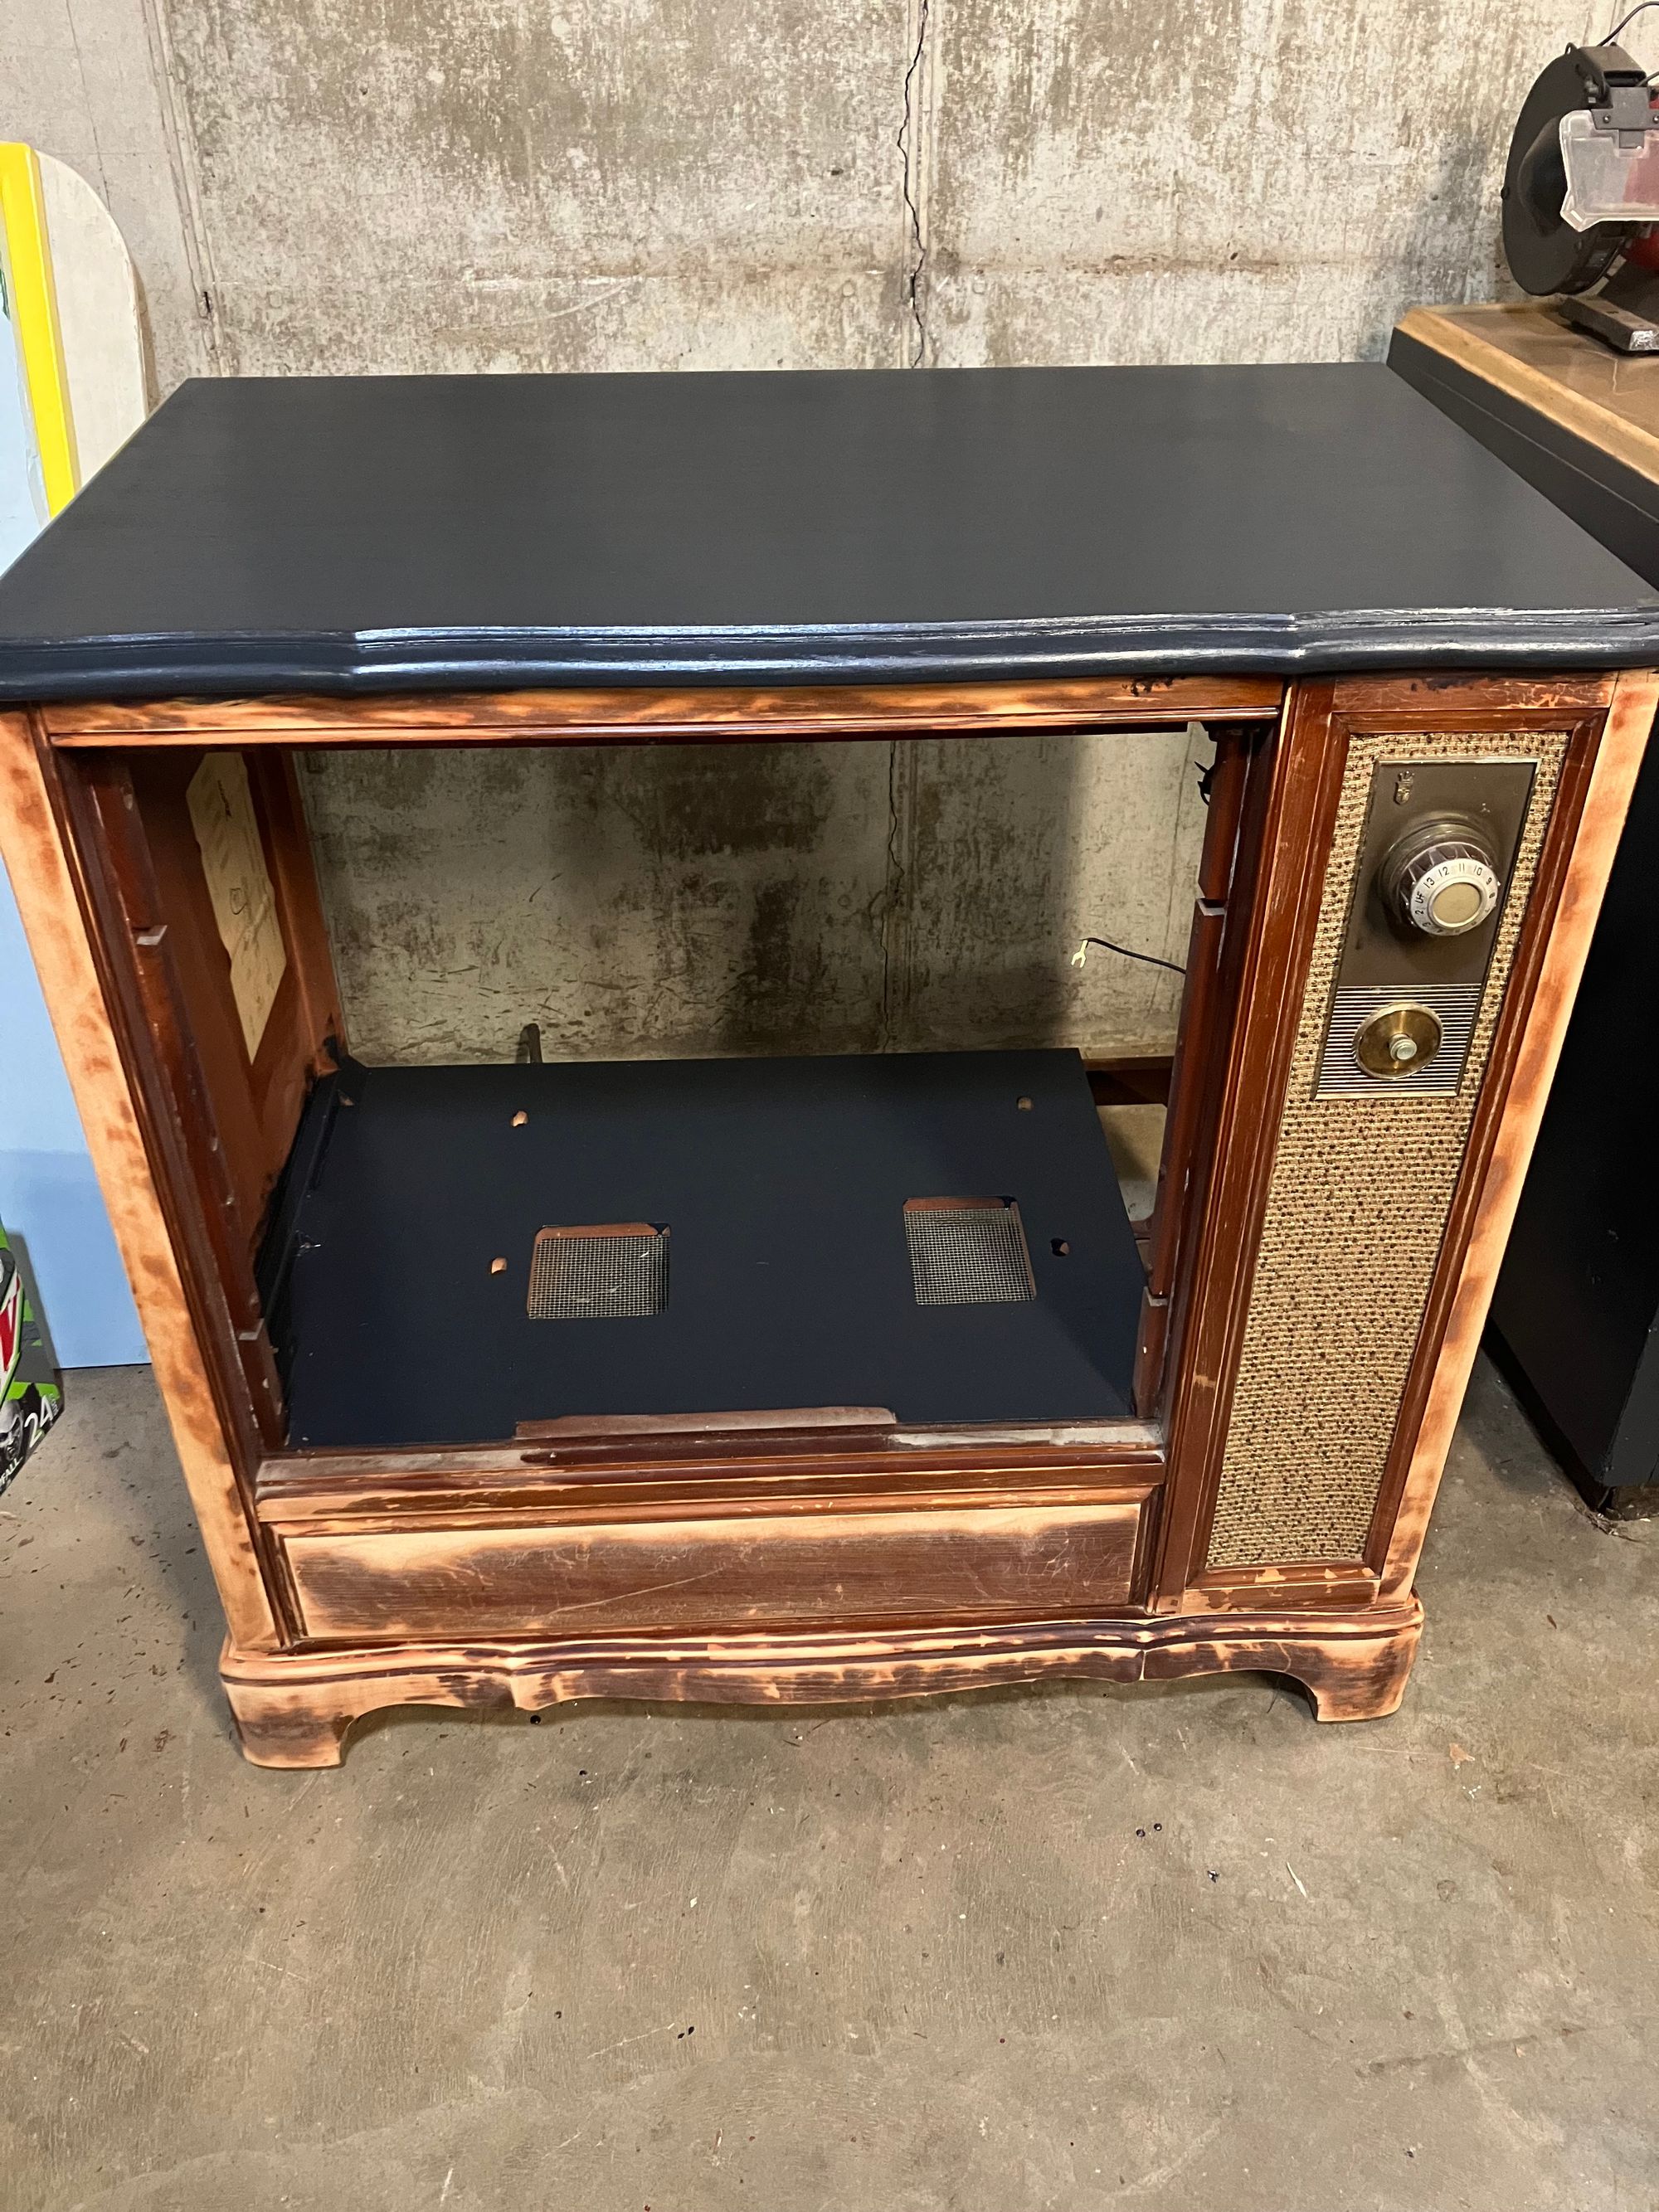
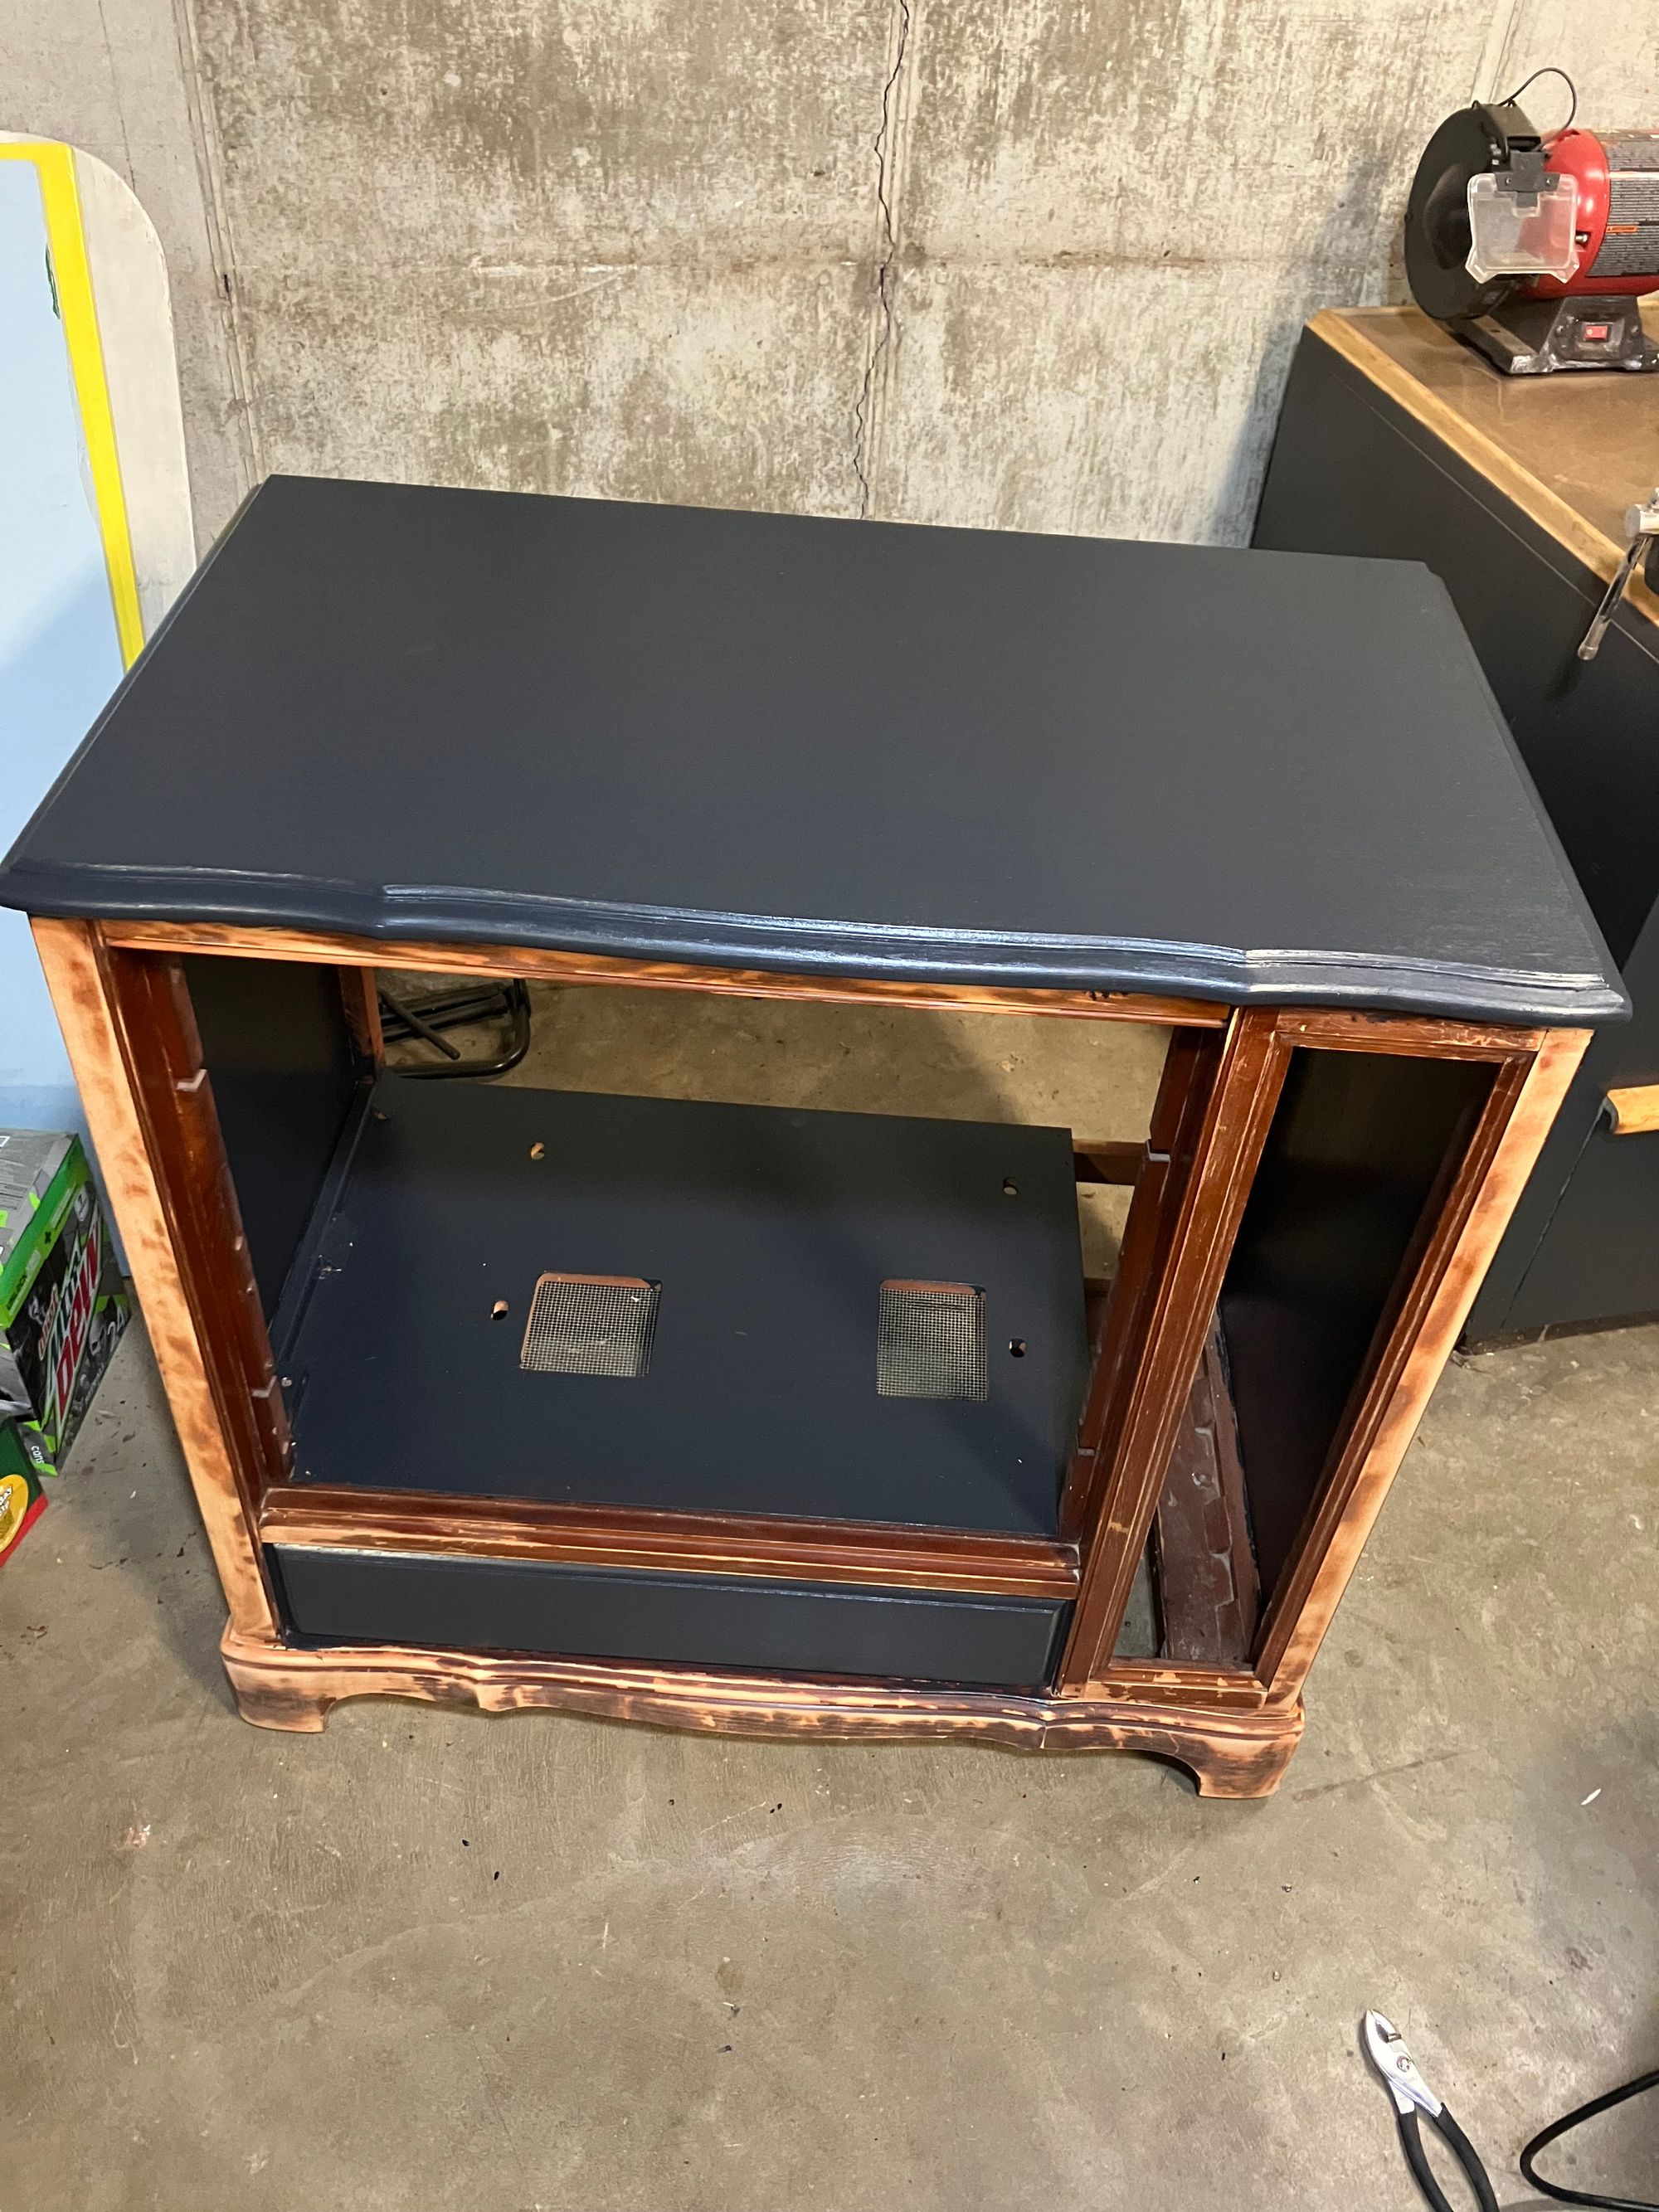
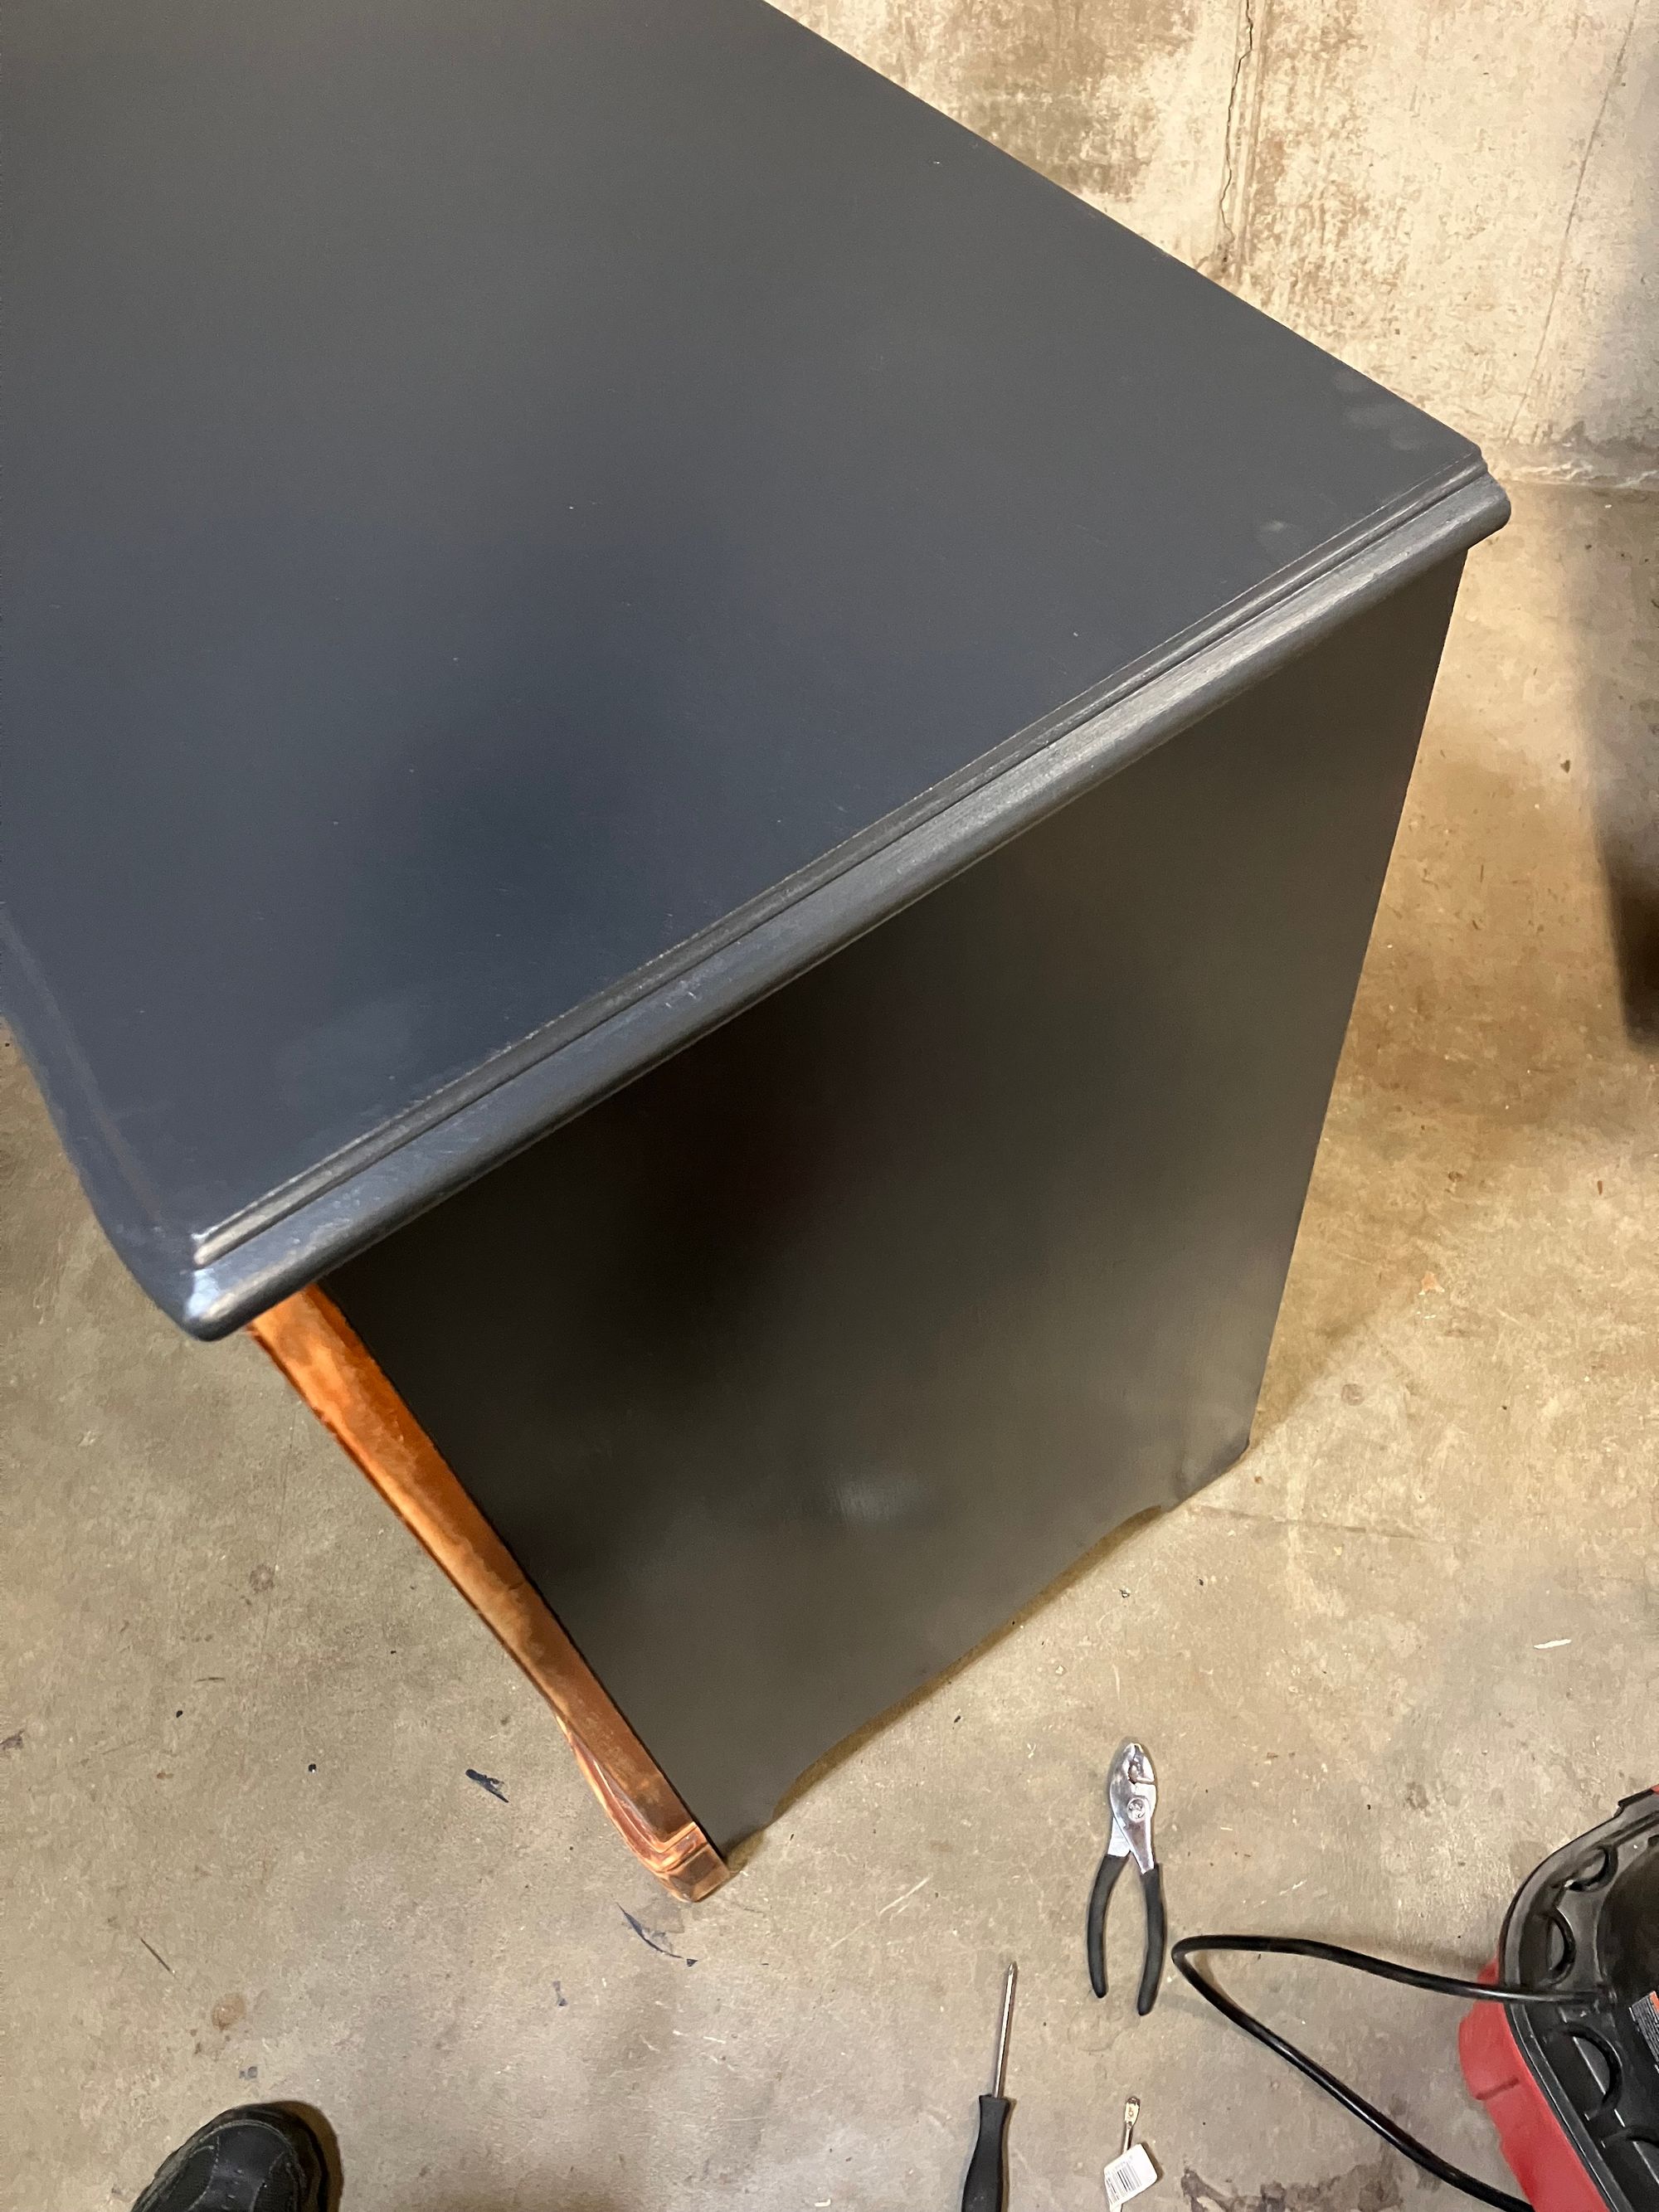
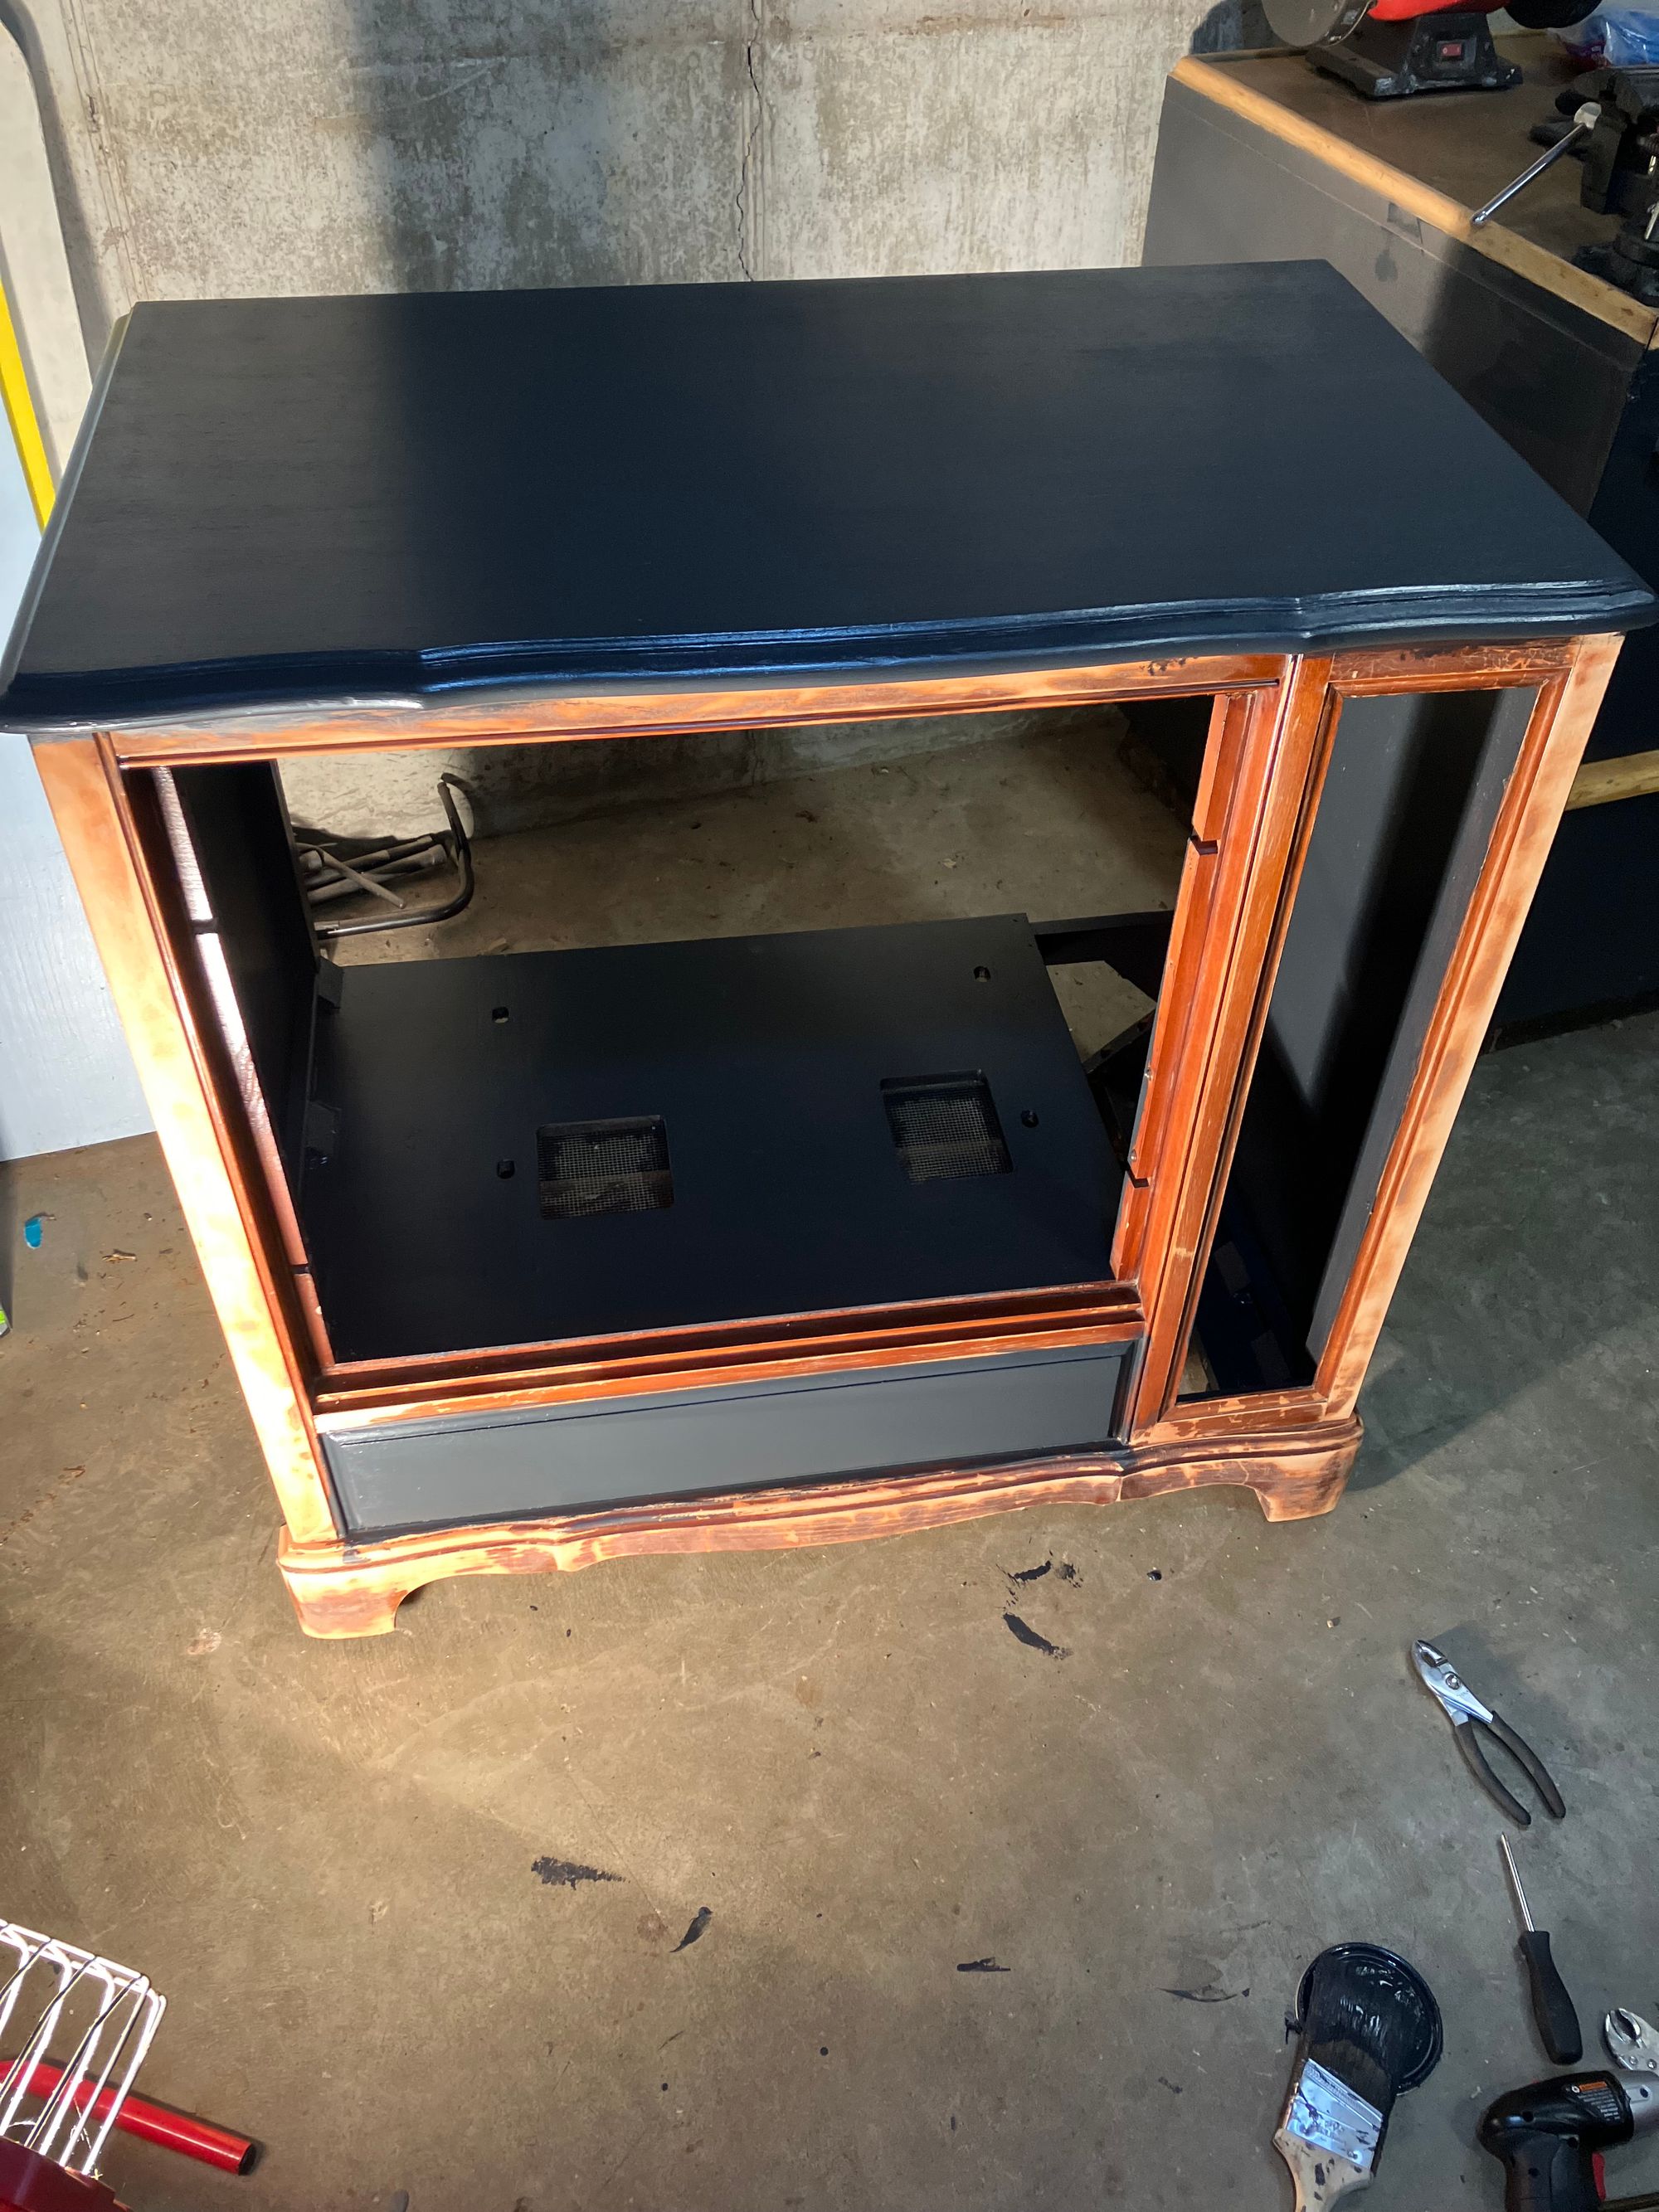
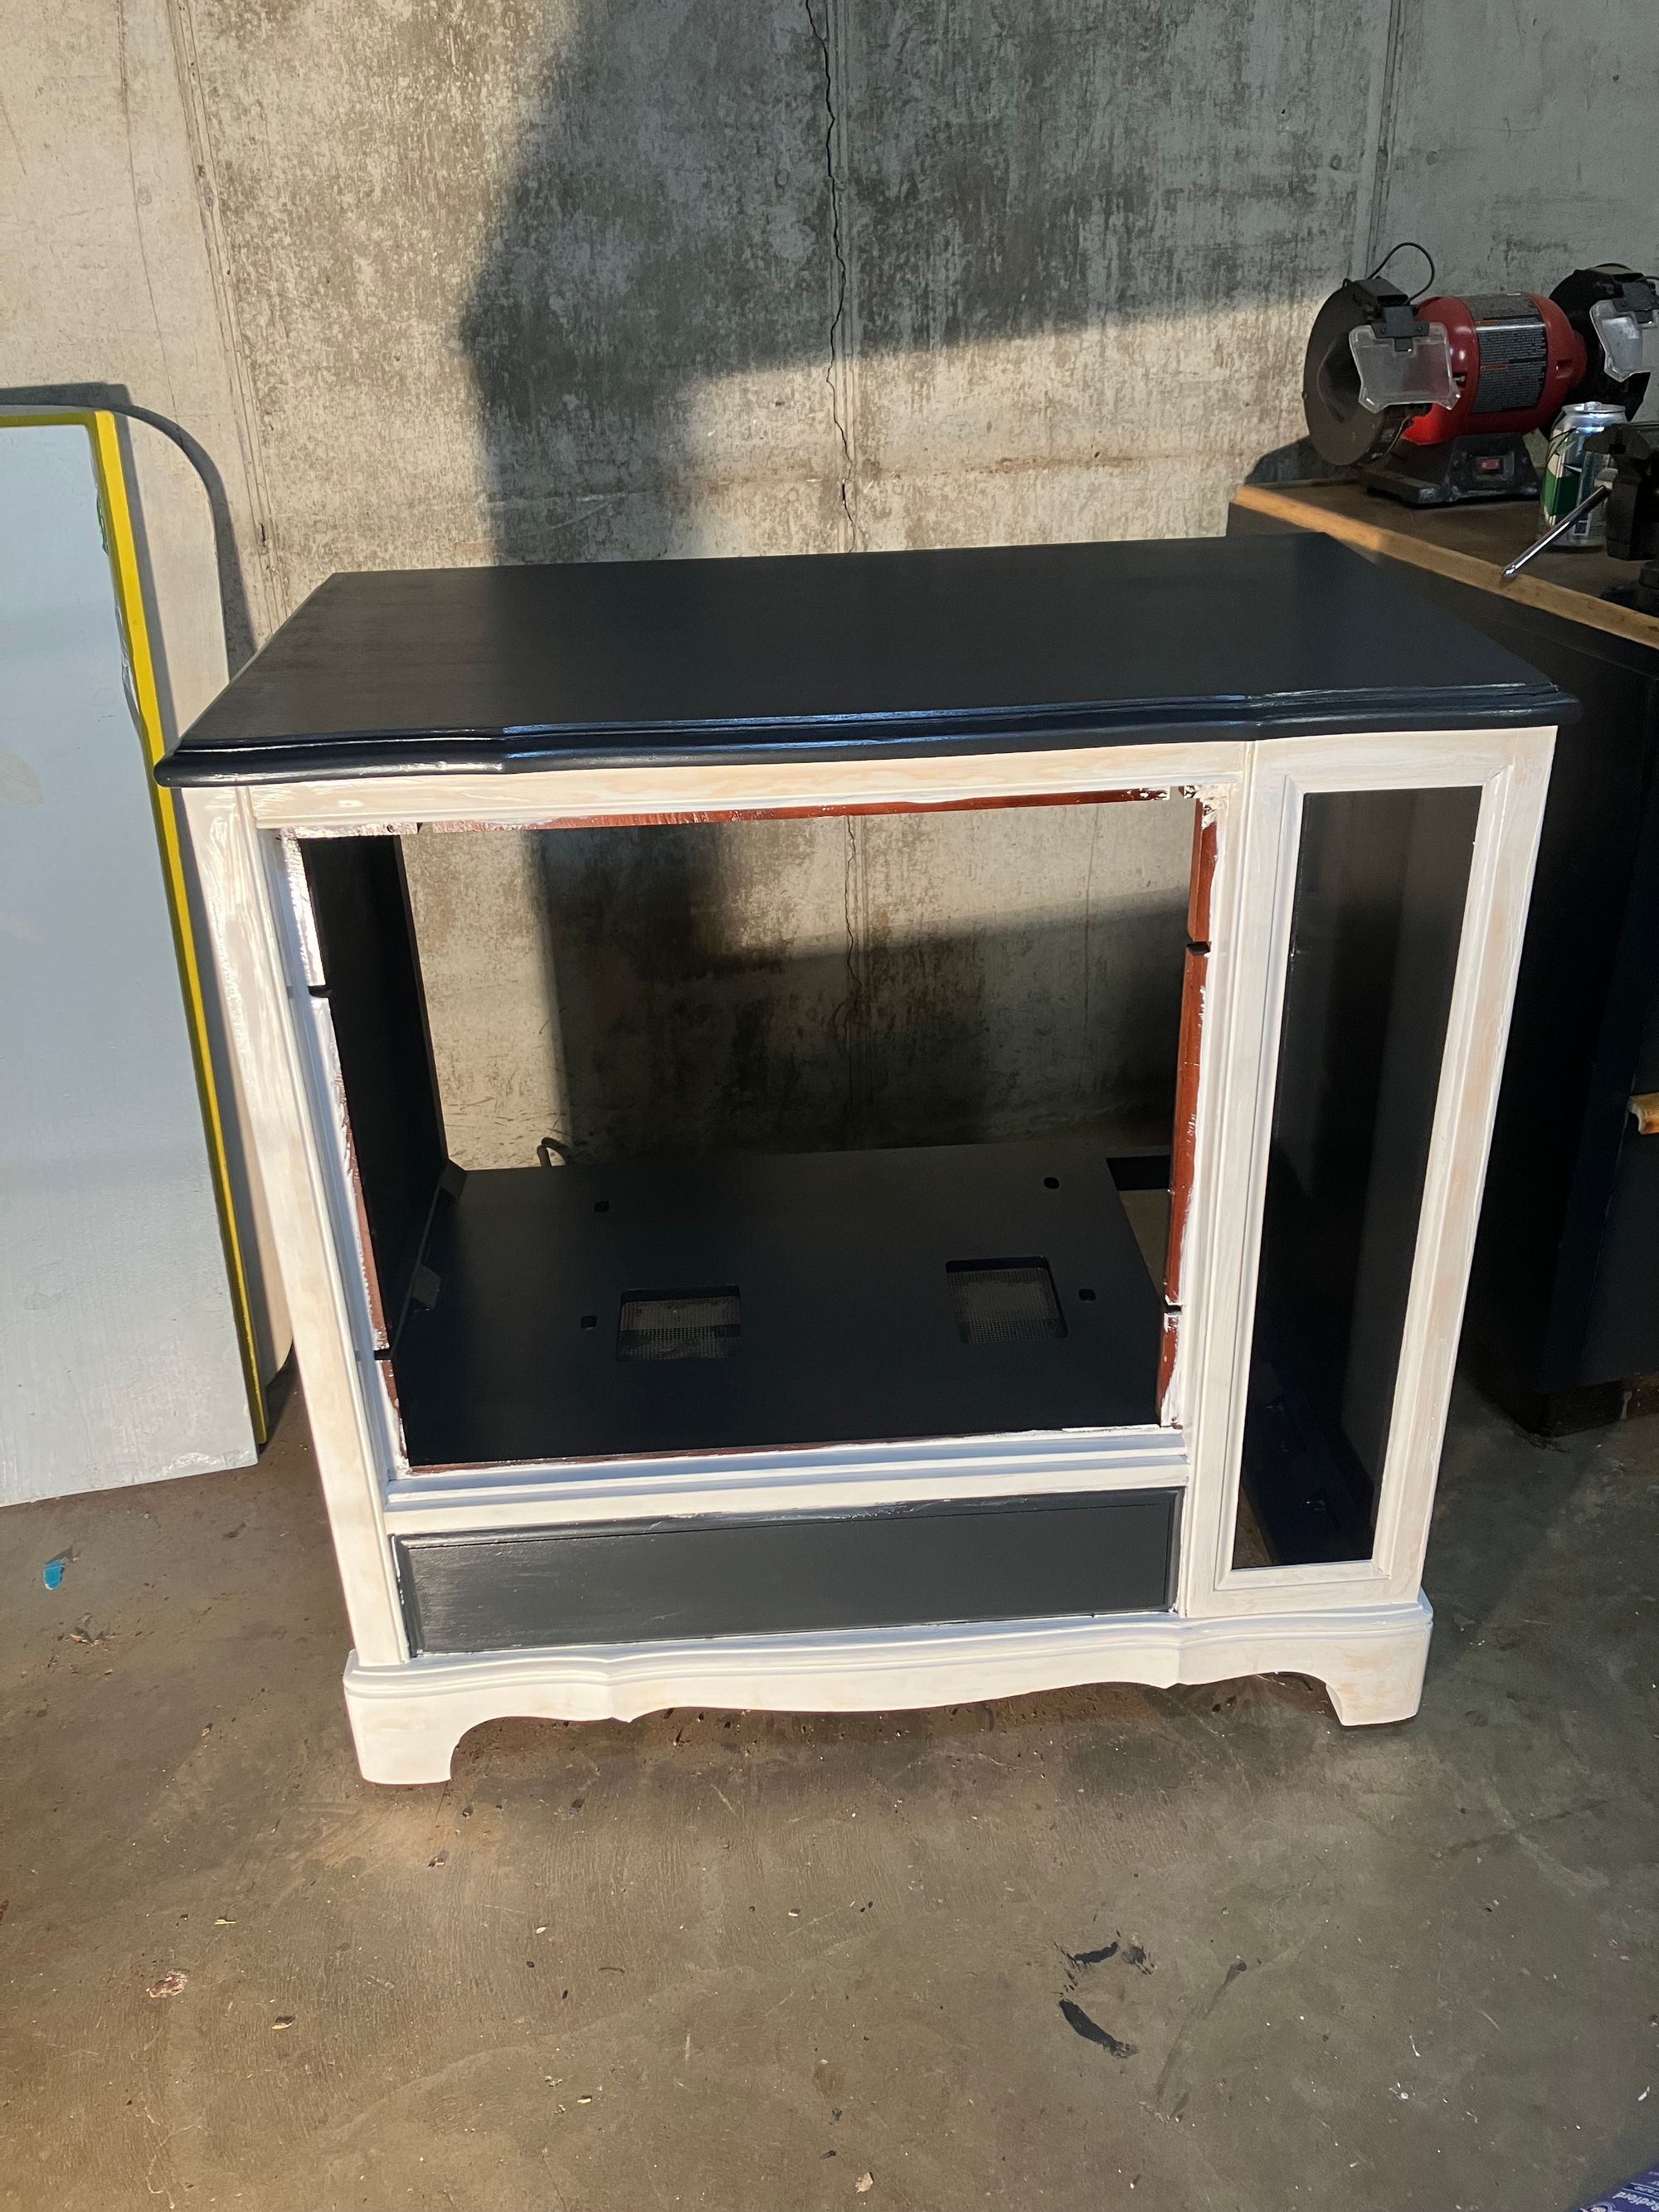
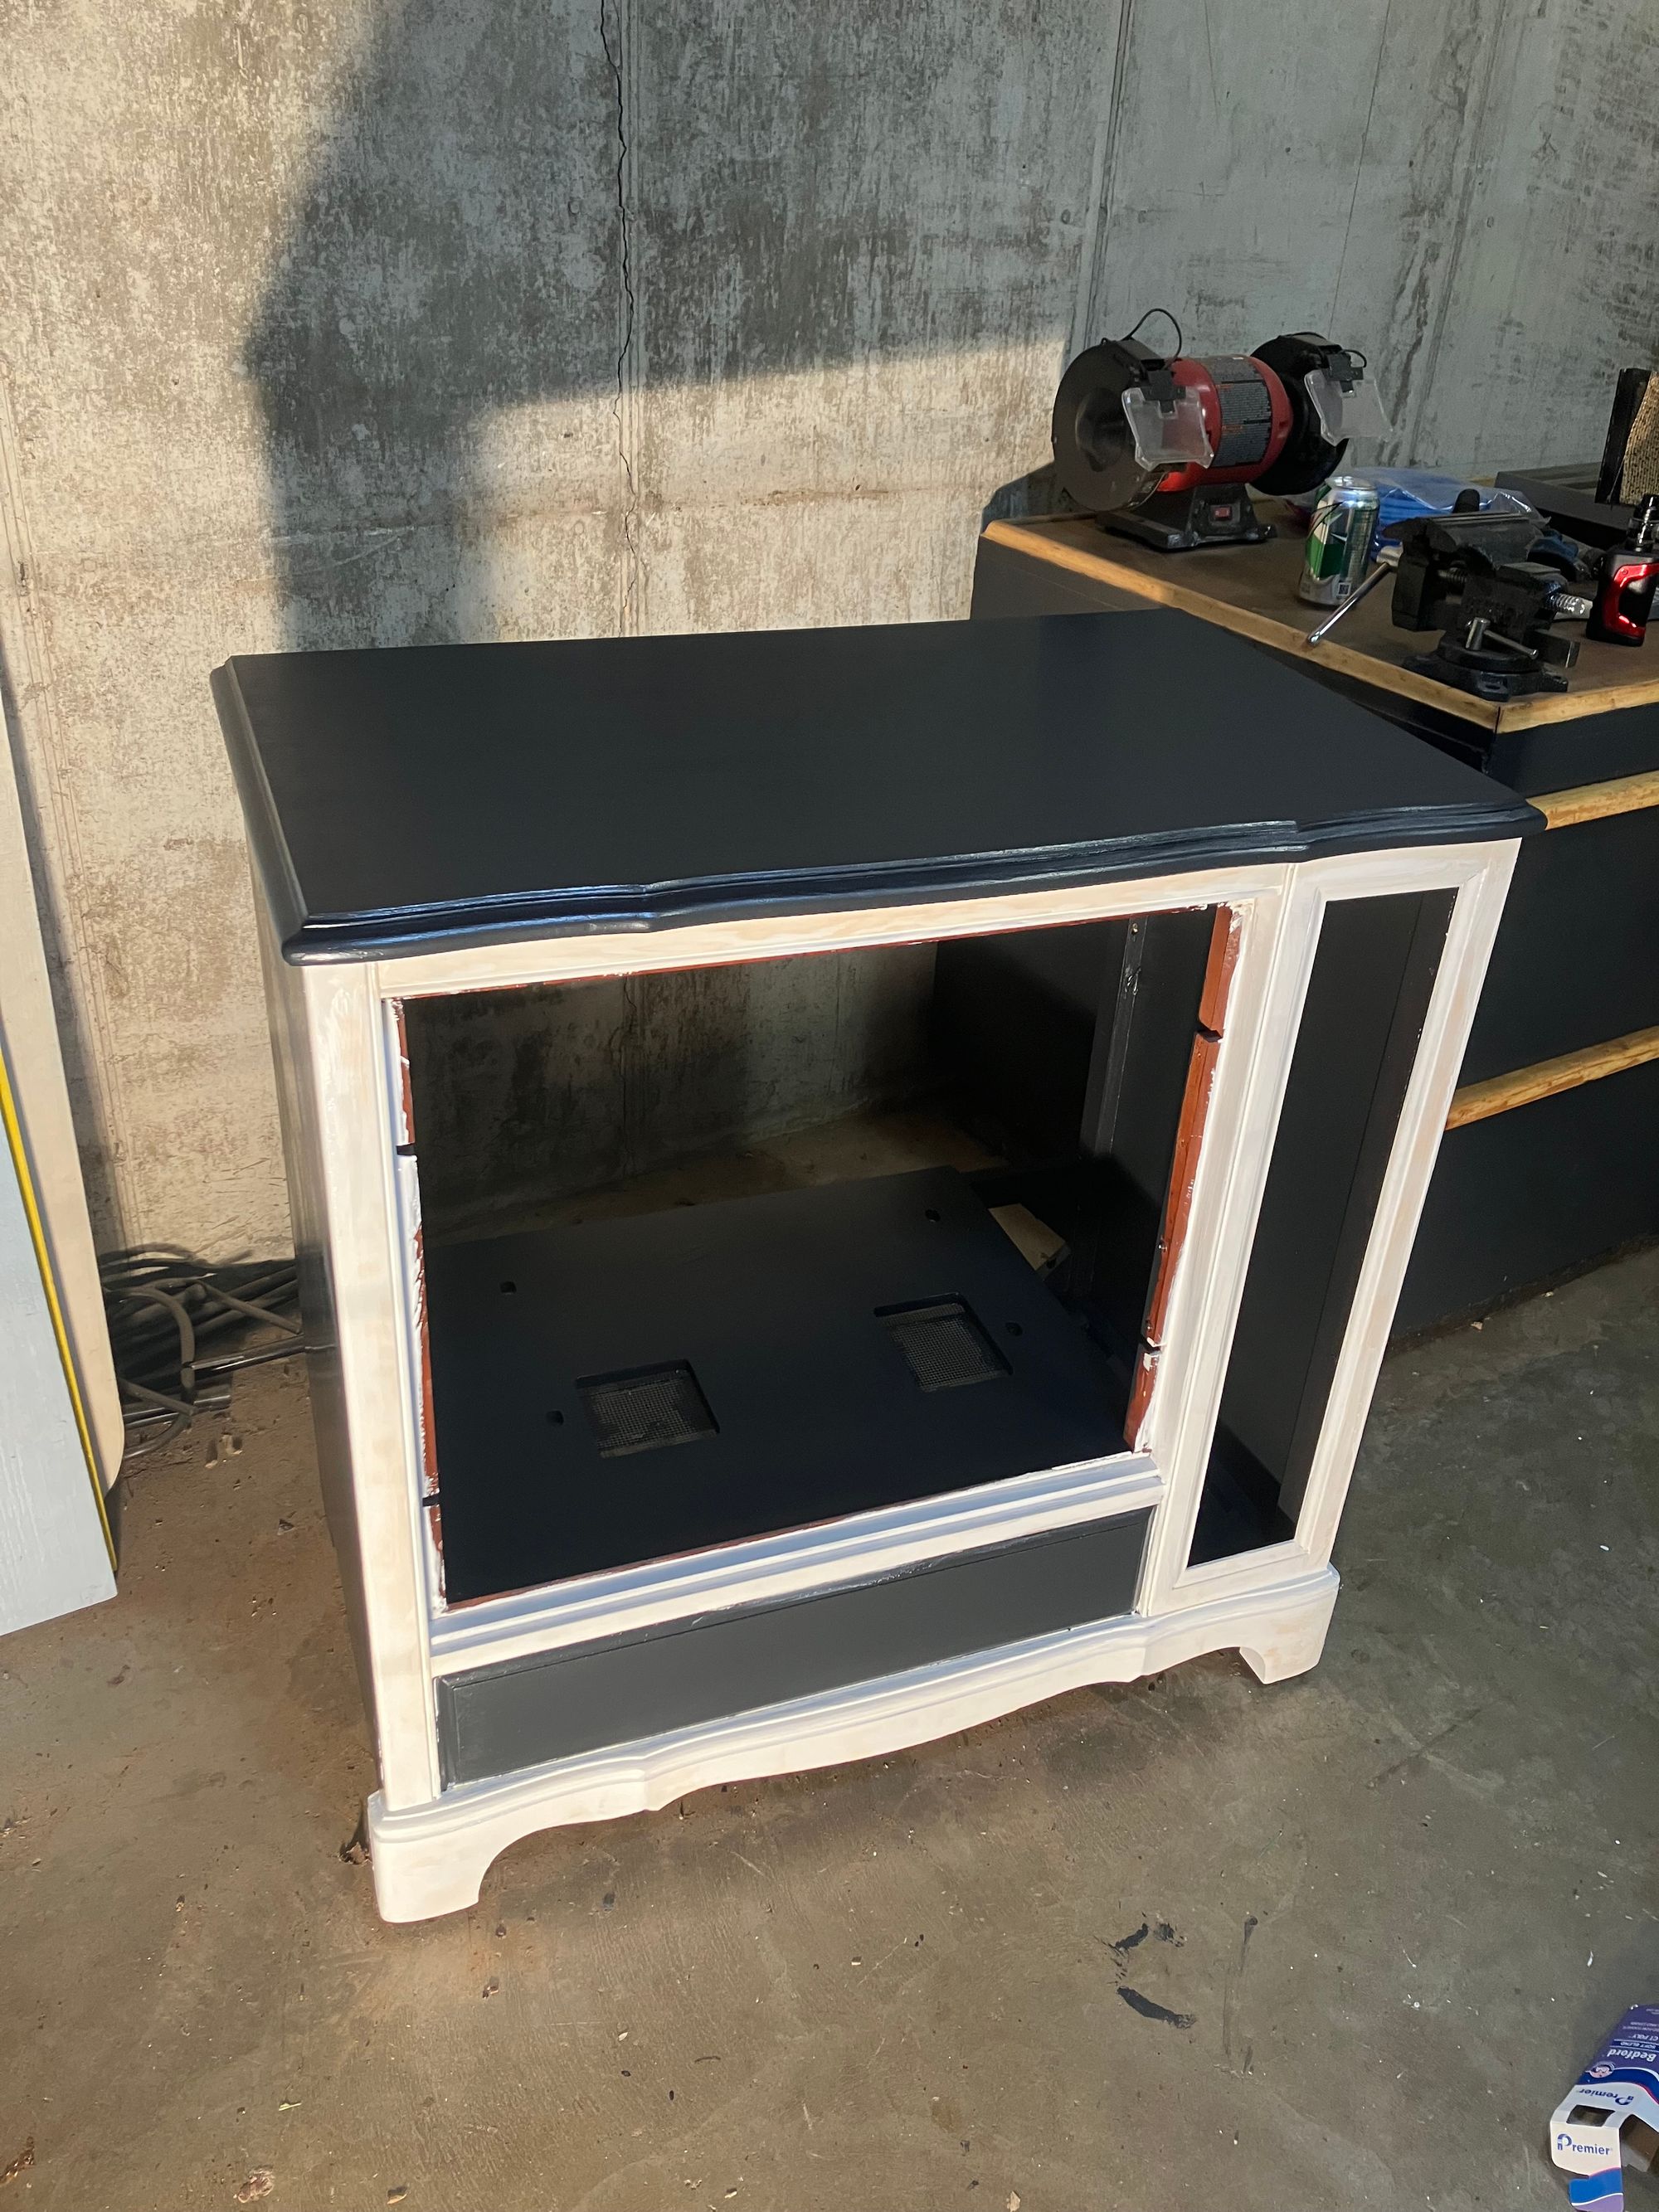
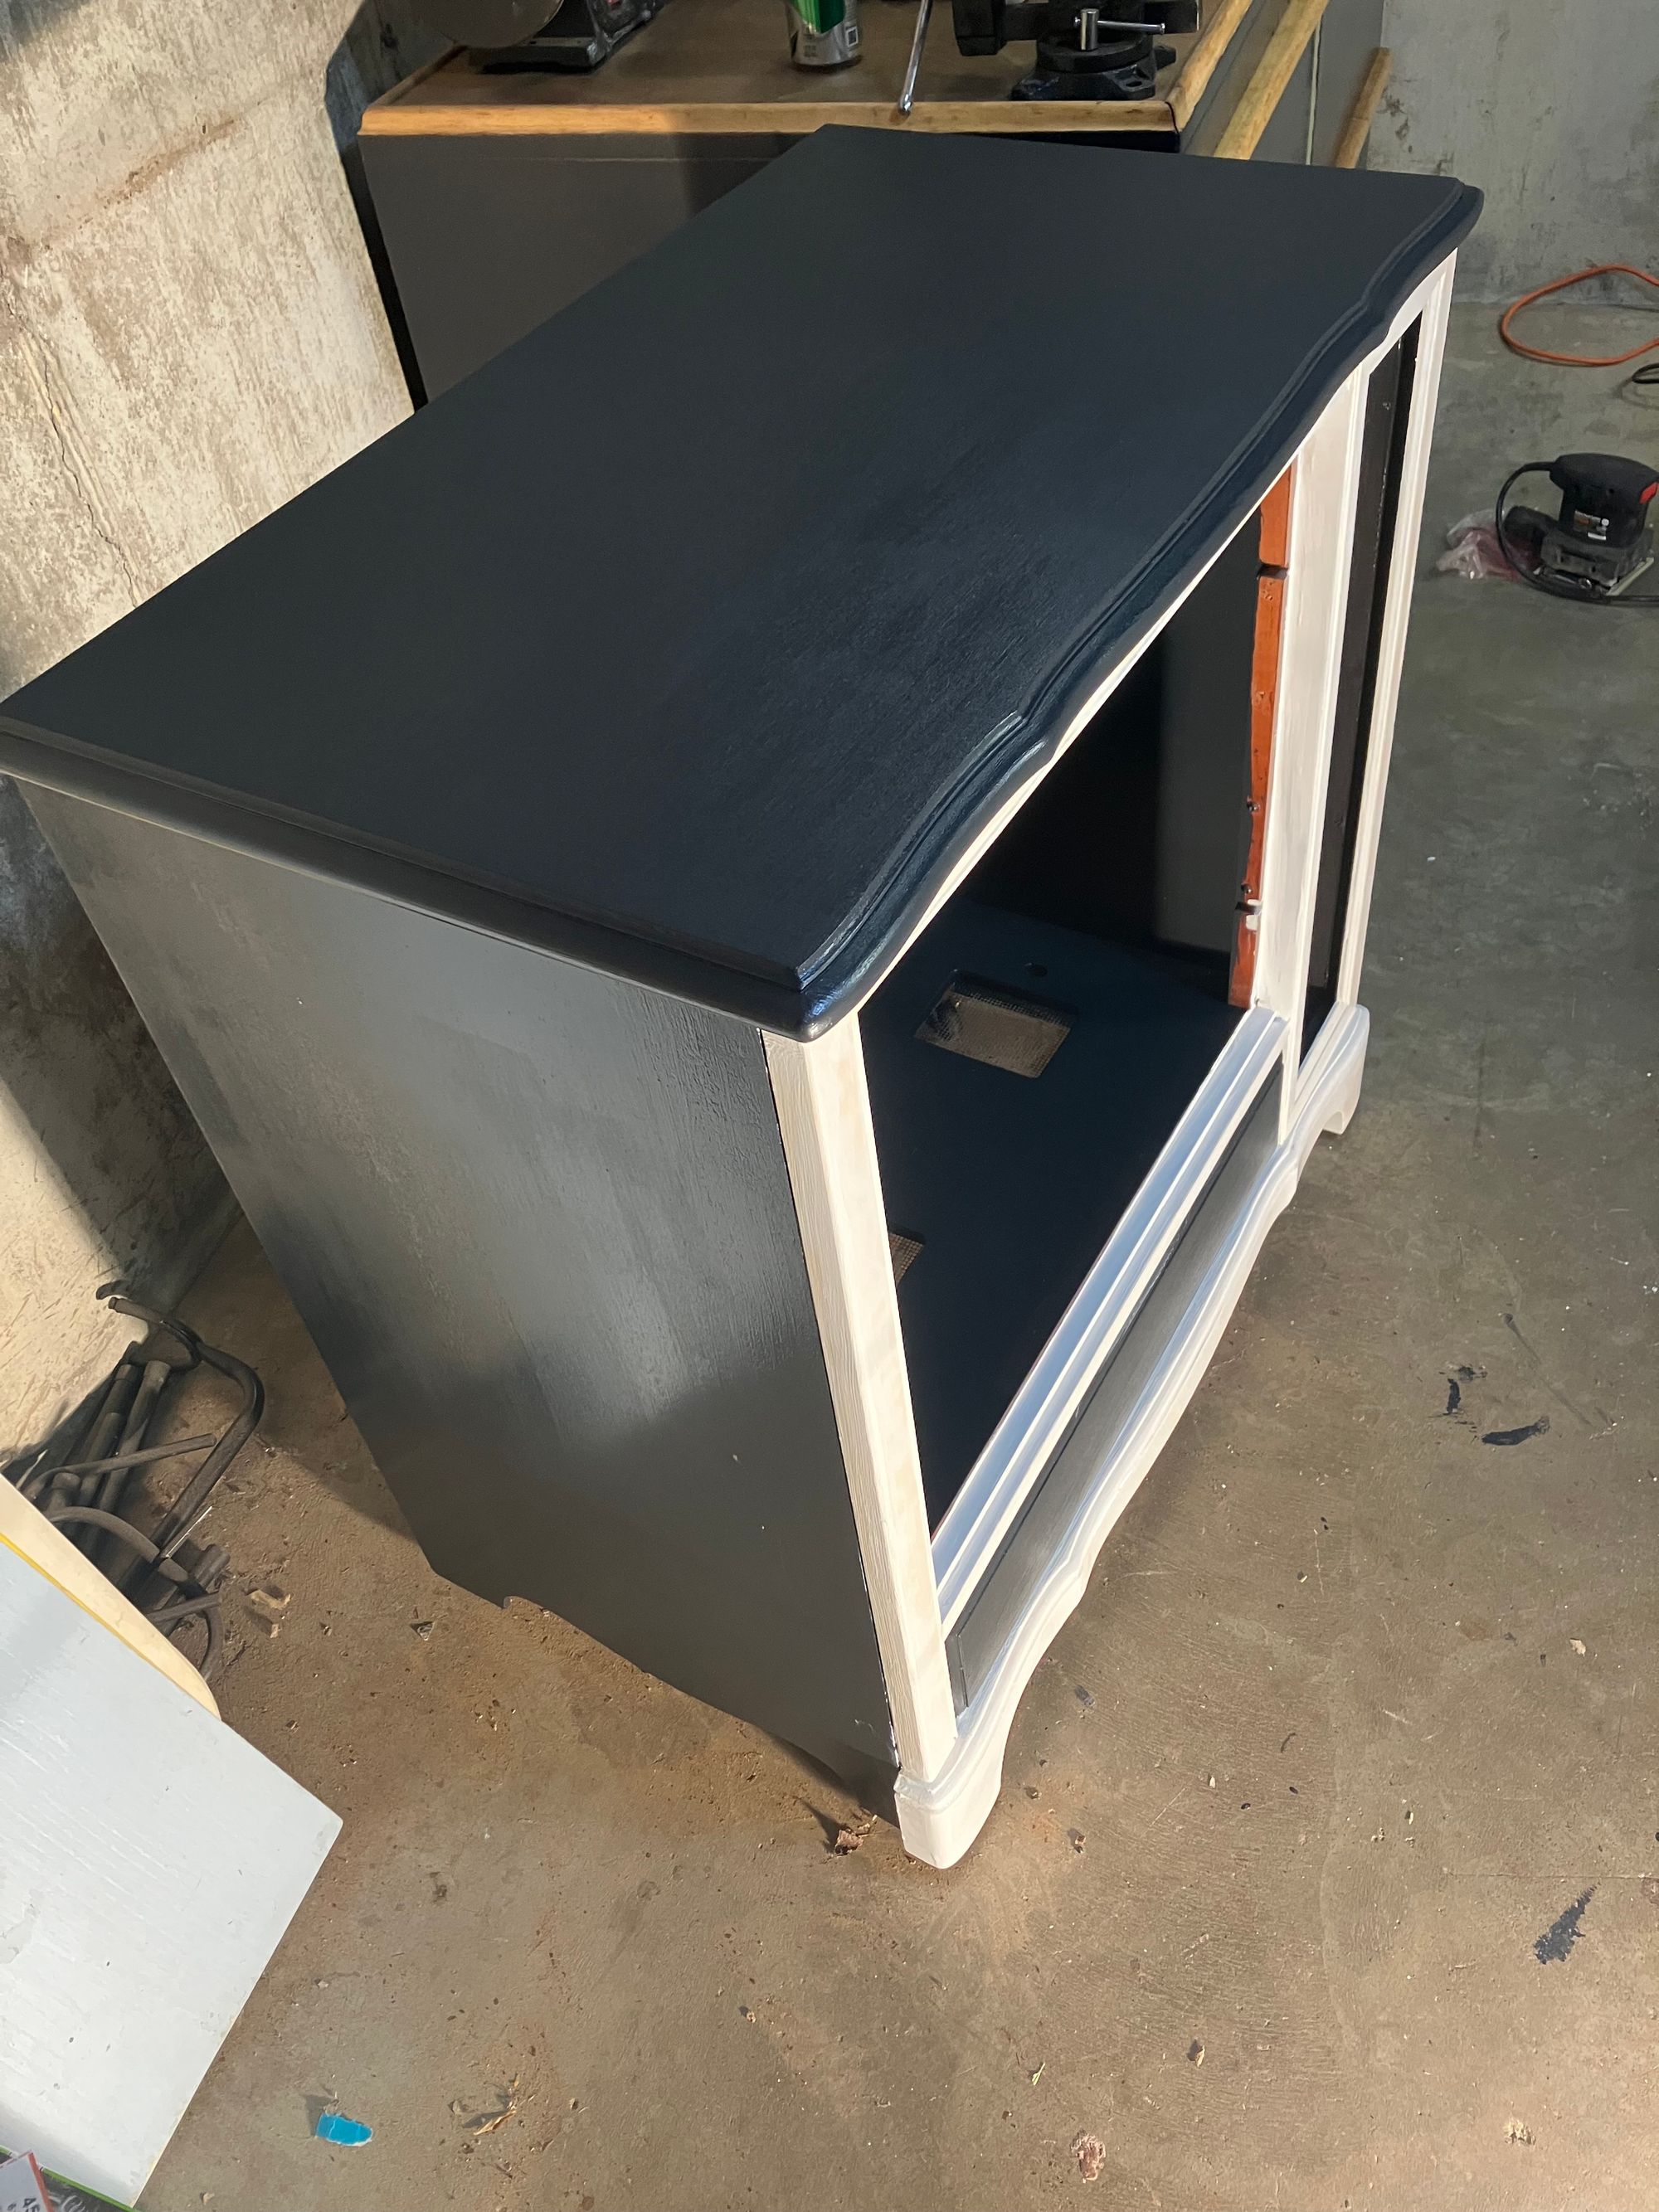
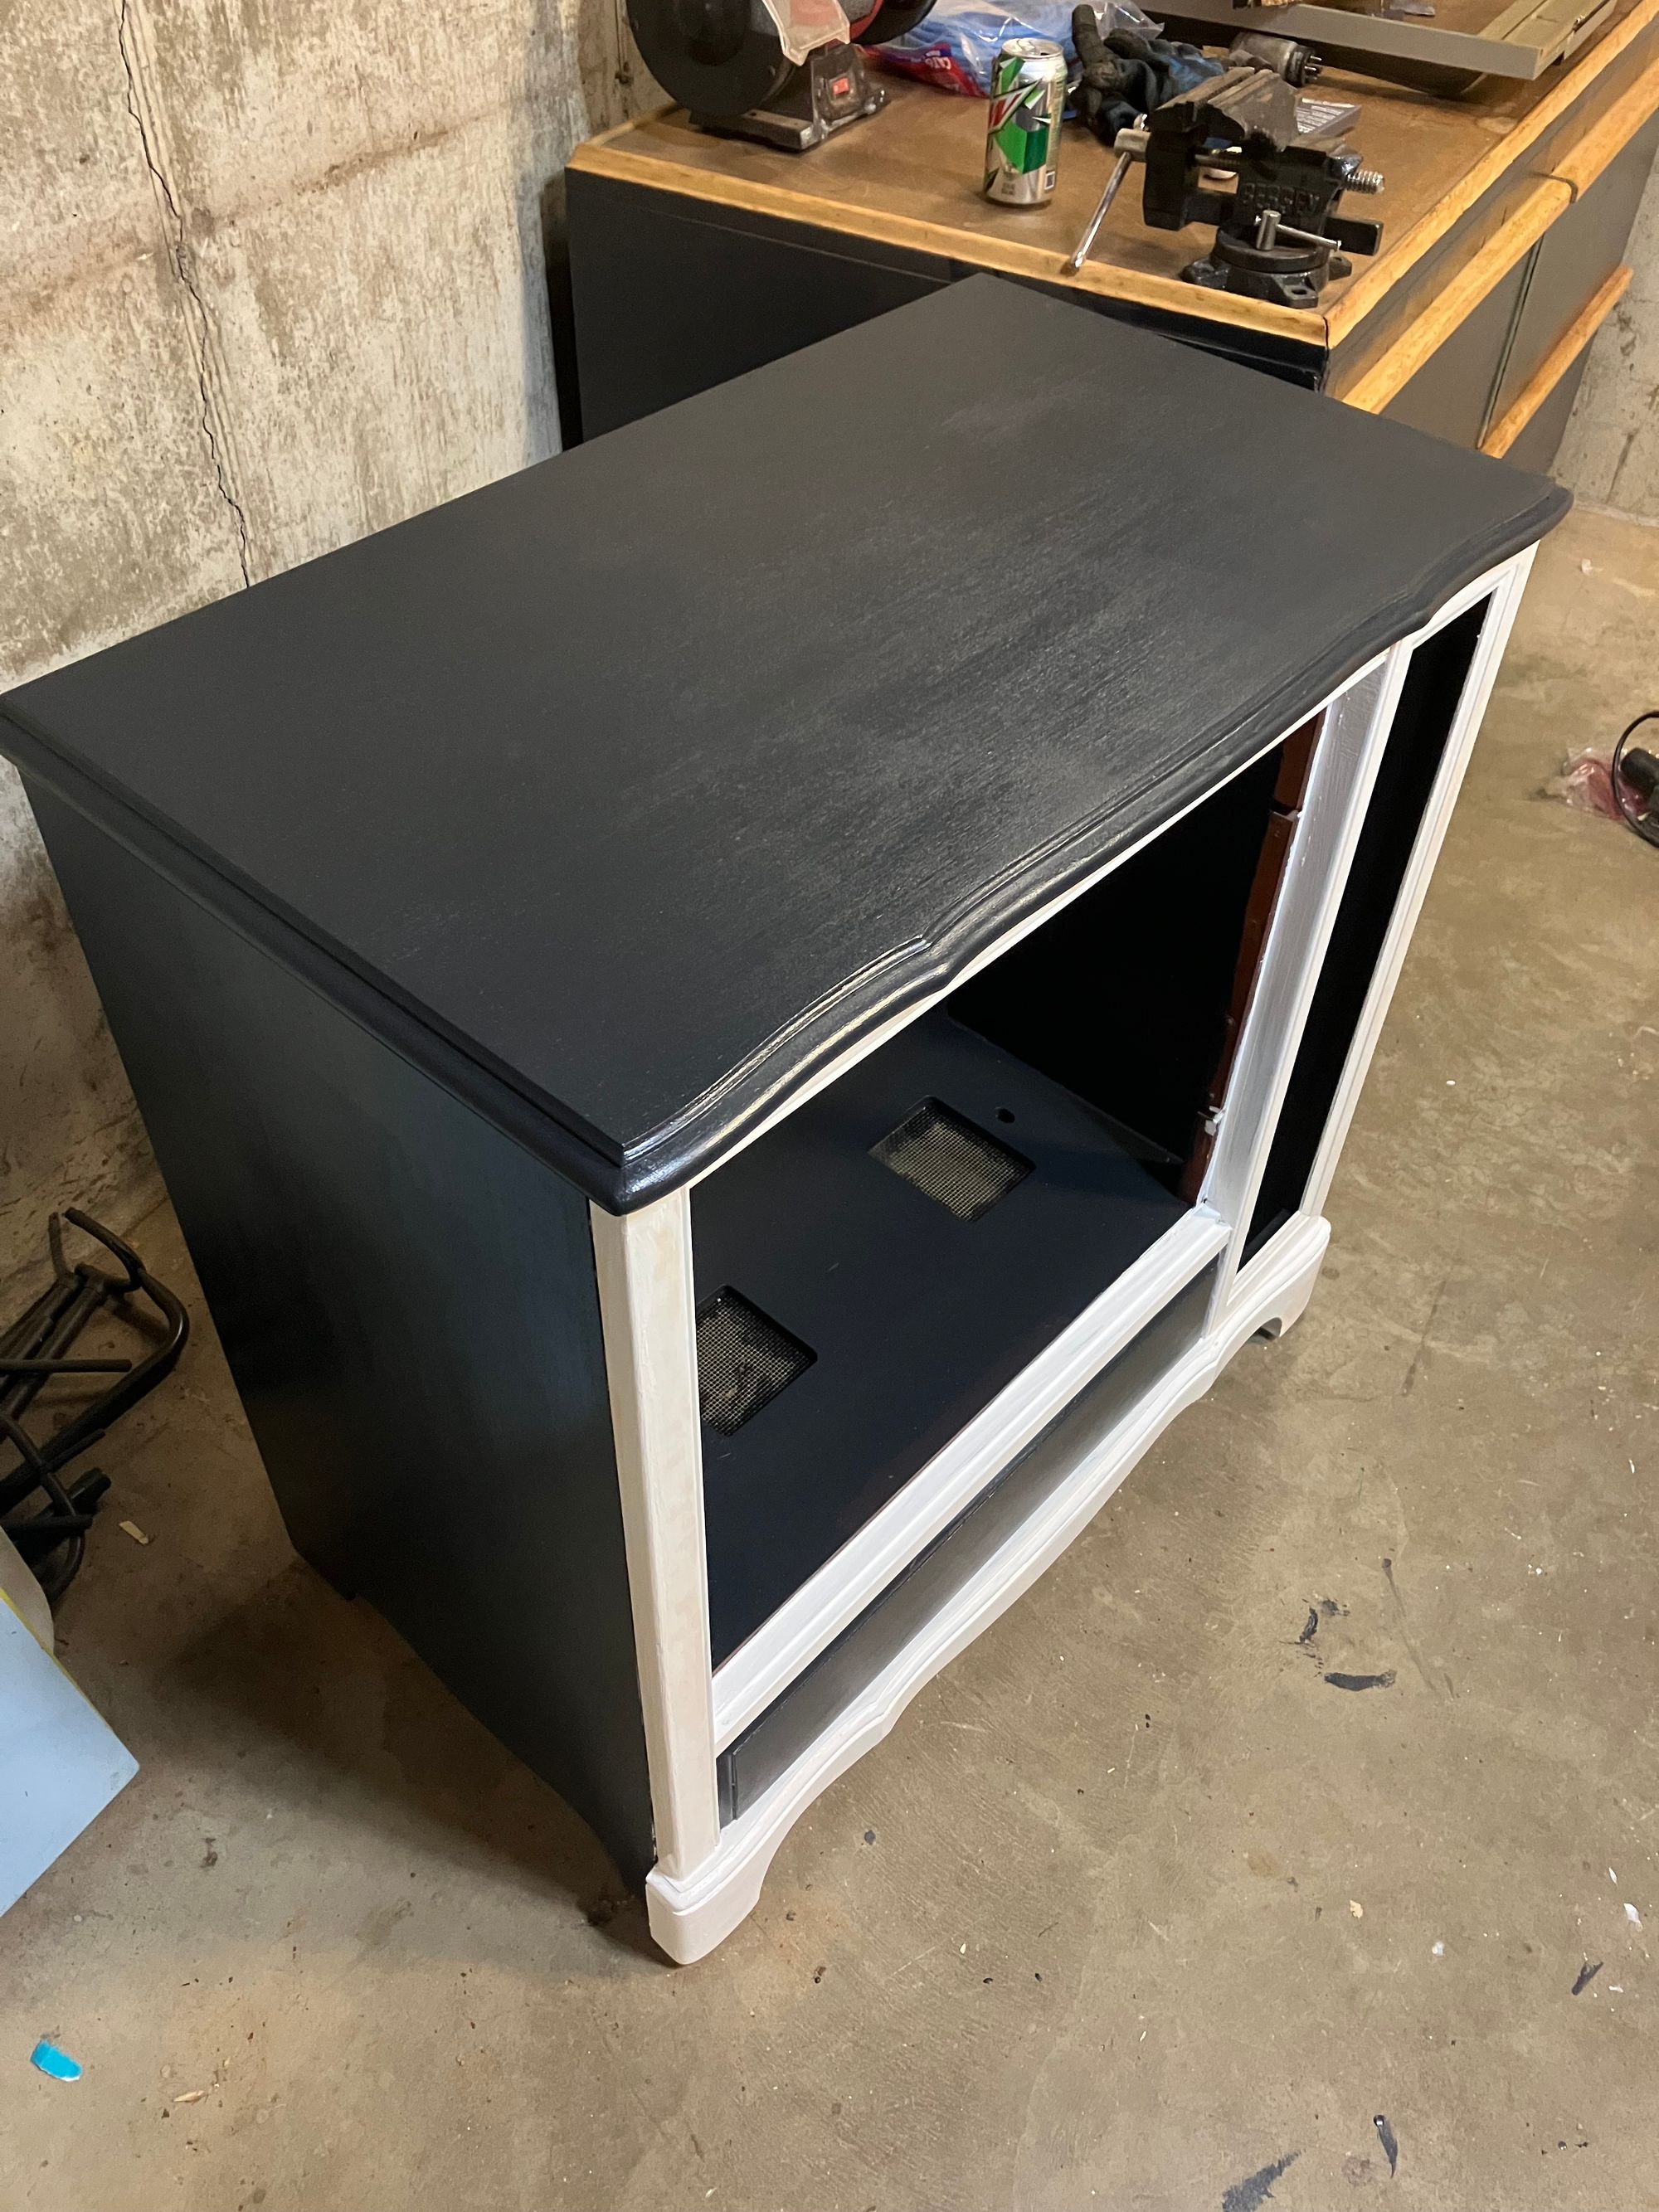
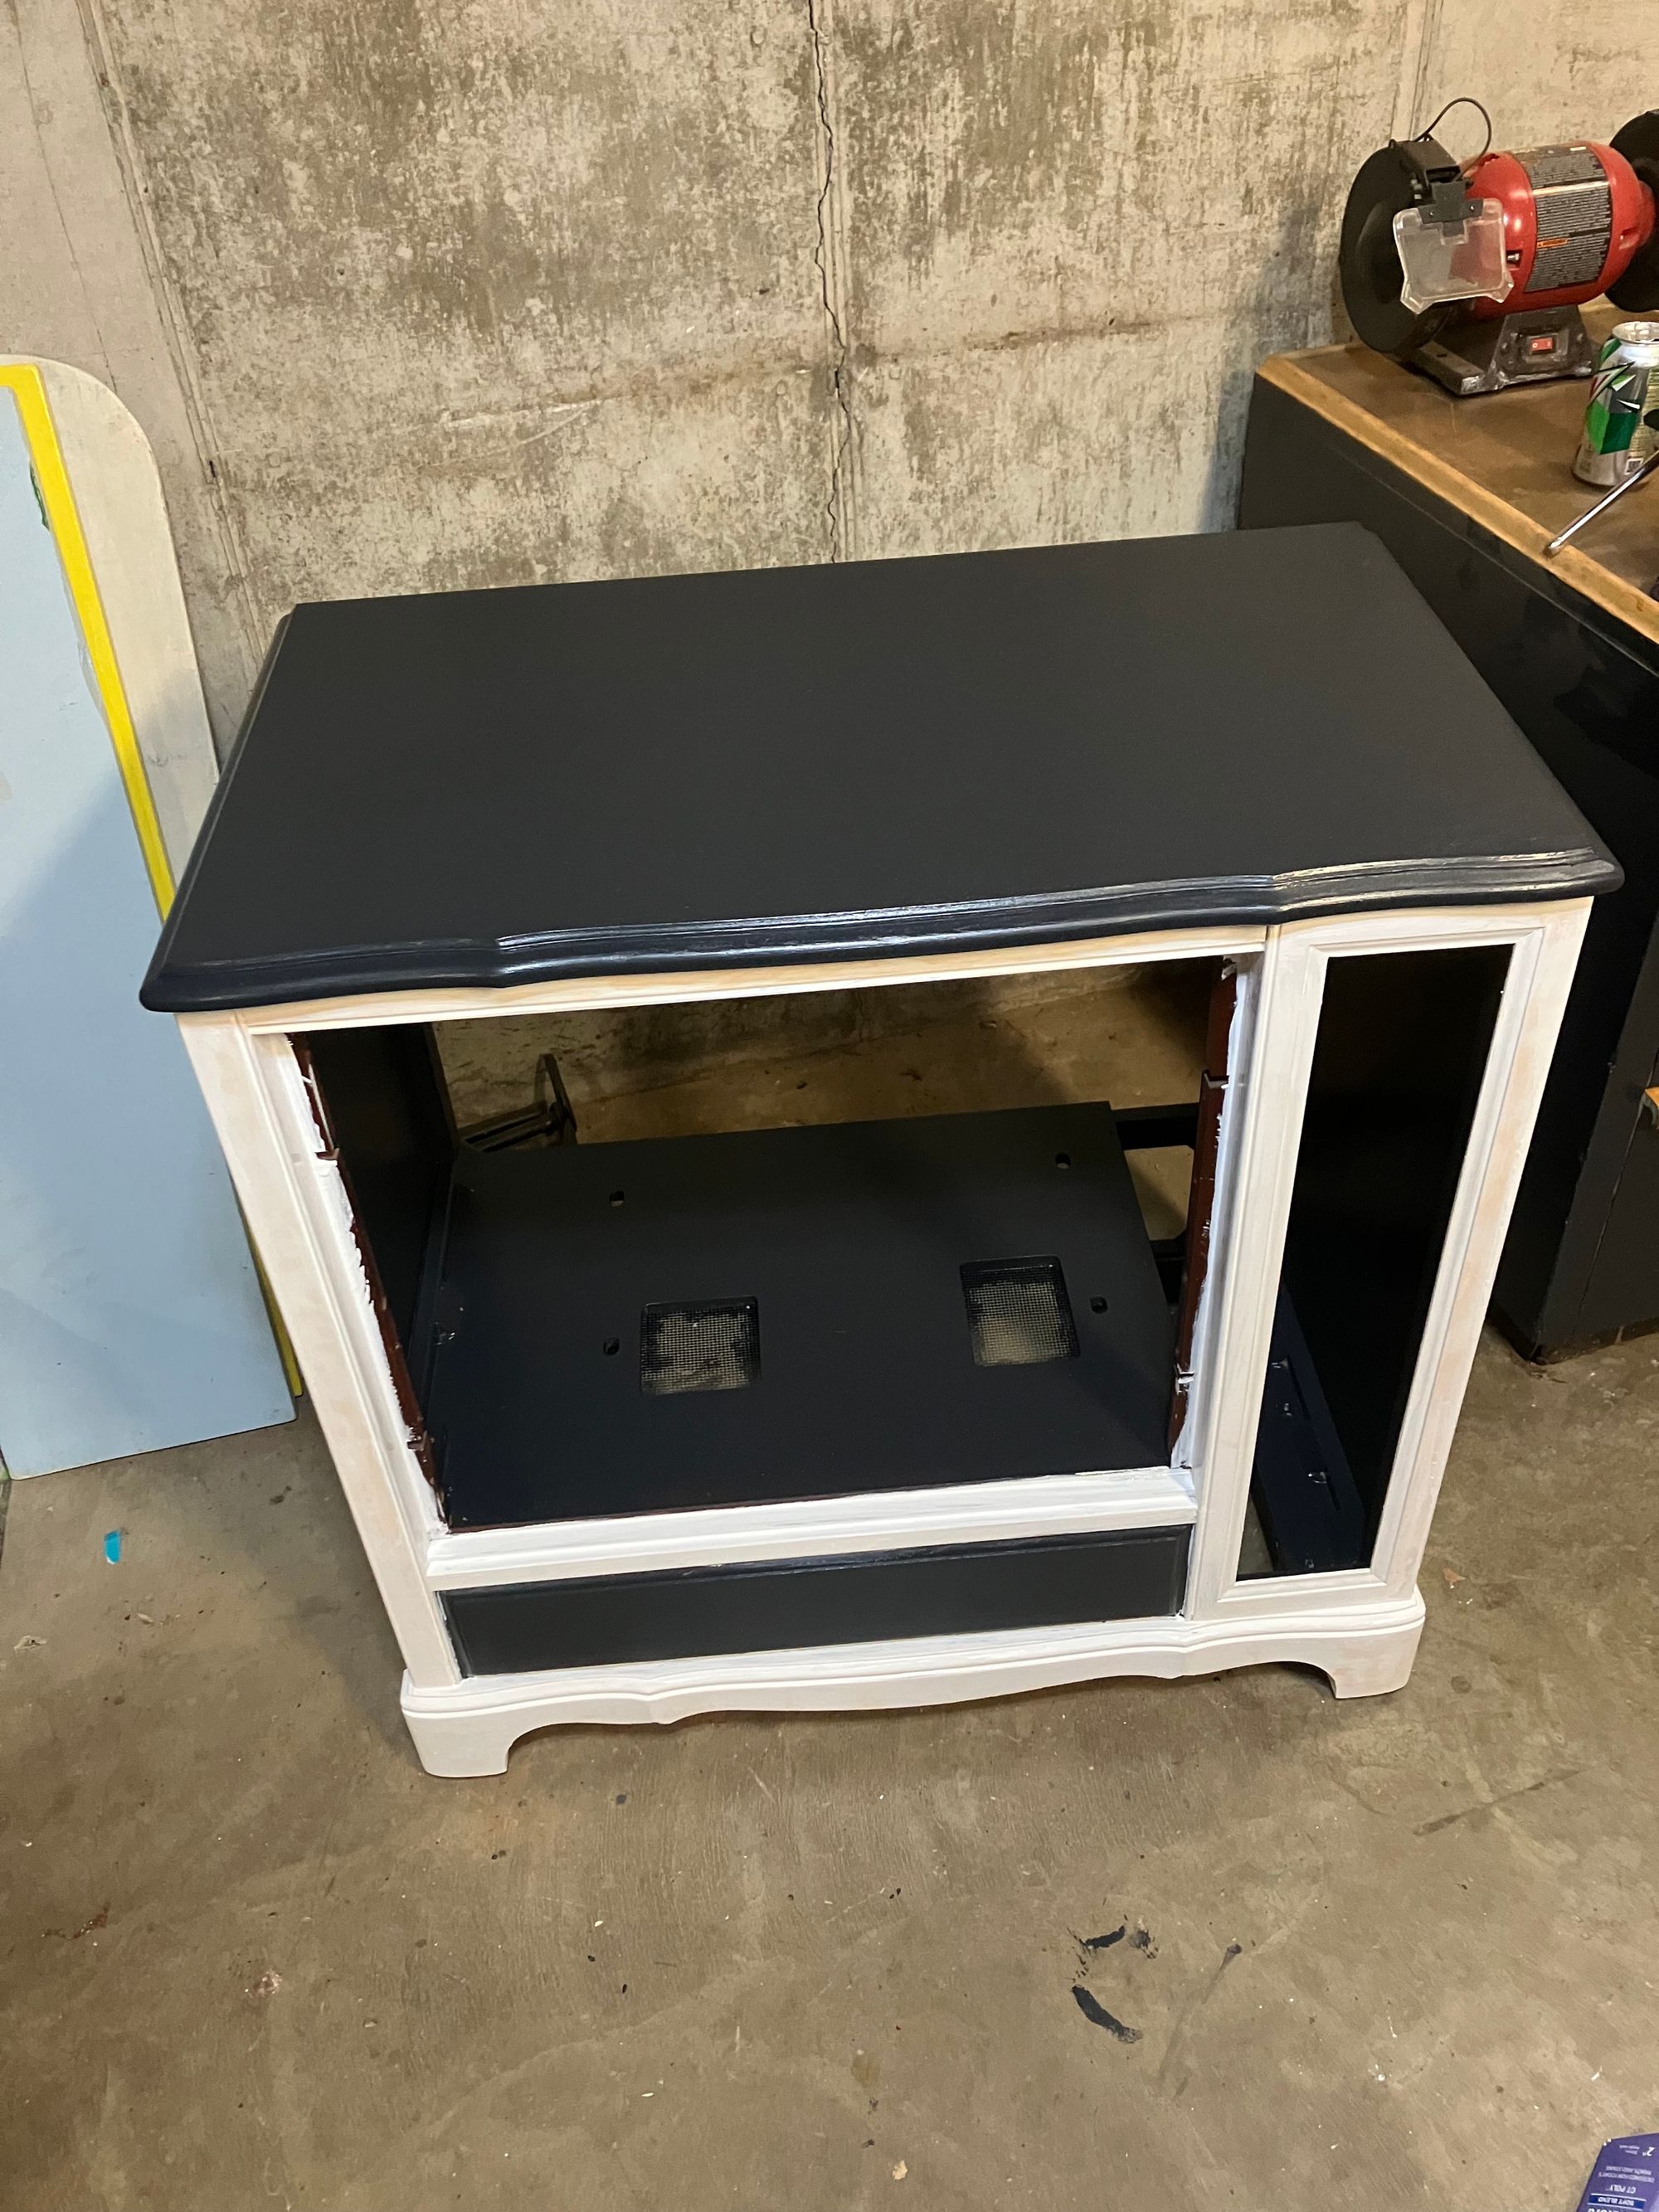
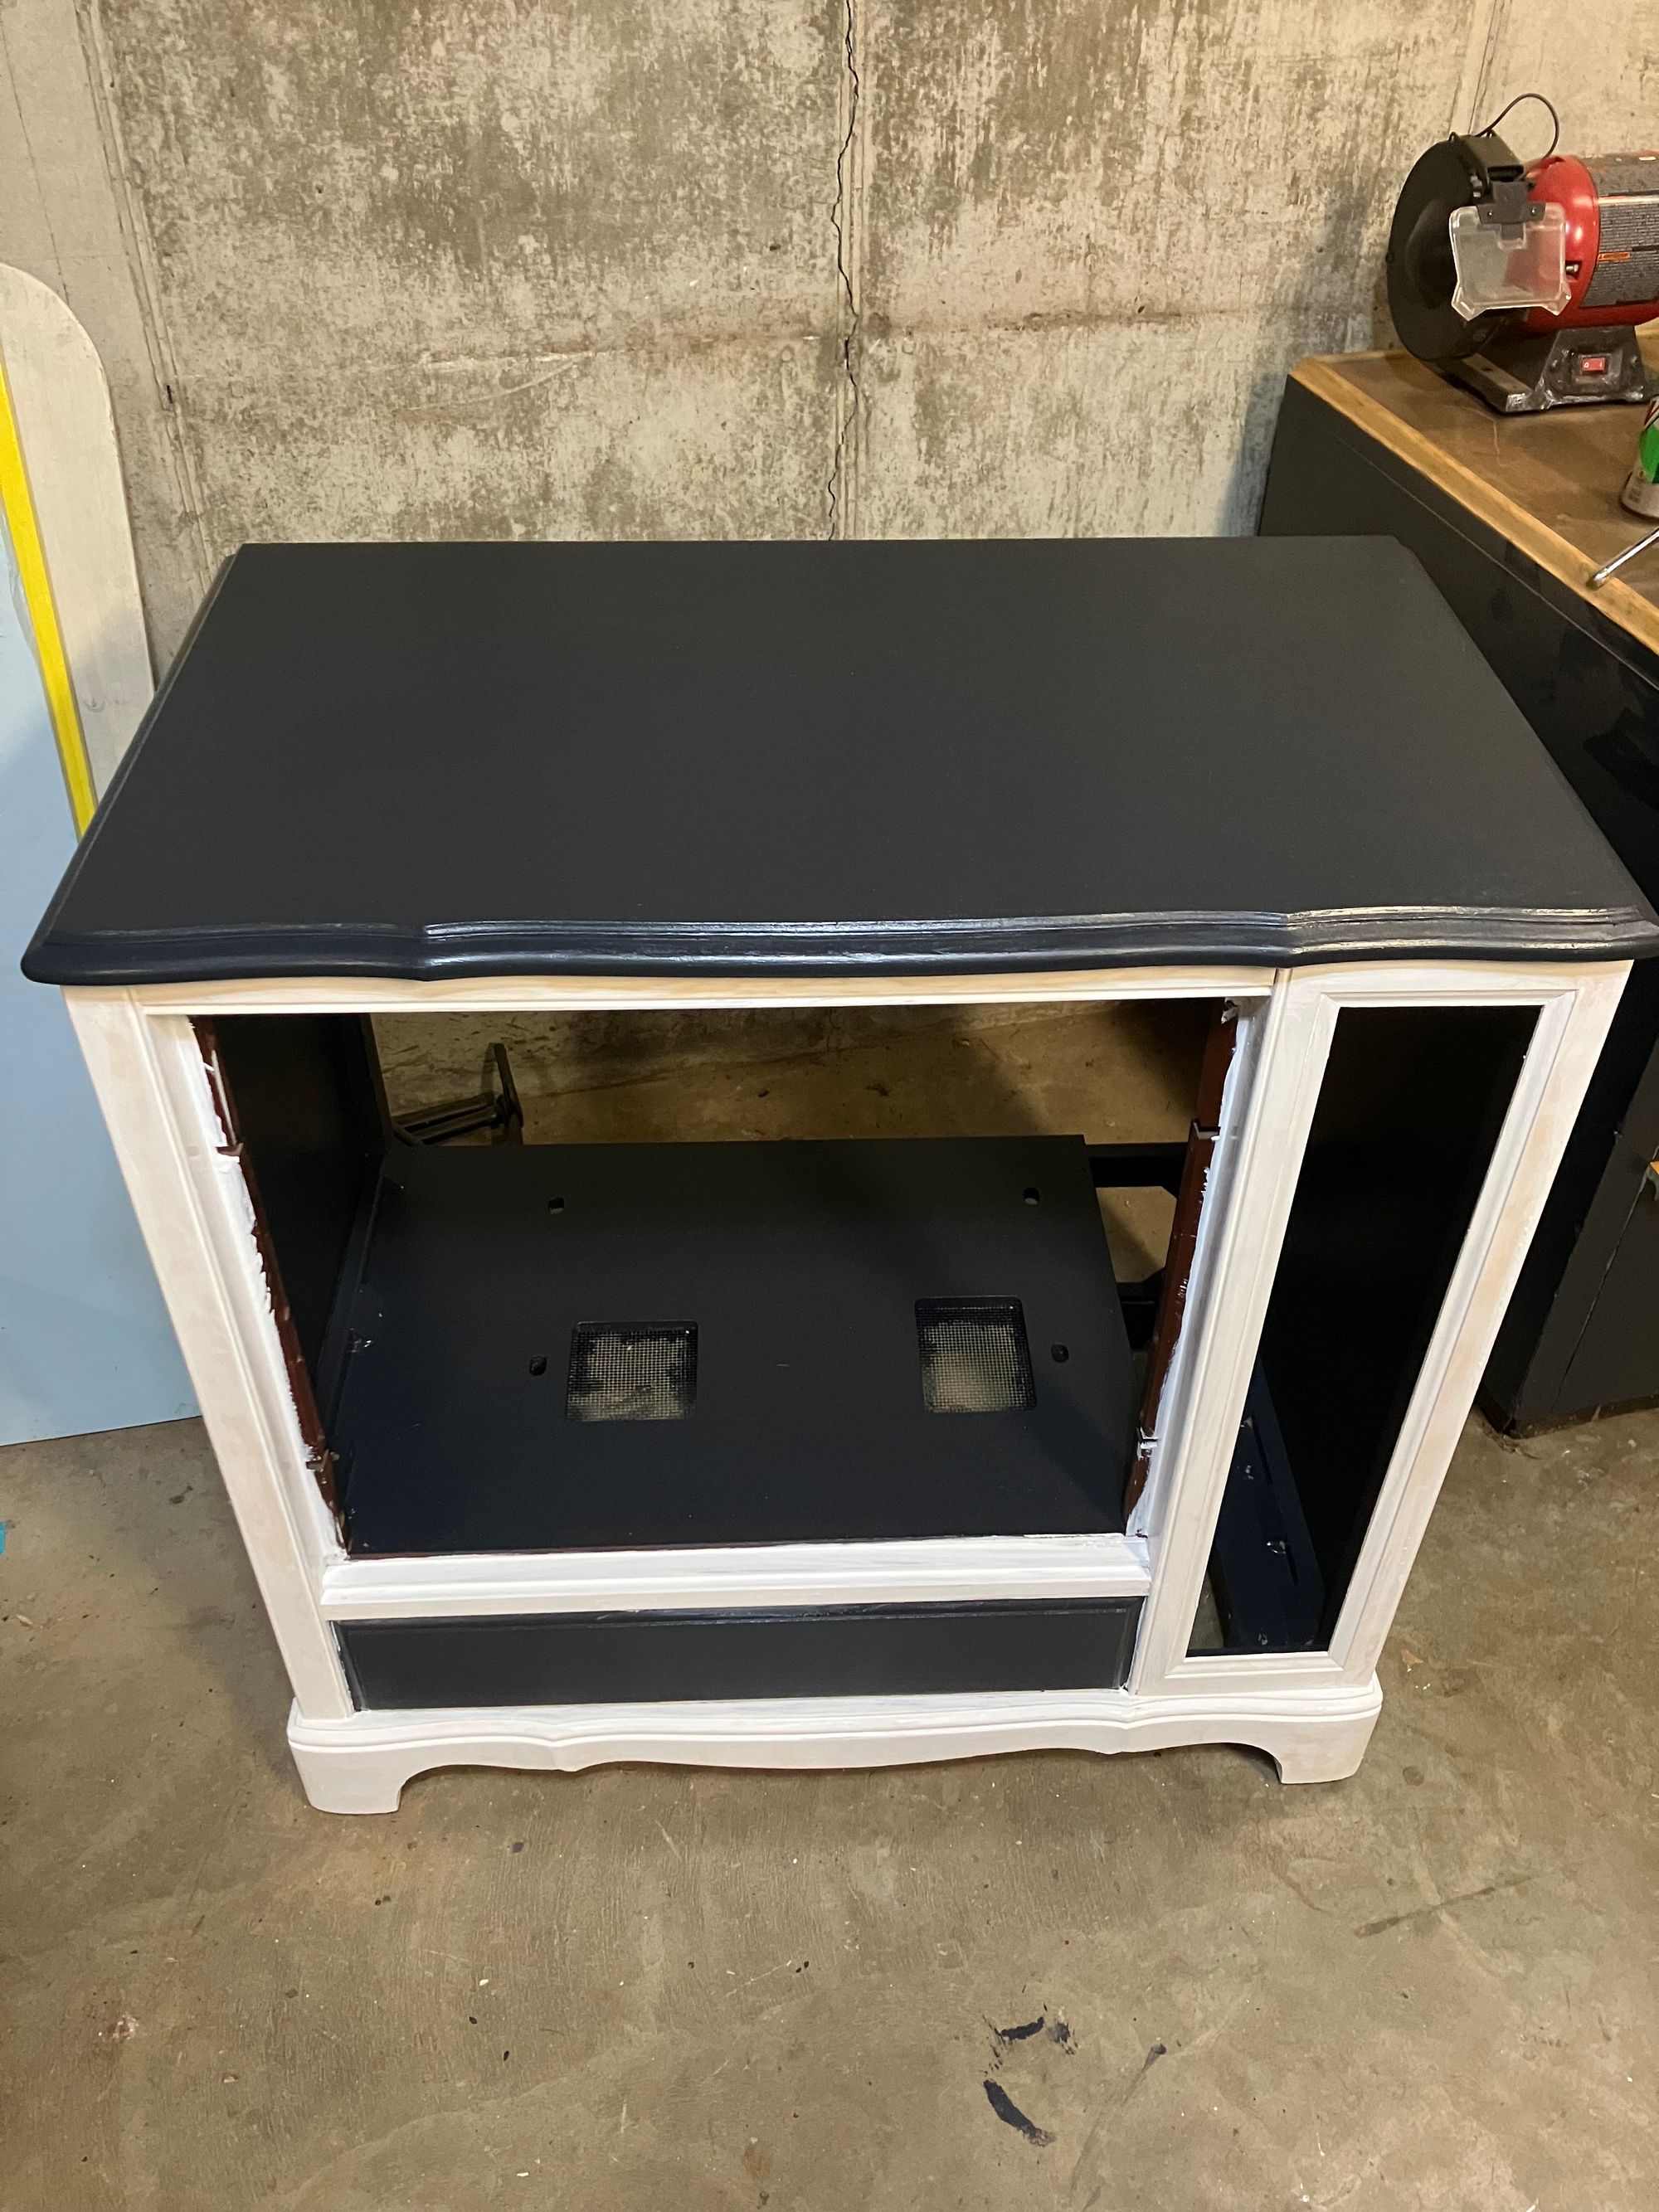
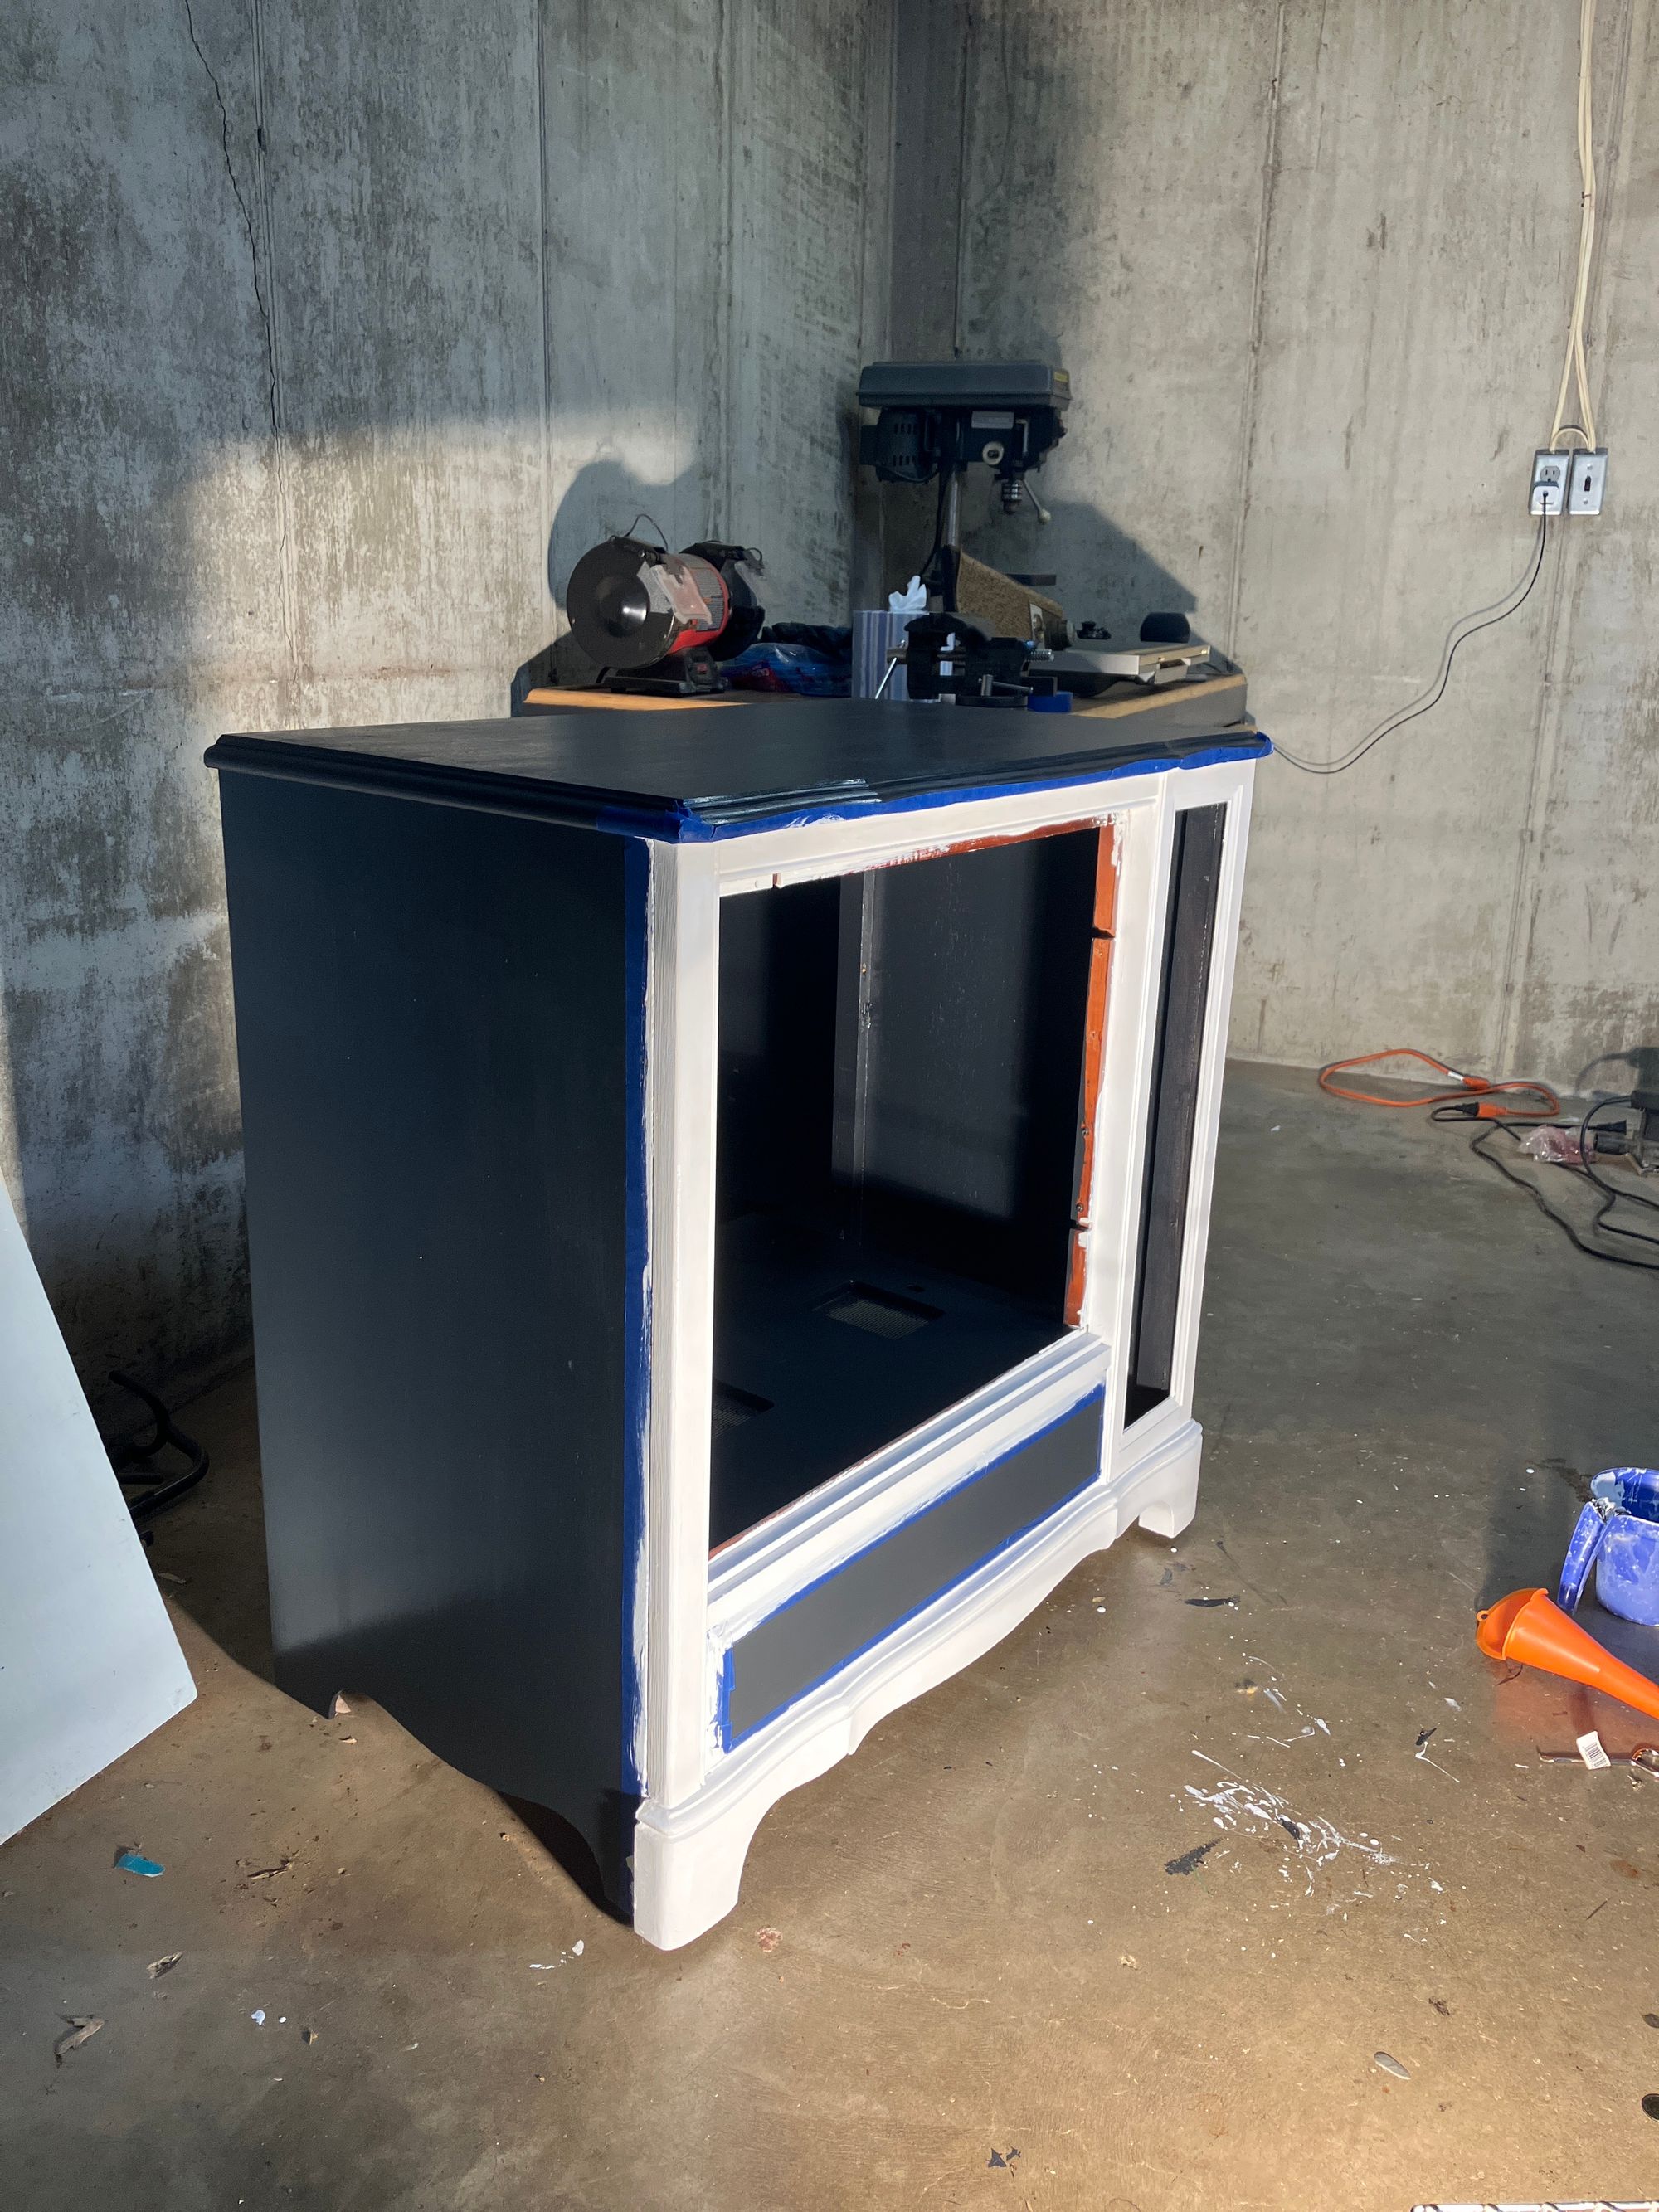
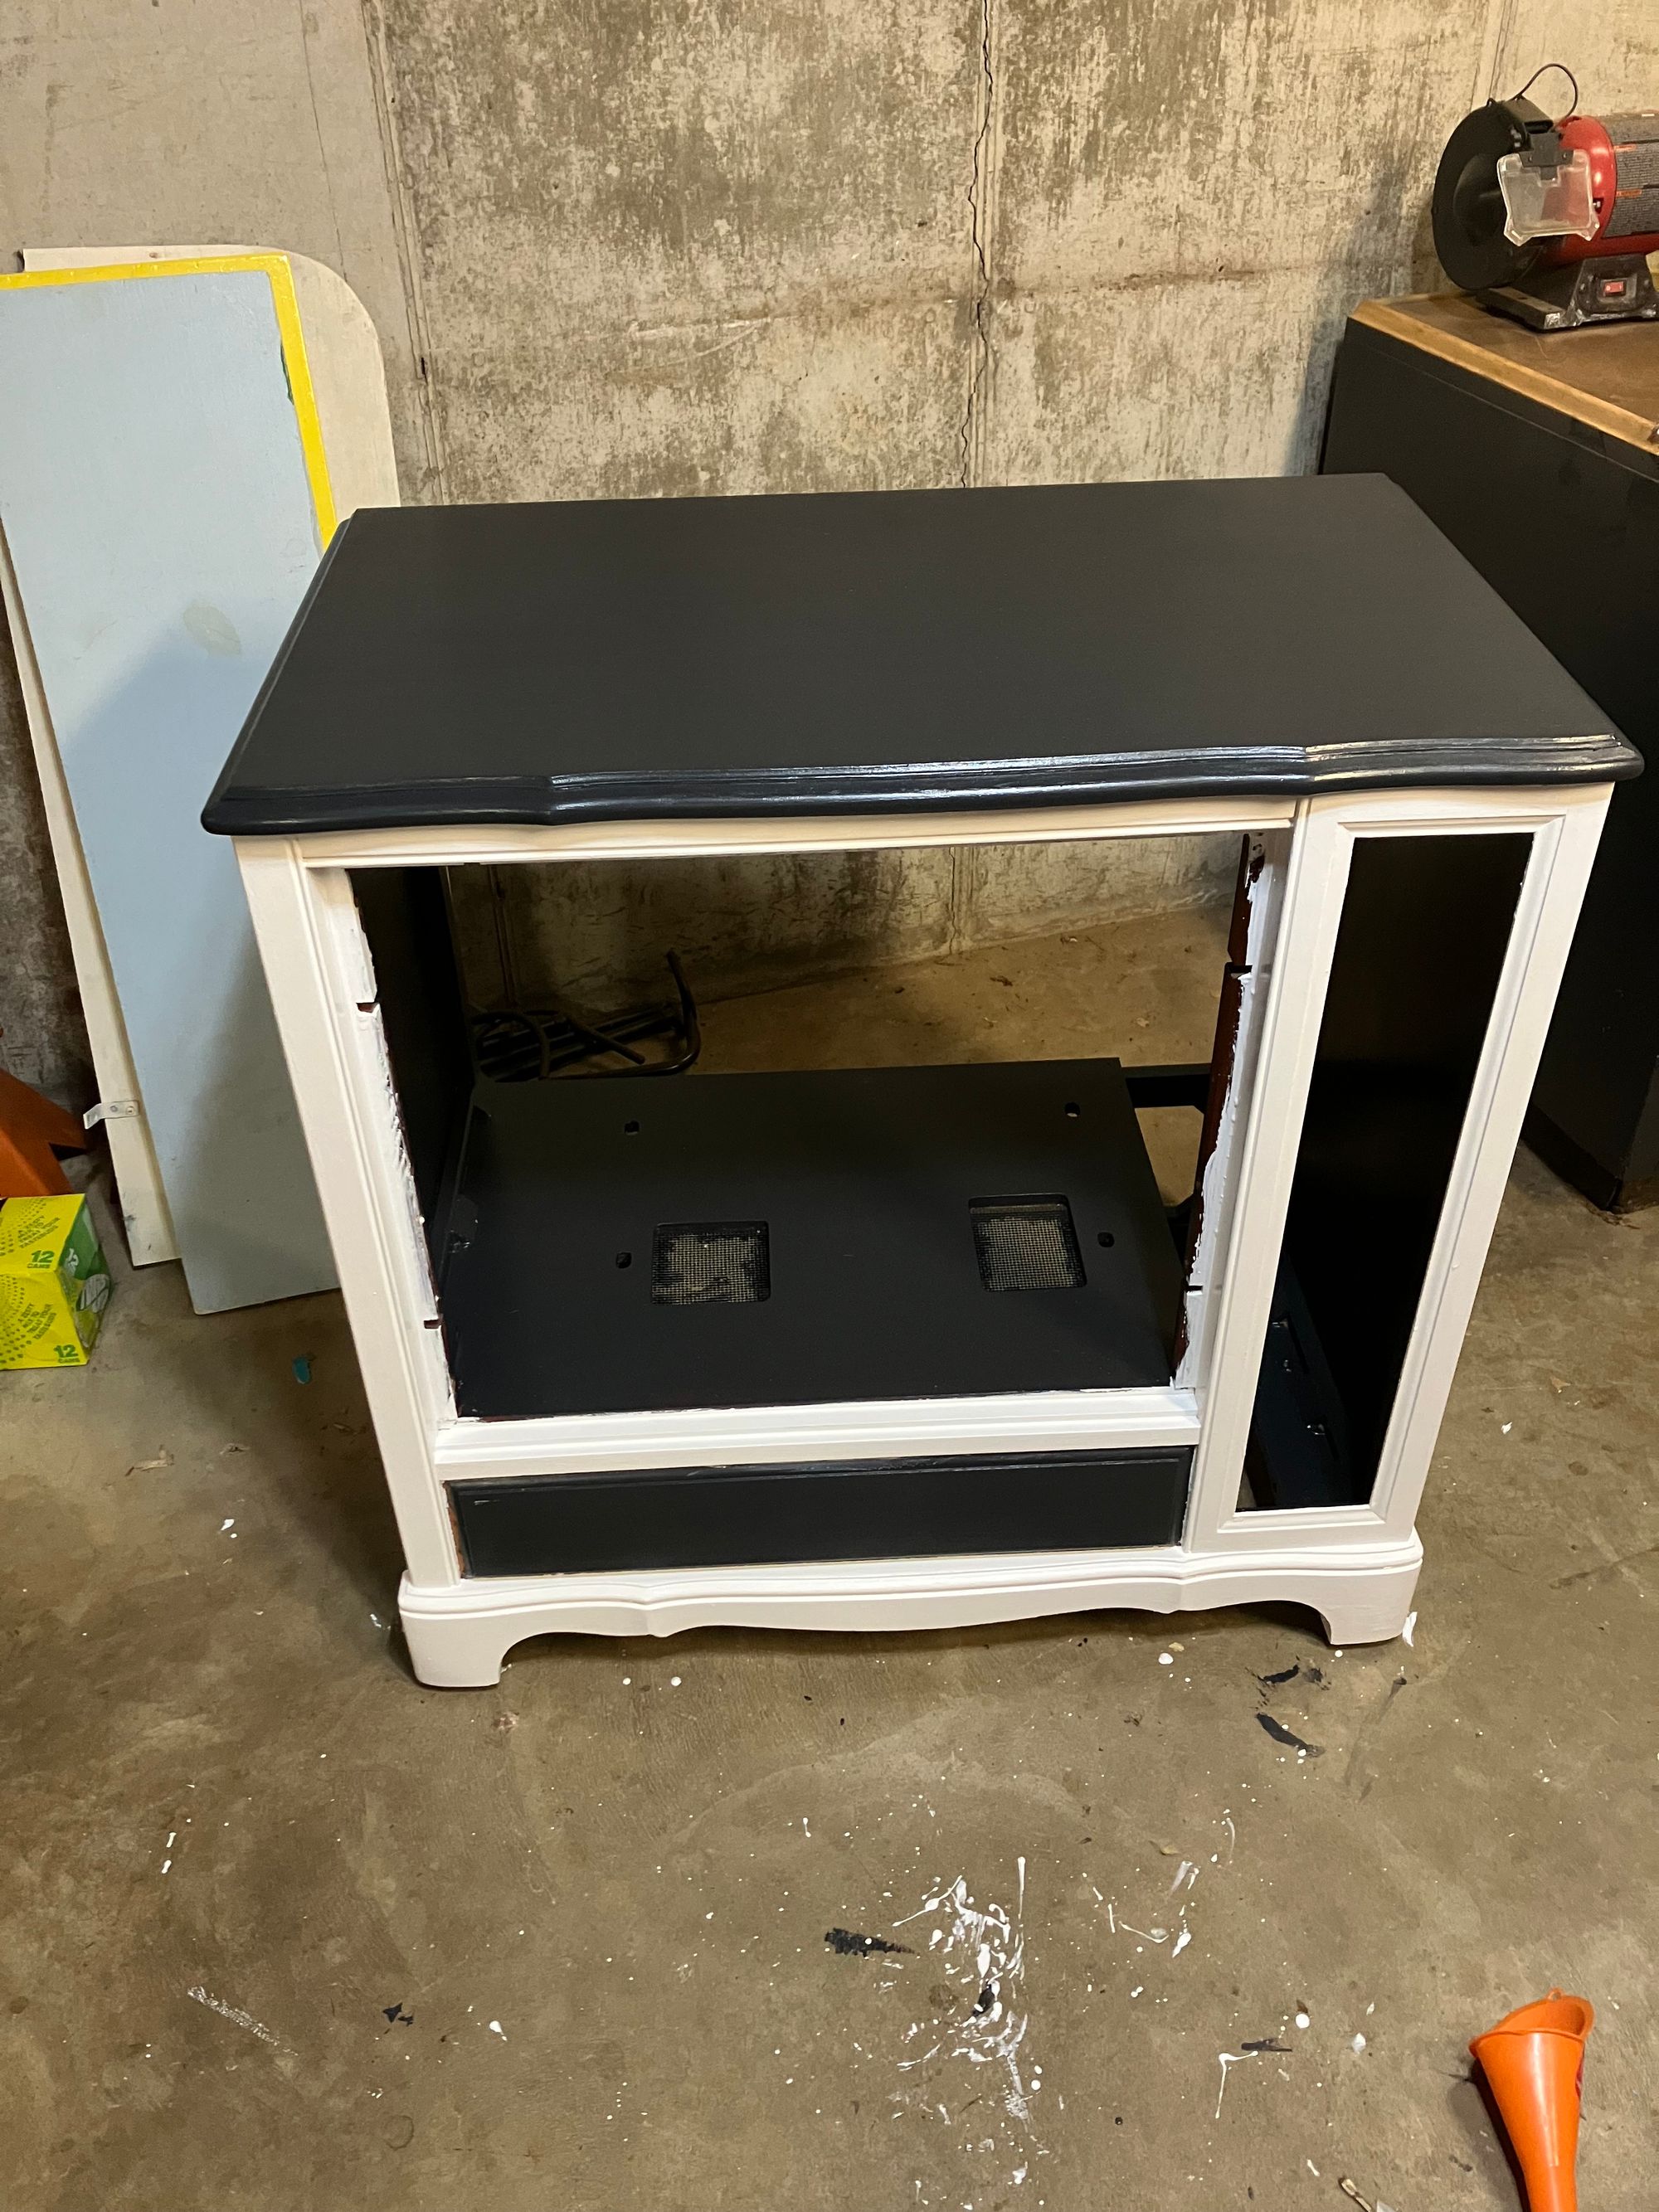
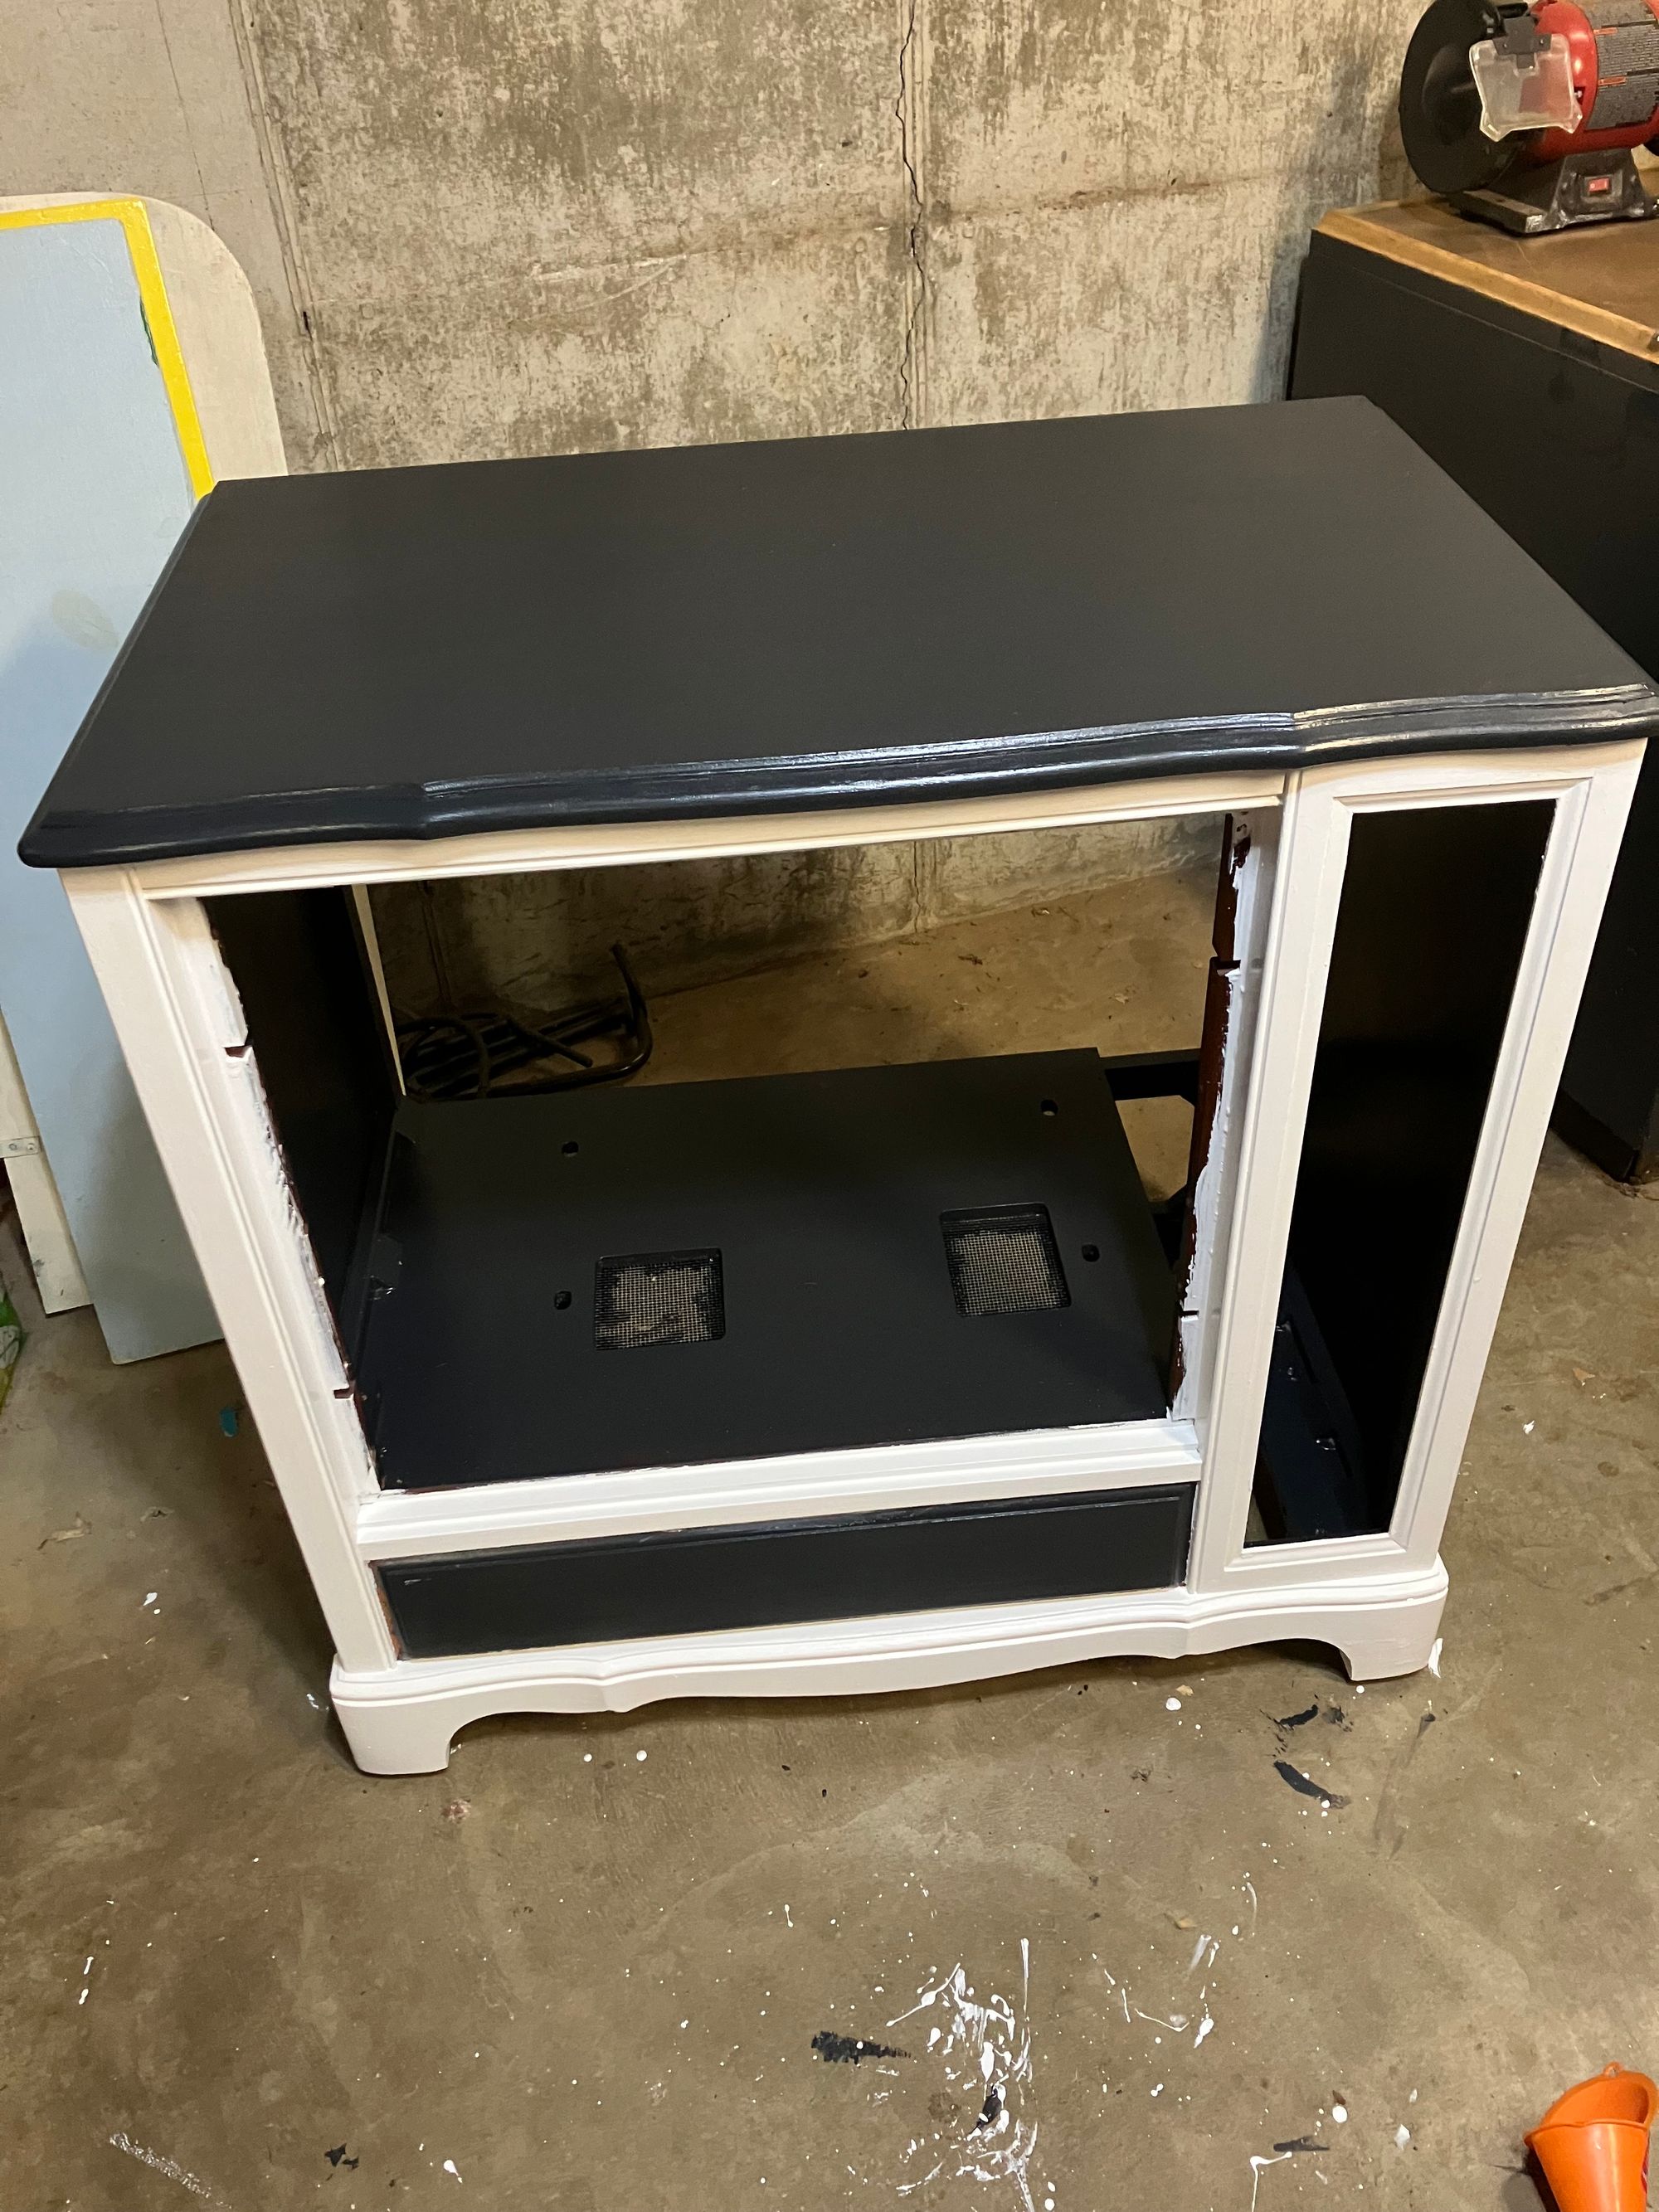
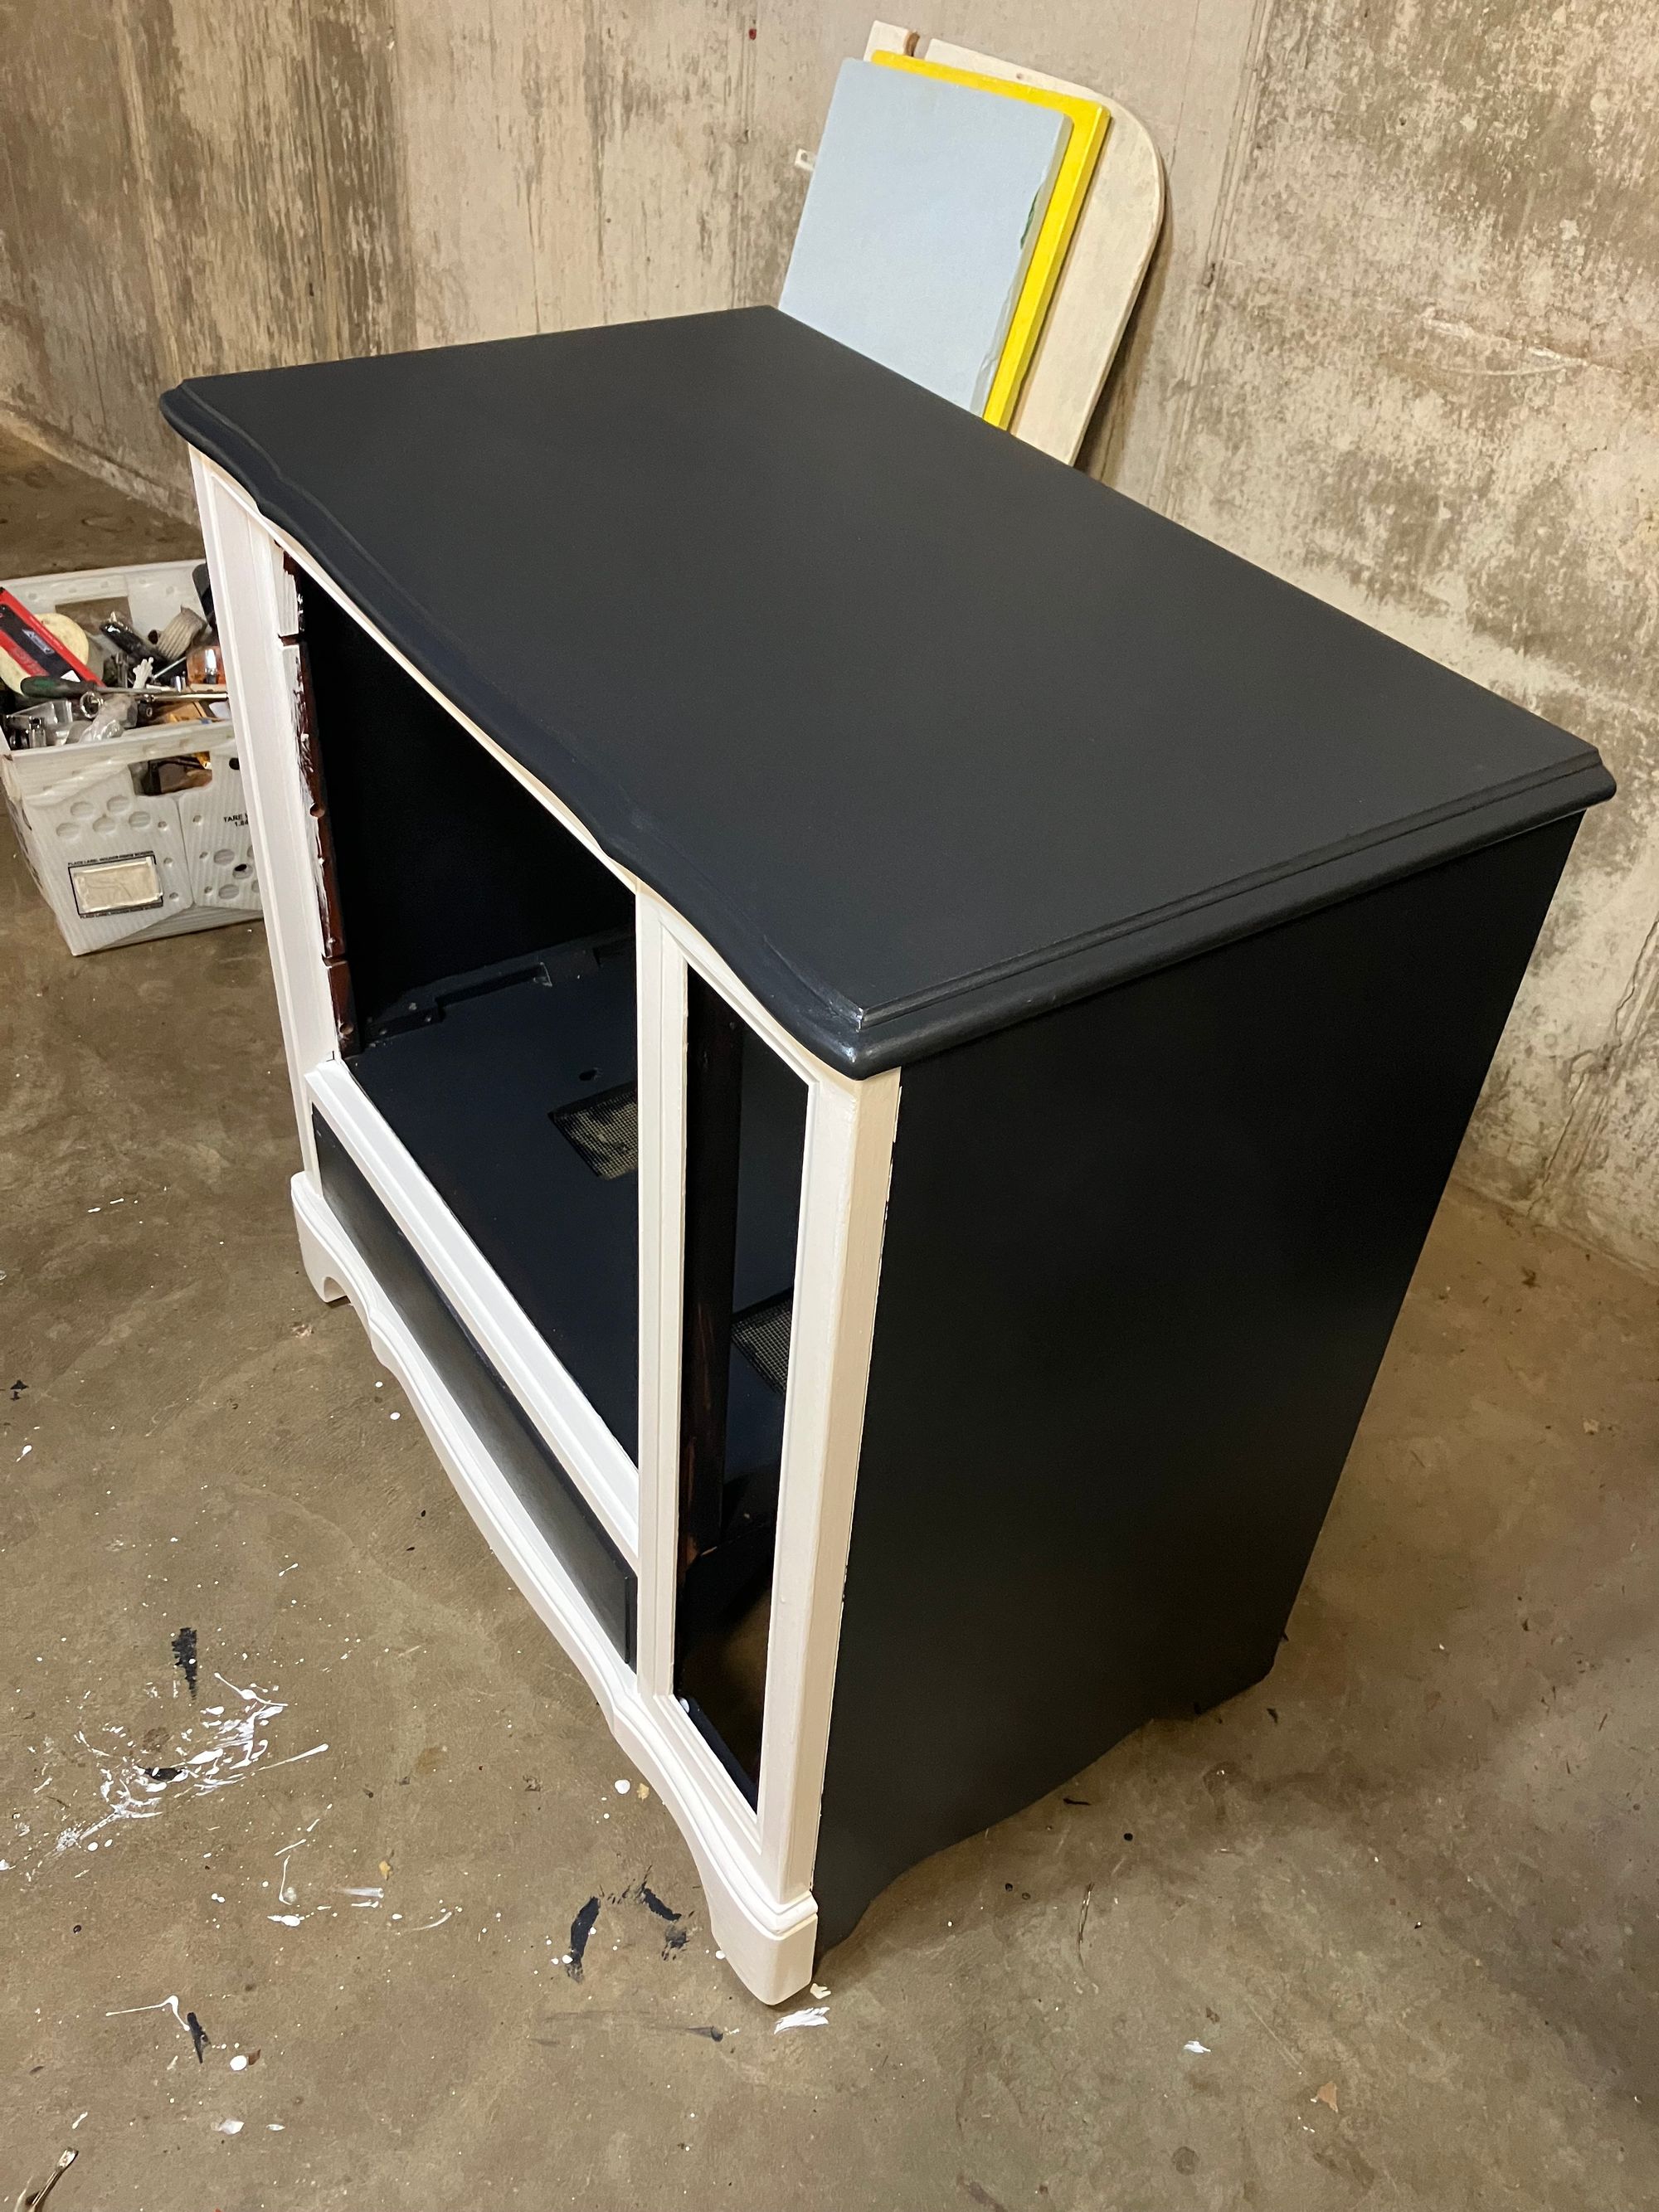
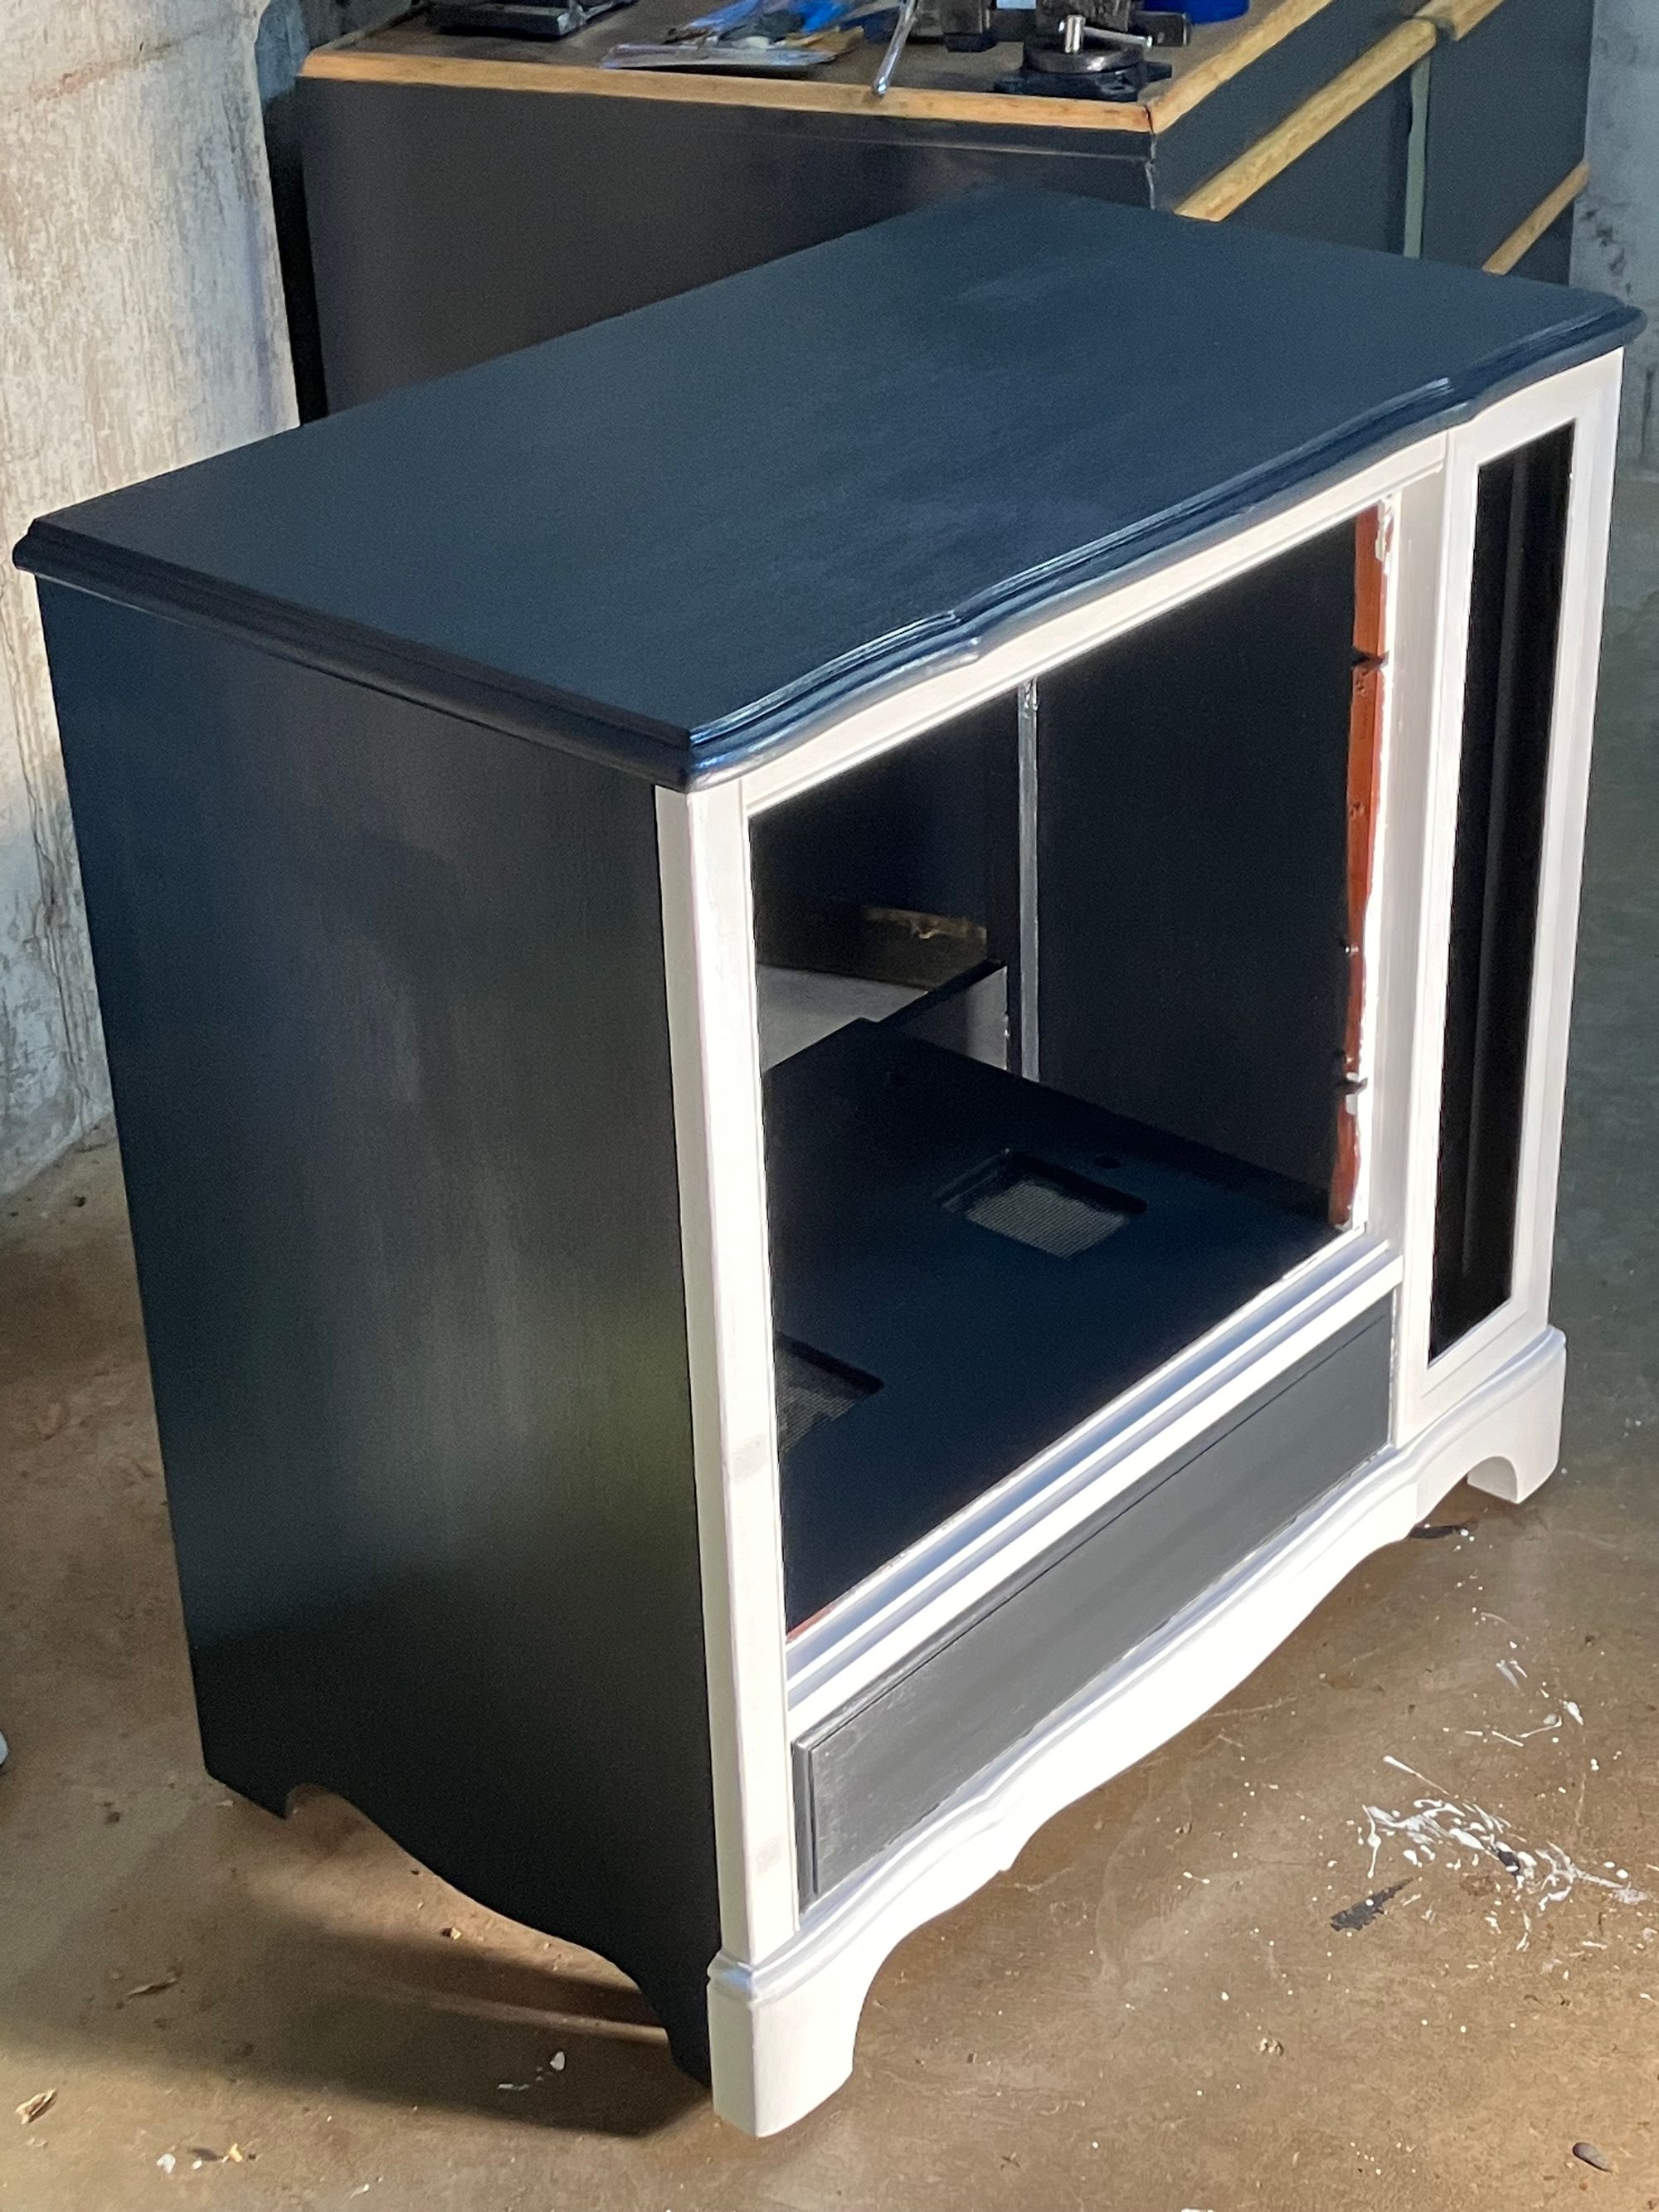
As you can see from the picture above I've gotten the console itself painted. Now I'll move on to painting the hardware that will be going back onto the console. Stay tuned for more updates on this project.